Holovids - Wing Commander Prophecy
The Terran Knowledge Bank
This page links to a complete collection of cutscenes which appeared in Wing Commander Prophecy as well as a variety of behind the scenes and marketing material.
Cutscenes
Plot
Introduction
| Introduction | |||
|---|---|---|---|

|
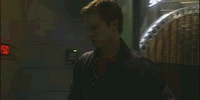
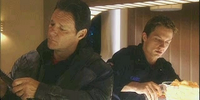
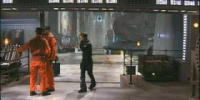
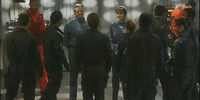
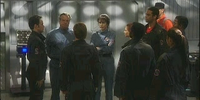
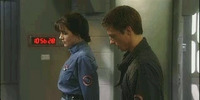
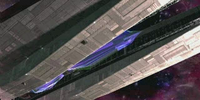
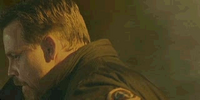
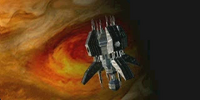
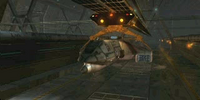
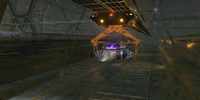
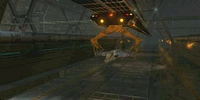
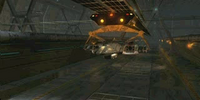
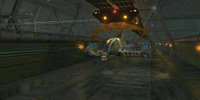
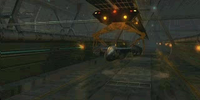
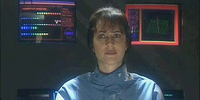
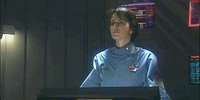
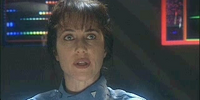
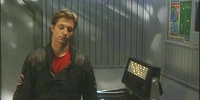
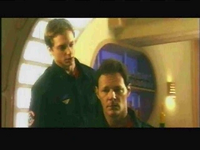
Kilrathi Temple, Nephele System & Flight Deck The Nephilim arrive at Kilrah; Casey and Maestro arrive aboard the TCS Midway. | ||

|
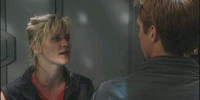
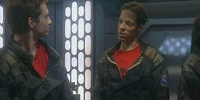
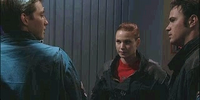
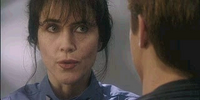
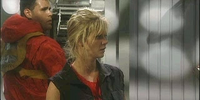
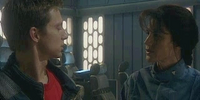
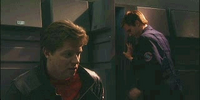
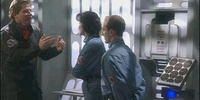
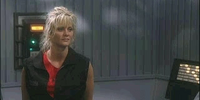
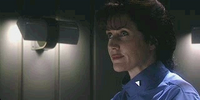
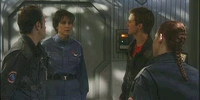
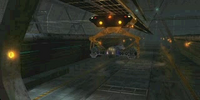
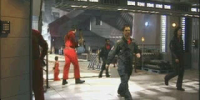
Flight Deck Your initial hours onboard the Midway prove a bit disheartening. You and your buddy Maestro are "greeted" by Stiletto, the hard-line leader of the Diamondback squadron. She doesn't approve of your attitudes or the Altairian brandy Maestro smuggled onboard. | ||
|
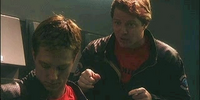
Rec Room & Ready Room Next, you manage to irritate Maniac, the resident braggart. You run into him the first time you enter the Rec Room. | ||
|
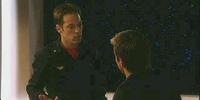
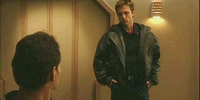
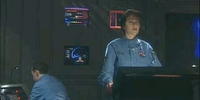
Briefing Room After Maniac's insult session, an onlooking vet pilot takes you under his wing and gives you a tour of your new home. You end up in the Briefing Room, where you meet Dallas and unwittingly insult Blair while in his presence. | ||
Series B - H'rekkah System
| Series B - H'rekkah System | |||
|---|---|---|---|
| Mission B1 | |||
|
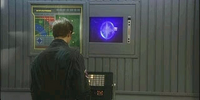
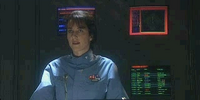
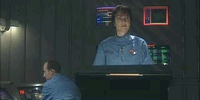
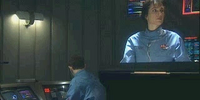
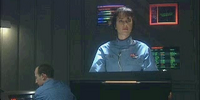
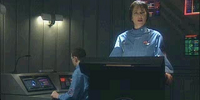
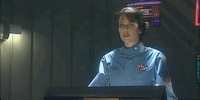
Briefing Finally, you're whisked into duty under a Red Alert. Your first briefing, given by the captain and the CAG, includes a live video feed displaying a tattered Kilrathi freighter. The rest of the briefing is brief and tense as you're sent to investigate a distress call from H'rekkah System. To your surprise. Stiletto has assigned you command of the Diamondback wing. | ||
|
Dismissal & Jump | ||
|
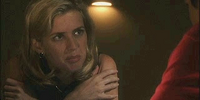
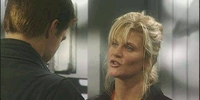
Landing After you return from your first flight, you run into Rachel, who, in a few not-so-kind words, directs you to the stot station and decontamination chamber. | ||
|
Egress | ||
| Mission B2 | |||
|
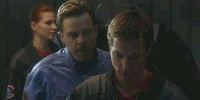
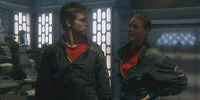
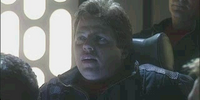
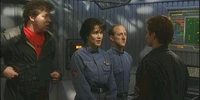
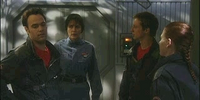
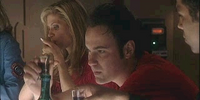
Rec Room The first three pilots are involved in to nervous discussion about the previous mission. No one expected to see live ammo this time out, and Dallas in particular is quite upset over the matter of the dead Kilrathi found aboard the destroyed freighter. Zero and Maestro are playing up to Dallas' anxiety. Hawk enters as Dallas continues to sulk. Looking to him for a bit of reassurance, you hear the first mention of Kn'thrak — the Kilrathi word for Darkness, Void, Evil. Almost immediately, you're scrambled to assist the battered Black Widow squadron. Maniac is among the assisted, although he offers no real words of thanks afterward. | ||
| Mission B3a/B3b | |||
|
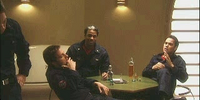
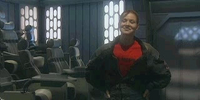
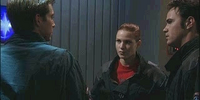
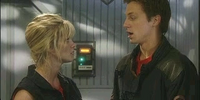
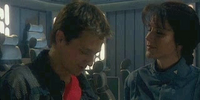
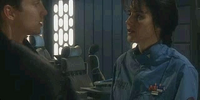
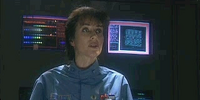
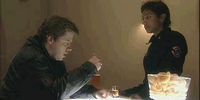
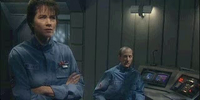
Rec Room Maestro persuades you to take in a shot of "Boom-Boom," which proves to be every bit as lively as its name. An "atta-boy" session commences, which is soon interrupted by Finley, who lectures you on your cockiness. Maestro grows bored and gets distracted by a nearby female. You introduce yourself to Finley, the Midway's onboard science officer. She mentions your impressive mission report and leaves you to ponder her parting words of caution. | ||
|
Landing | ||
|
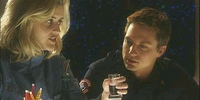
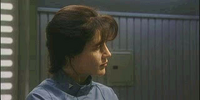
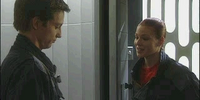
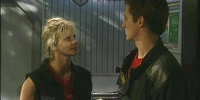
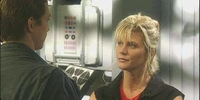
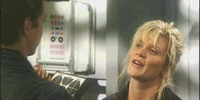
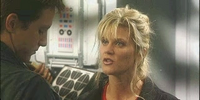
Egress Rachel eases up and apologizes for her impatience earlier. You catch a slight glimpse of interest and ask to watch her decipher a Kilrathi log. She politely declines. | ||
| Mission B3b | |||
|
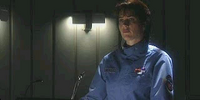
Briefing Blair stops you and suggests that you take things a bit more seriously. | ||
Series C - G'wriss System
| Series C - G'wriss System | |||||||
|---|---|---|---|---|---|---|---|
| Mission C1 | |||||||
|
Jump | ||||||
|
Rec Room You find Dallas sullen and alone, standing by the window, depressed about the current state of battle. You do your best to offer a few words of encouragement, which seem to have a slight uplifting effect on his mood. Stiletto, observing from a nearby barstool, raises her glass to you. | ||||||
|
Dismissal Spoke to Dallas If you talked to Dallas earlier, he makes a point of stopping you and exchanging a few friendly pre-battle words. |
|
Dismissal Did not speak to Dallas If you ignored him before, he rudely brushes past you. Stiletto pipes up and suggests that you improve your social skills by interacting and bonding a bit more with your wingmen. | ||||
| Mission C2a/C2b/C2c | |||||||
|
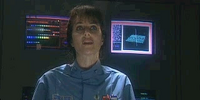
Rec Room Finley's at the bar, drinking like a fish and reeking of sarcasm. You join her and listen to her relate the recent findings of the Science Division — which don't amount to much in the grand scheme of things. She explains the ancient Kilrathi prophecies and you hear, for the second time, the mention of Kn'thrak. In the middle of your conversation, all pilots are called to the Briefing Room. But before you part ways, you manage to get through to her, and she decides against that last drink. | ||||||
| Mission C3a/C3b | |||||||

|
Rec Room You find a glum Zero drinking in the Rec Room. He first berates you for interrupting him, then asks about your "free ride" through the Academy. You talk about the reputation you've had to live up to. Finally, both of you recognize that you have more in common than you realized. Zero also talks a bit more about Kn'thrak. | ||||||
|
Dismissal If you encouraged him earlier, Dallas approaches all smiles and offers his two hundred percent. You get a vague premonition that his enthusiasm may soon come to an end. In his usual show of words. Maestro tells you not to worry about Dallas. | ||||||
|
Landing Did not speak to Dallas These two tell you Dallas didn't make it back from the last mission. |
|
Landing Spoke to Dallas These two tell you Dallas didn't make it back from the last mission. | ||||
|
Dismissal Losing |
|
Dismissal Winning |
|
Dismissal Losing |
|
Dismissal Winning |
Series DL - H'hrass System
| Series DL - H'hrass System | |||||||
|---|---|---|---|---|---|---|---|
| Mission DL1 or DL2 | |||||||
|
Landing If you lost DL2, Stiletto boils you out. The CAG is unhappy with your flying. | ||||||
|
Egress | ||||||
Series D - H'hrass System
| Series D - H'hrass System | |||||||
|---|---|---|---|---|---|---|---|
| Mission D1 | |||||||
|
Rec Room & Ready Room After Dallas' funeral, you join Zero for a shot. Maniac's going through his usual embellishments. Hawk enters a verbal bout with him, and you end up attacking Maniac. Blair has convinced the CAG to attribute the outbreak to stress. | ||||||
|
Dismissal The CAG's announcement that Blair's going to fly on your wing creates whispers among the pilots — it's not everyday that a retired hero gets pulled back into active duty. | ||||||
| Mission D2 | |||||||
|
Landing | ||||||
|
Egress The radio transmitter has been repaired, but at great cost. As you check your mission stats after D2, the CAG informs you of your promotion and transfer to the Black Widow squadron, but you can't help but wonder what Blair's fate will be. | ||||||
Series E - T'lan Meth System
| Series E - T'lan Meth System | |||||||
|---|---|---|---|---|---|---|---|
| Mission E1 | |||||||
|
Dismissal & Jump | ||||||
|
Landing | ||||||
|
Egress | ||||||
| Mission E2 | |||||||
|
Rec Room You can't help but notice that the mood in Pilot Country is a bit melancholy. Hawk informs you that one of the Black Widow pilots didn't make it back. More than likely, he's not coming back. As you ponder this, Maniac crosses the bar and takes a seat next to Hawk. Hawk coolly asks Maniac how he's liking his new responsibilities, then leaves. Maniac isn't happy about being taken off the flight rotation with his man MIA, and tells you so. You resolve to undertake the rescue yourself. Maniac seems to be slightly impressed. | ||||||

|
Landing | ||||||
|
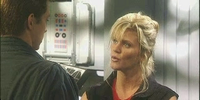
Egress After the MIA pilot is NLMIA (No Longer Missing In Action), you receive a genuine congrats from Rachel. She's throwing in a subtle flirt or two as well, but before you can respond, she's summoned back to duty via the ship's intercom... | ||||||
| Mission E4a/E4b | |||||||
|
Briefing The CAG relays new recon data that indicates a large enemy fleet, with the Midway as its probable target. The squadron you're assigned to rendezvous with during the mission is Kilrathi. No one seems particularly happy about this, especially Hawk and Maniac. The CAG sternly shoots down their objections and berates them bath. | ||||||
|
Dismissal Hawk makes a subtle but definite comment - he'd rather die than fly with cats. | ||||||
|
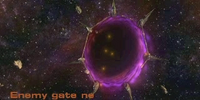
Wormhole Gate | ||||||
|
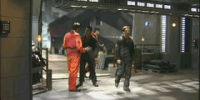
Rec Room & Alien Torture Room Finley confides that she can't figure out what happened to the Kilrathi prisoners on E'Loy. You imagine what Blair must be going through ... until Finley snaps you back. | ||||||
Series F - T'lan Meth System
| Series F - T'lan Meth System | ||||||||
|---|---|---|---|---|---|---|---|---|
| Mission F1 | ||||||||
|
Rec Room Hawk starts recounting his days with your father, Iceman. | |||||||
|
Dismissal Hawk fumes about flying with cats. You try to reason with him. It doesn't work. He gives you the details of your father's death — information they kept out of the report. | |||||||
|
|
Landing Attacked the Kilrathi If you helped Hawk kill the Kilrathi, he doesn't survive, and you're on your own as far as explaining things to the CAG. Hawk's last transmission indicated that the area was clear, and your flight recorder is "damaged." |
|
Landing Did not Attack the Kilrathi If you didn't go along with Hawk, he's fuming, and the last thing he wants to do is talk to you. Rachel notices your flight recorder has turned up blank. | |||||
|
Egress |
|
Egress | |||||
| Mission F2 | ||||||||
|
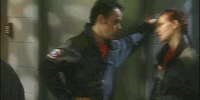
Rec Room If you didn't help him kill the cats, he's avoiding you like the plague. When you approach, he makes a brash show of force by slamming you and his knife down onto the table. Instantly, he's apologetic. | |||||||
|
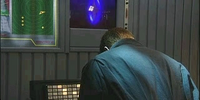
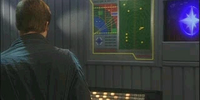
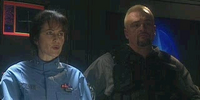
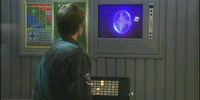
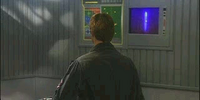
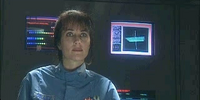
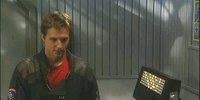
Briefing Room Whether or not you helped Hawk, you catch Finley at Anderson's console, intently studying a mess of transmitter cables. She's attempting to break the Alien code on the signal buoy. The message she's decoded mentions something about the "non-aligned." The second screen shows organic tissue scans. | |||||||
|
Landing | |||||||
|
Egress As you ponder your mission stats, Stiletto tells you that Hawk's MIA. There's not much chance that he survived the two Alien squadrons that jumped him, and SAR can't detect an ejection pod. | |||||||
| Mission F3 | ||||||||
|
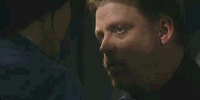
Ready Room Spyder is packing Hawk's locker when you walk in, and you respect his absence with a moment of silence. Spyder relates the history behind Hawk's intense hatred against the Kilrathi. It all stemmed from the destruction of his home world during the Terran-Kilrathi war, where everyone and everything he knew was obliterated. Almost as an afterthought, Spyder gives you a gift Hawk left behind for you — his prized knife. | |||||||
| Mission F4b | ||||||||
|
Ready Room Maniac offers a "pep" talk and suggests that you improve your performance. As he strolls out the door, he makes a point of "accidentally" running into your head with his elbow. | |||||||
| Mission F5 | ||||||||
|
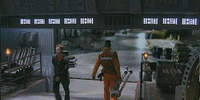
Briefing You learn that marines are landing on Dula Seven. You're to support them, as well as gather Intel on the Aliens and rescue any prisoners you might find. | |||||||
|
Dismissal | |||||||
|
Landing | |||||||
|
Egress She approaches you gently, and her softer side emerges. You ve been recommended for the Silver Star, but more importantly, Blair was rescued. Your nightmares come to an end as you enter to find Commodore Blair in the captain's chair. He's weak, but obviously happy to be back onboard. As you start to apologize for his capture, he dismisses your efforts and describes his mind-dredging ordeal. | |||||||
| Mission F6a | ||||||||
|
Dismissal Attacked the Kilrathi After the briefing, the CAG questions you about the Kilrothi on E'Loy. All contact there has been lost since your and Hawk's little shooting spree against N'Sharr. |
|
Dismissal Saved the Kilrathi Before you take off, she lets you know that the Kilrathi wish to return your favor. If you saved (or tried to save) N'Sharr, he (or J'Ron) assists you. |
|
Dismissal Did not attack or save the Kilrathi Before you take off, she lets you know that the Kilrathi wish to return your favor. If you saved (or tried to save) N'Sharr, he (or J'Ron) assists you. | |||

|
Landing Attacked the Kilrathi |
|
Landing Did not Attack the Kilrathi | |||||
|
Egress When you land, these two are furious - they've figured out what happened during the cat-killing mission with Hawk and confront you. |
|
Egress & Jump Upon landing, you get compliments from the CAG and Captain. These two can't resist teasing you about your "big head" as you exit the Flight Deck. They're kidding, of course .... | |||||
| Mission F6b | ||||||||
|
Landing You get a pep talk from the CAG. | |||||||

|
Egress & Jump | |||||||
Series G - G'mar System
| Series G - G'mar System | |||||||
|---|---|---|---|---|---|---|---|
| Mission G2 | |||||||
|
Ready Room As you go in to suit up, you find on unusually dejected Manioc sitting on a bench. He's just lost his first two rookies as squad commander, and his perceived cloak of invulnerability has failed him. You offer a few words of encouragement, followed up by a friendly elbow smock to his head. On his way out, he gives you a genuine look of thanks ... even if he can't find the words. | ||||||
|
Briefing | ||||||
|
Dismissal | ||||||
|
Landing The CAG's recommended you for the Flying Cross. | ||||||
|
Egress | ||||||
| Mission G3 | |||||||
|
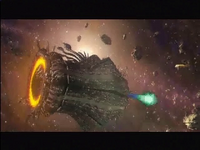
Briefing An image of a Ship Killer and its destruction is playing on the briefing screen. This ship is the one that annihilated the Kilrathi fleet in H'rekka. | ||||||
|
Dismissal | ||||||
Series H - H'rissith System
| Series H - H'rissith System | |||||||
|---|---|---|---|---|---|---|---|
| Mission H1a/H1b | |||||||
|
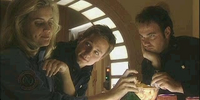
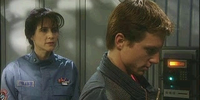
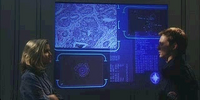
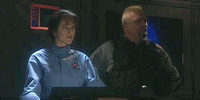
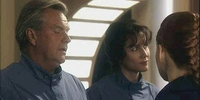
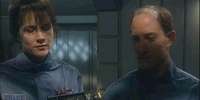
Rec Room, Ready Room & Briefing Room Maniac has voluntarily relinquished his squadron commander position. He then gets to watch you collect a medal and a promotion to the Wolfpack. Finley's managed to download blueprints from the ship killer, and accompanies you to the Briefing Room. The CAG, Rachel and Blair are there waiting for you. Finley theorizes that the blueprints are part of a grand plan to attack through artificially induced wormholes, powered by massive energy array and cooling towers. Everyone agrees that this presents a perfect opportunity to test out the Midway's newly mounted Alien plasma weapon. Finley's not convinced that this will succeed, but she'll give it a shot. | ||||||
| Mission H1b | |||||||
|
Landing | ||||||
|
Egress | ||||||
| Mission H4 | |||||||

|
Landing Even though she expresses it ever so slightly, Stiletto is quite impressed with the way you took out the Kroken in the last mission. | ||||||
|
|
Egress | ||||||
| Mission H6 | |||||||
|
Briefing Due to your successes, the Midway is ready to test out its new plasma weapon against the Alien fleet. The CAG praises you in front of everyone, causing you to turn a few shades redder. | ||||||
|
Dismissal | ||||||
|
Losing End Game | ||||||

|
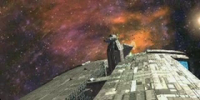
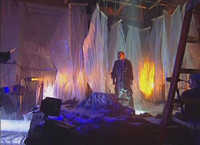
Landing After you clear the path to destruction, Finley warns you to get out of the area and readies the new weapon. A moment later, you hear Rachel give the order to fire. The next scene is both devastating and impressive, as a swirling ball of plasma amasses on the tip of the Alien Plasma gun. It pulses for several seconds, then streaks toward the heart of the enemy fleet, exploding into a massive, electrical fireball. In mere moments, a circular shock wave emanates from the blast and is sure to catch your ship on its crest. If you're too close, you're as good as dead. If you manage to outrun the blast, you make it safely back to the Midway. | ||||||
|
Egress | ||||||
Series I - Kilrah System
| Series I - Kilrah System | |||||||
|---|---|---|---|---|---|---|---|
| Mission I1 | |||||||
|
Rec Room & Jump As the Alien fleet lies smoldering, you join your friends for a bragging session. The CAG and captain show up to remind everyone that the path to victory is not yet complete. Finley says that the Plasma gun can't be used again without endangering the Midway. Finally, Blair suggests that you and Maestro get some rest. | ||||||

|
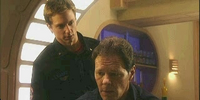
Ready Room These two are in a battle of words. The CAG's shooting down Blair's attempt to get back on the flight line, and he's visibly distraught about it. | ||||||
| Mission I4 | |||||||
|
Briefing The CAG calls the briefing to order and lays out a plan to knock out the Alien dreadnought's defenses. Blair interrupts to suggest using a training missile barrage as a distraction to the primary attack. The CAG is clearly annoyed, but manages a smile when she realizes that it just might work. In a moment, the scramble alarm sounds. | ||||||
|
Dismissal | ||||||
|
Landing Winning |
|
Landing Losing | ||||
|
Egress As you all check your stats, the CAG tells you not to de-suit; you're about to make a second pass at the Tiamat. Almost immediately, you're scrambled again. Hopefully you destroyed alll of the turrets in the lost mission — otherwise, you'll hove to contend with them now. Meanwhile, the alien fleet is massing on the other side of the wormhole gate. |
|
Egress As you all check your stats, the CAG tells you not to de-suit; you're about to make a second pass at the Tiamat. Almost immediately, you're scrambled again. Hopefully you destroyed alll of the turrets in the lost mission — otherwise, you'll hove to contend with them now. Meanwhile, the alien fleet is massing on the other side of the wormhole gate. | ||||
| Mission I6 | |||||||
|
Briefing Finley gives everyone the lowdown on the Alien wormhole gate. She's got most of the structure figured out, and explains that by destroying its seven stabilizing towers, the wormhole will collapse. | ||||||
|
Dismissal | ||||||
|
Briefing Room As you're out on your mission, everyone onboard is trying to figure out how to take down that last shield. Blair suggests that a pilot be sent in to shut down the final tower. Maniac assumes he'll get the role, but Blair is intending to volunteer himself. The CAG, although not pleased, lets him go with one stipulation — that he fly with Maniac and Maestro on his wing. | ||||||
|
Wormhole Gate, Flight Deck, Rec Room Before Blair can exit the command center, he runs into the Alien Warlord, the same one that interrogated him on Dula Seven. In rage, Blair rushes the Alien and attacks him at point-blank range with his weapon. At the same time, you've finished your attack on the wormhole. As it swallows the incoming Alien fleet, your wing takes a victory trip back to the Midway. | ||||||
Gameflow
End Games
| End Games | |||
|---|---|---|---|
|
MIA Anderson's been checking the MIA list, and when the CAG comes in, he informs her that you never returned from the mission. She's shocked, as are your fellow pilots — they all thought you'd end up a hero, and now the war must go on without you. | ||
|
Relay Station The relay station has fallen in a grand display of Alien firepower, destroying all onboard. The CAG and Anderson attempt to reach you via the console radio, but fail as the scene fades to black. | ||
|
Fallen Friend Your friends are lamenting your untimely death over a pitcher of ale, and your usual place at the table is conspicuously empty. As the compliments die down. Stiletto remarks that she would like to have known you better. After a silent toast, a scramble alarm sounds, and it's back to business as usual ... | ||
|
Earth Overrun A Ship Killer leads the massive Alien fleet into Earth's solar system and approaches Jupiter. In a single moment, the once-peaceful Confed headquarters is turned into a flaming moon by a single blast of the Aliens' plasma weapon. Leaving the wreckage to smolder, the fleet moves on toward the defenseless Earth. | ||
|
Plasma Gun You've failed to shut off the Aliens' wormhole entrance, and now it's too late to stop the onslaught. Ship after ship starts pouring through the artificial portal, bound for our solar system. As the fleet approaches, Rachel and Finley realize that the only chance left is to fire the Midway's Plasma gun a second time. Although this is nearly sure to destroy the carrier, it's the only hope left for mankind ... The guns slowly warm up, and the hum grows louder and louder. As Finley readies the console, you see an exterior view of the Midway. It glows brighter and brighter, but instead of firing a plasma ball, the carrier is electrified and bursts into a cloud of flaming metal and plasma. A blast wave emanates from the former carrier, but it's not enough to stop the fleet. | ||
|
Midway Destroyed The wormhole is open, and the alien fleet is moving in. The Midway is the only Confed carrier around, and its small force of fighters is no match for the heavy weapons it faces. In mere moments, the Midway is surrounded and fired upon for the last time. | ||
|
Midway Swarmed An unidentified observer flies by the Midway in its death throes. The Midway's shields ore down and explosions crescendo into one final, life-ending flare. | ||
Takeoffs
| Takeoffs | |||
|---|---|---|---|
|
Devastator Landing Generic landing. | ||
|
Panther Landing Generic landing. | ||
|
Piranha Landing Generic landing. | ||
|
Shrike Landing Generic landing. | ||
|
Vampire Landing Generic landing. | ||
|
Tigershark Landing Generic landing. | ||
|
Wasp Landing Generic landing. | ||
Briefings
| Briefings | |||
|---|---|---|---|
|
Briefing Number 1 Generic briefing scene. | ||
|
Dismissal Number 1 Generic briefing dismissal. | ||
|
Briefing Number 2 Generic briefing scene. | ||
|
Dismissal Number 2 Generic briefing dismissal. | ||
|
Briefing Number 3 Generic briefing scene. | ||
|
Dismissal Number 3 Generic briefing dismissal. | ||
|
Briefing Number 4 Generic briefing scene. | ||
|
Dismissal Number 4 Generic briefing dismissal. | ||
|
Briefing Number 5 Generic briefing scene. | ||
|
Dismissal Number 5 Generic briefing dismissal. | ||
|
Briefing Number 6 Generic briefing scene. | ||
|
Dismissal Number 6 Generic briefing dismissal. | ||
|
Briefing Number 7 Generic briefing scene. | ||
|
Dismissal Number 7 Generic briefing dismissal. | ||
|
Briefing Number 8 Generic briefing scene. | ||
|
Dismissal Number 8 Generic briefing dismissal. | ||
|
Briefing Number 9 Generic briefing scene. | ||
|
Dismissal Number 9 Generic briefing dismissal. | ||
Landings
| Landings | |||
|---|---|---|---|
|
Immaculate Success Generic landing scene. | ||
|
Immaculate Success Egress Generic egress scene. | ||
|
Landing A #1 Generic landing scene. | ||
|
Landing A #1 Egress Generic egress scene. | ||
|
Landing A #2 Generic landing scene. | ||
|
Landing B #1 Generic landing scene. | ||
|
Landing C #1 Generic landing scene. | ||
|
Landing D #1 Generic landing scene. | ||
|
Landing F #1 Generic landing scene. | ||
Other
| Other | |||
|---|---|---|---|

|
Origin Logo The Origin logo. | ||

|
Dolby Surround The Dolby Surround logo. | ||
|
Wing Commander Prophecy The Wing Commander Prophecy logo. | ||
ICIS Audio
- B - H'rekkah
- C - G'wriss
- DL - H'hrass
- D - H'hrass
- E - T'lan Meth
- F - T'lan Meth
- G - G'mar
- H - H'rissith
- I - Kilrah
- L - Hellespont & Alcor
- B - H'hrass (Demo)
Communications
Plot
- B - H'rekkah
- C - G'wriss
- DL - H'hrass
- D - H'hrass
- E - T'lan Meth
- F - T'lan Meth
- G - G'mar
- H - H'rissith
- I - Kilrah
- L - Hellespont & Alcor
Characters
Main Characters
Diamondbacks
- Bookworm
- Bullet
- Comet
- Cowboy
- Giant
- Jumpstart
- Kona
- Lawyer
- Professor
- Rattler
- Royal
- Sprite
- Steel
- Sunflower
- Twitch
- Wiley
- Zombie
Black Widows
- Amazon
- BoomBoom
- Caveman
- Mutant
- Ninja
- Nomad
- Pinpoint
- Posse
- Redline
- Rogue
- Roulette
- Stardust
- Sultan
- TBone
- Twilight
- Viking
- Warlord
- Wyvern
Wolf Pack
- Bishop
- Drago
- Duke
- Falcon
- Goblin
- Hellion
- Howdy
- Kingpin
- Majestic
- Mustang
- Ogre
- Pops
- Ranger
- Snake
- Swan
- Veil
Other Ships
- Callisto
- Flight Instructor
- Lookout One
- Lookout Two
- Marine One
- Recon One
- SAR
- SAR Sierra One Nine
- SAR Sierra Four Two
- TCS Barkley
- TCS Deliverance
- TCS Midway
- TCS Porter
- TCS Redeemer
Kilrathi
Nephilim
Demos
3dfx Test
Demo
- B - H'hrass
- Amazon
- Casey
- Duke
- Giant
- Leviathan
- Nephilim Pilots
- SAR
- Spyder
- Sunflower
- TCS Barkley
- TCS Midway
- TCS Porter
- Zero
Missing Scenes
| Cut Scenes | |
|---|---|
|
1240: Casey and the Gang Toast Friendship |
Marketing
Trailers
| Trailers | ||
|---|---|---|
|
Wing Commander Prophecy Trailer: The official Wing Commander Prophecy trailer released in 1997. | |
|
Ultima Collection trailer: An official Wing Commander Prophecy trailer released with the Ultima Collection in 1998. | |
|
Wing Commander Prophecy GBA Trailer: The official Wing Commander Prophecy GameBoy Advance trailer released in 2002. | |
Music Videos
| Trailers | ||
|---|---|---|
|
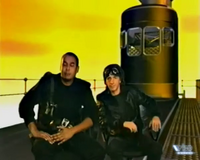
Cobalt 60 – Prophecy (Terminal Mix) music video: The official Wing Commander Prophecy music video from Edel. | |
Behind the Screens
Featurettes
| Featurettes | ||
|---|---|---|
|
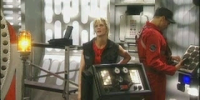
Wing Commander Prophecy B-Roll: Origin's Wing Commander Prophecy B-Roll recorded for the Electronic Press Kit. | |
|
PC Games Origin-Reportage: A PC Games featurette looking behind the scenes of Wing Commander Prophecy. | |
|
От винта!: A featurette which aired as part of От винта! in 1998. | |
Interviews
| Interviews | ||
|---|---|---|
|
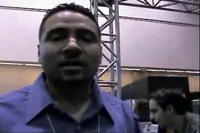
Chris Reid interview with Juan Gutierrez: An interview with Destination Software's Juan Gutierrez about Wing Commander Prophecy GBA. | |
|
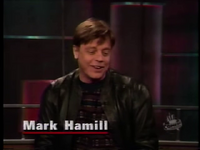
Chris Reid interview with Juan Gutierrez: An interview with Mark Hamill about Wing Commander Prophecy. | |
Reviews
| Reviews | ||
|---|---|---|
|
Бонус: A review from the Бонус television program. | |
|
От винта!: A review from the От винта! television program. | |
|
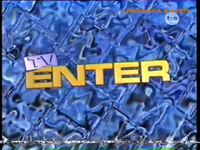
TV Enter: A review from the TV Enter television program. | |
Other
| Other | ||
|---|---|---|
|
PC Player Fundub: German comedy at its finest! | |