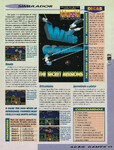
Hendrik Happily Helps Howard's Hornet Head Home


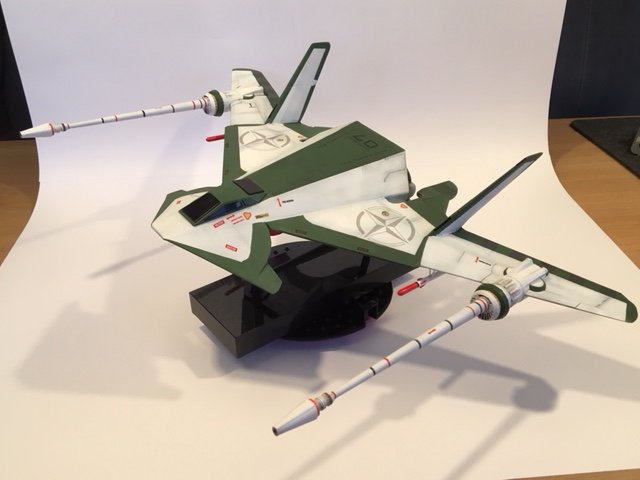
Hendrik has been honing his 3D printing skills for some time, and he wanted to share some of process by which he goes through to prepare and finalize a design. The steps can be slightly daunting for newbie modelers, but the results are extremely rewarding - as clearly evidenced by the output demonstrated here! This design began as Howard Day's amazing Hornet, and Hendrik's tips can help you make it your own. He's eager to share his knowledge with others: visit the CIC Forums to ask questions and get helpful tips!


I wanted to write a short experience report about printing 3d models beyond finished STL files. There are spectacularly good and detailed 3D models of howie day here, which I wanted to print. It becomes problematic if you want to copy them directly into slicer software, because these models often have "open meshes" and "too" much detail.What you can do:
1) Convert the model files. Here you have the possibility to make this online with various OBJ, DAE, 3DS, MAX files to STL, OBJ services. You can also open it natively with the respective designer software (trial version). In the case of Howie Day's F-36 Hornet, I loaded it into 3D Studio and exported it as an obj.
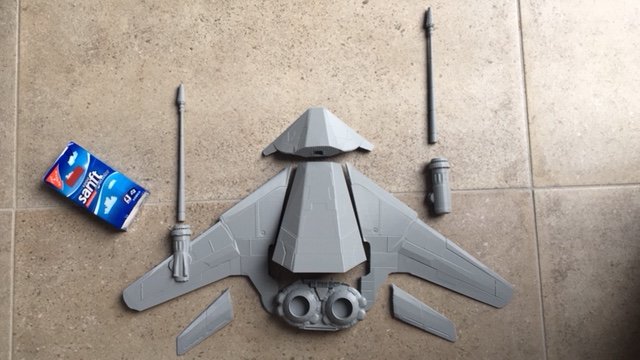
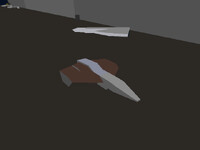
2) Open the files in Meshmixer and click Inspect. Inspect finds the open meshes and can correct them if necessary. The purpose behind it is that 3D meshes must be waterproof for optimal 3d printing. Often, some parts of the model cannot be corrected automatically. In the case of the Hornet, these included the engine and parts of the wings. In addition, the cockpit was completely unprintable. There are some things you can put up with, some like the cockpit and the wings you have to correct. Mesh mixer can select individual parts from the model. This is very handy because I wanted to print the Hornet very large. I have saved the entire model in wings, cannons, rockets, and bodies in separate files. After that I cut some parts again with a "plane cut". The goal was to glue everything together again later.
3) Improve 3D objects: I have used Autodesk Fusion 360 and an old version of 123D Design to redesign simple parts and surfaces in existing meshes. Some individual parts may not be edited in the conventional way (open meshes). I solidified these parts with Meshmixer. There's a function there that needs to be played around with.
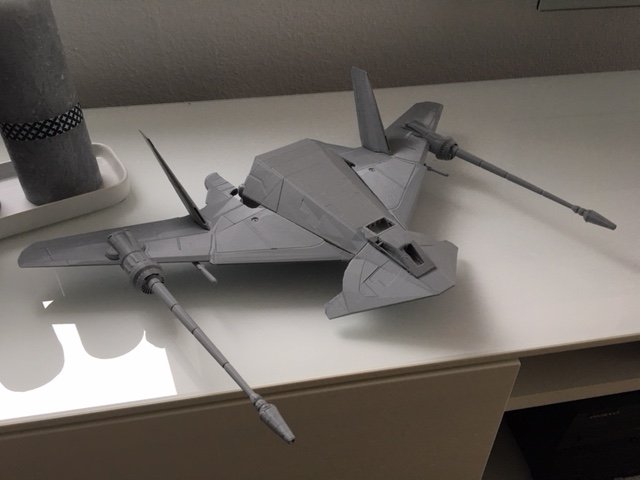
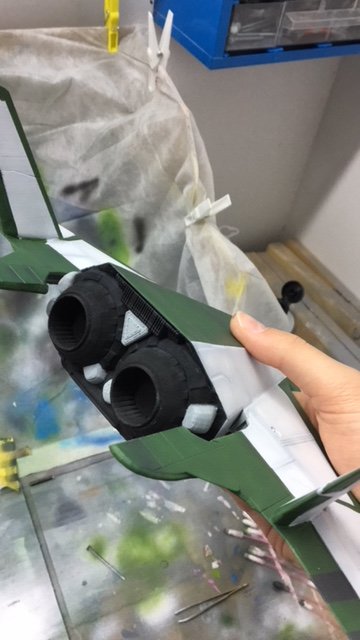
4) Scaling and printing: All parts should then be printed individually. If everything goes well, you get great prints, if you make mistakes you have to improvise. I had a lot of trouble with the engine. (dremel)
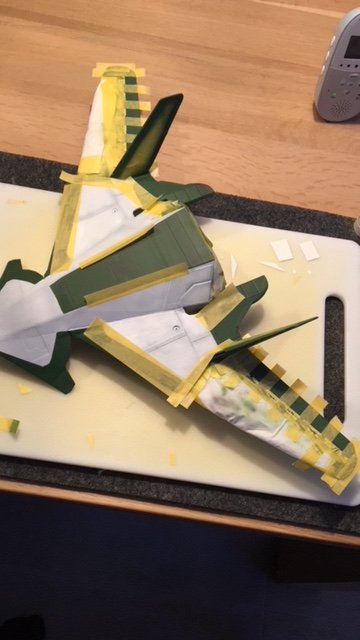
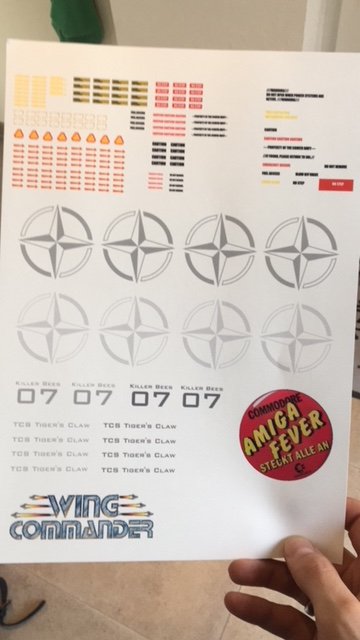
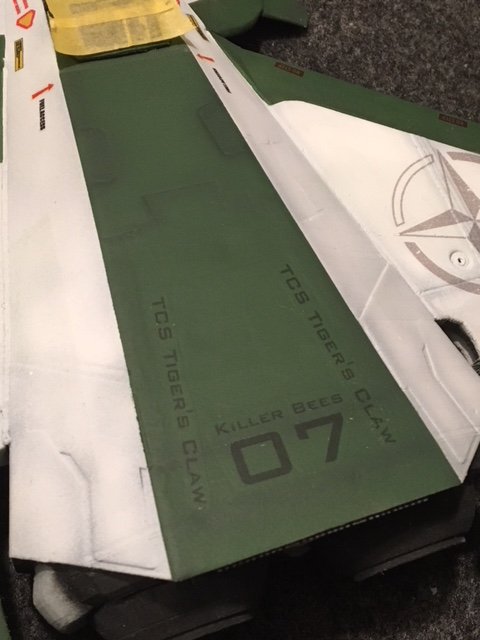
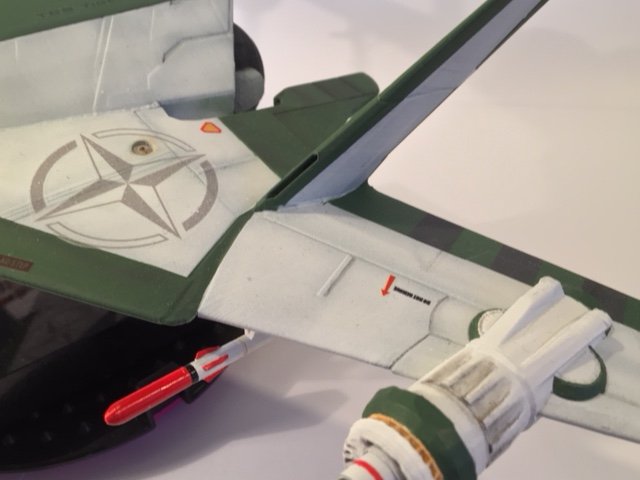
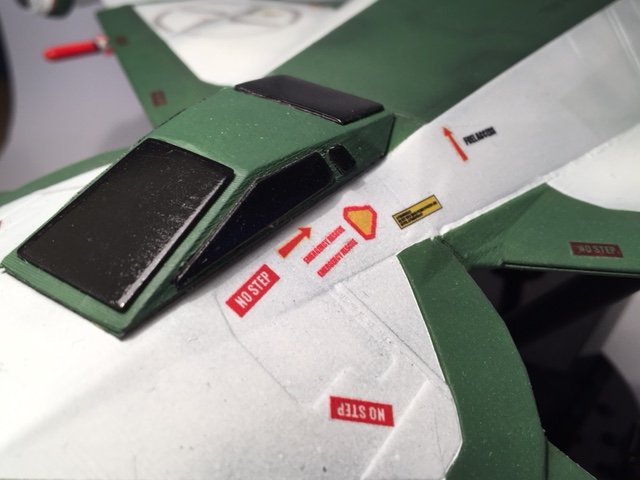
5) Afterwards everything is a walk in the park. Gluing, sanding, priming, sanding, sanding. Then airbrush (preshading), clear varnish, decaling, matt varnish.
I have experimented on this model for a long time with all kinds of programs. Basically, however, it is the listed steps that have always appeared in similar models.
It'll be a pleasure to help you guys if I can!


Follow or Contact Us