F-103 Excalibur Model

Oooohhhhh, that workspace... Man, you have a fantastic setup. Most of my models were built on my parents' dining room table :)

Also, I have friend who's a huge 40k fan and has a few miniatures he's busy painting. Will definitely send him the link, he'll enjoy your work tremendously.
Haha yeah when I was a kid I would build models on the dinning room table. Took exactly one bottle of spilled enamel stripper on the table to make my having a dedicated space for model work a nessecity.
 
Haha yeah when I was a kid I would build models on the dinning room table. Took exactly one bottle of spilled enamel stripper on the table to make my having a dedicated space for model work a nessecity.

Ugh, I hated working with enamels. They take ages to dry and stink to high heaven, not to mention the mess you have to clean up afterwards. I now use water-based paints exclusively.
 
Ugh, I hated working with enamels. They take ages to dry and stink to high heaven, not to mention the mess you have to clean up afterwards. I now use water-based paints exclusively.
Hmm back then there wasn't much in the way of a model store anywhere within 3 hours of where I lived so I was limited to Walmart for my supplies. Now a days I use almost exclusively acrylic as well, but I've started experimenting with enamels for certain effects.
 
Ahh... I didn't realize that.

How's the model coming along lately? :)

on pause for the moment just because some crap has hit the fan at work so right now I get home and the last thing I want to do is apply brain power to... well to anything. So yeah. I've gotten the line-images compiled and uniformed so the various dimensions all line up. I took the files to Kinkos and got the full sized images printed out on 11x17 paper. So those are presently sitting on the shelf over my work space. I have a day off next week that I'm hopeful I'll be able to commit some time to getting measurements from the designs.
 
Okay, so I know its been... well more then a month since I last updated. I work retail, retail service at that. So we're gearing up for the ever so fun Christmas season, OH and Corporate decided that the middle of October was the perfect time to roll out a new operational model. So yeah, that's been a lot of fun.


I don't have a whole lot to show this time. Because of the nature of this project, it's going to have several phases of intense work for little immediate result. This is one of those phases. Where I get to go through the line images I created, and begin extracting measurements. And measurements. and measurements. So far I have 25 measurements and I'm only... eh.... 80% finished. With the back view. I still have the front, side, top and bottom to do. And the top and bottom are going to be the big data-dumps! For reference, understand that the entire space the rear view takes up is 87.5mm high by 182mm wide while by comparison the top view occupies a space of 170mm wide by 305mm long. And the top and bottom views have a lot more detail then the rear. Still, gotta get started somewhere right? So what do I have to show today?

Well, this:
miWdyJZ.jpg


Lots of lines and measurements, still have lots of lines and measurements to go.
 
Last edited:
My, that looks familiar...


Spent a lot of time staring at the ass-end of the Excalibur have ya Whip?


Yeah nearly finished getting the measurements from the tail end. Then I get to do the front end. And then the side. and then the top. And then the bottom. And this was the easy side of it too. Ah well, I'm the human bulldozer. Put a problem in front of me and I'm like "OH SWEET! Party time!"


EDIT: Just as a point of technical curiosity, I figured out the area of front/rear and top/bottom views and then compared that area to the number of measurements.

front/rear: 15925 square millimeters with 31 measurements.

Giving me an average of 1 measurement per 513 square millimeters.


While the top/bottom view is: 51850.

So if the average were to hold true (It won’t, I know but look, this is what I do when I get bored at work. I start working out mathematical progressions of random numbers and stuff), I would get 101-102 measurements from each of the top and bottom views.

Who wants to put in a guess to number of measurements for the views?
 
Last edited:
Don't know how many you'll end up with, but I'll tell you this much: Once you start building, odds are you'll go back and measure some more, especially when adding surface detail and fittings.

Either way, looking good so far!
 
so a so-so update today. I haven't finished taking measurements yet, and I'm still working on that front. What I do have is a partial card board mock up of the forward fuselage. This is little more a simple mock up with the basic measurements I've got already. Not complete. This is meant to be an exploration of the construction of the finished model. As one example, I've already encountered one mistake. When I figuring out the parts based on the measurements from the line drawings, I thought the triangular section that would make up the side of the cockpit section was a right triangle. Well, it's not. So the original part I made based on the measurements didn't fit in the space.

zhIXDzw.jpg
 
Last edited:
Interesting, I can see how a mockup could be useful.
Excalibur's front fuselage is tricky to get right. It's actually curved along the side profile as opposed to angular. The only way I could get the shape right was to build the nose tip out of very thick balsa slabs and then trim it down afterwards. The beauty of using wood is that you can over-engineer a bit and trim the excess later.

Depending on how you go about building you can do the same thing with styrene, but that's the trick. You have to plan your build. You can frequently work around spots you didn't plan properly, but not always. Also the mock isn't so much meant as a means of exact build, but rather a means of low-cost construction that will lead back into additional design work. As I've said I do not have design experience or training. Add to that my rather dubious knowledge of geometry... yeah. Uphill battle with a fairly substantial learning curve involved. But that's also the appeal of the project for me.

More then anything else, the mock-allows me to work with the physical design and understand how sections work with each other and see details that may not have been apparent in the line studies.
 
Last edited:
Well...... ssssssshhhhhhhhhhhhhhhhhhhhhiiiiiiiiiiiiiiiiiiiiiiiiiitttttttttt! I have to start over on the mock up. I was gluing the bottom panel of the body in place. What I didn't realize was some glue had leaked out of the body and onto my work space. So when it dried it dried to my work space. I went to pick up the body, and in the process tore it apart.

Well this is why I started with cardboard. So I could make these sorts of screw ups and not have to pay through the nose for it.

Still, this sucks.
 
Ouuuuuuch... Yes, that hurts. My sympathies. But as you said, better now than with the real thing.

Was this regular cold glue that you use on wood as well?
 
I think he means as opposed to hot glue applied from a hot glue gun.

Anyhow, I think your mockup was off to a good start! Even from the preliminary fuselage structure you had there, the shape was coming together well.
 
and guess who's back with a new update just in time for the holiday!

As I said last time, I'd had an accident while working on the Excalibur card board mock up which resulted in a destroyed model. It was a bit of a bitter-sweet kind of screw up since on the one hand, I had to start over on the mock up. But on the other hand I specifically chose to work in cardboard for this part of the project specifically so that if I had a screw up, it wasn't going to cost me $20 in materials. So... I guess it is like planning for a problem and having the problem occur. Yeah you're prepared and ready for it, but you still had a problem. So.. yeah.

Anyway I have been working on rebuilding the mock up and been making good progress. Having built it once already I can zip through a lot of it while also correcting some mistakes I made the first time around.
zdoJyhB.jpg


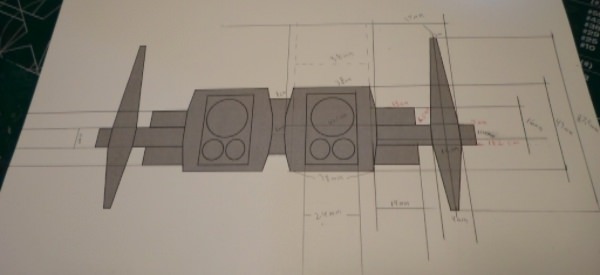
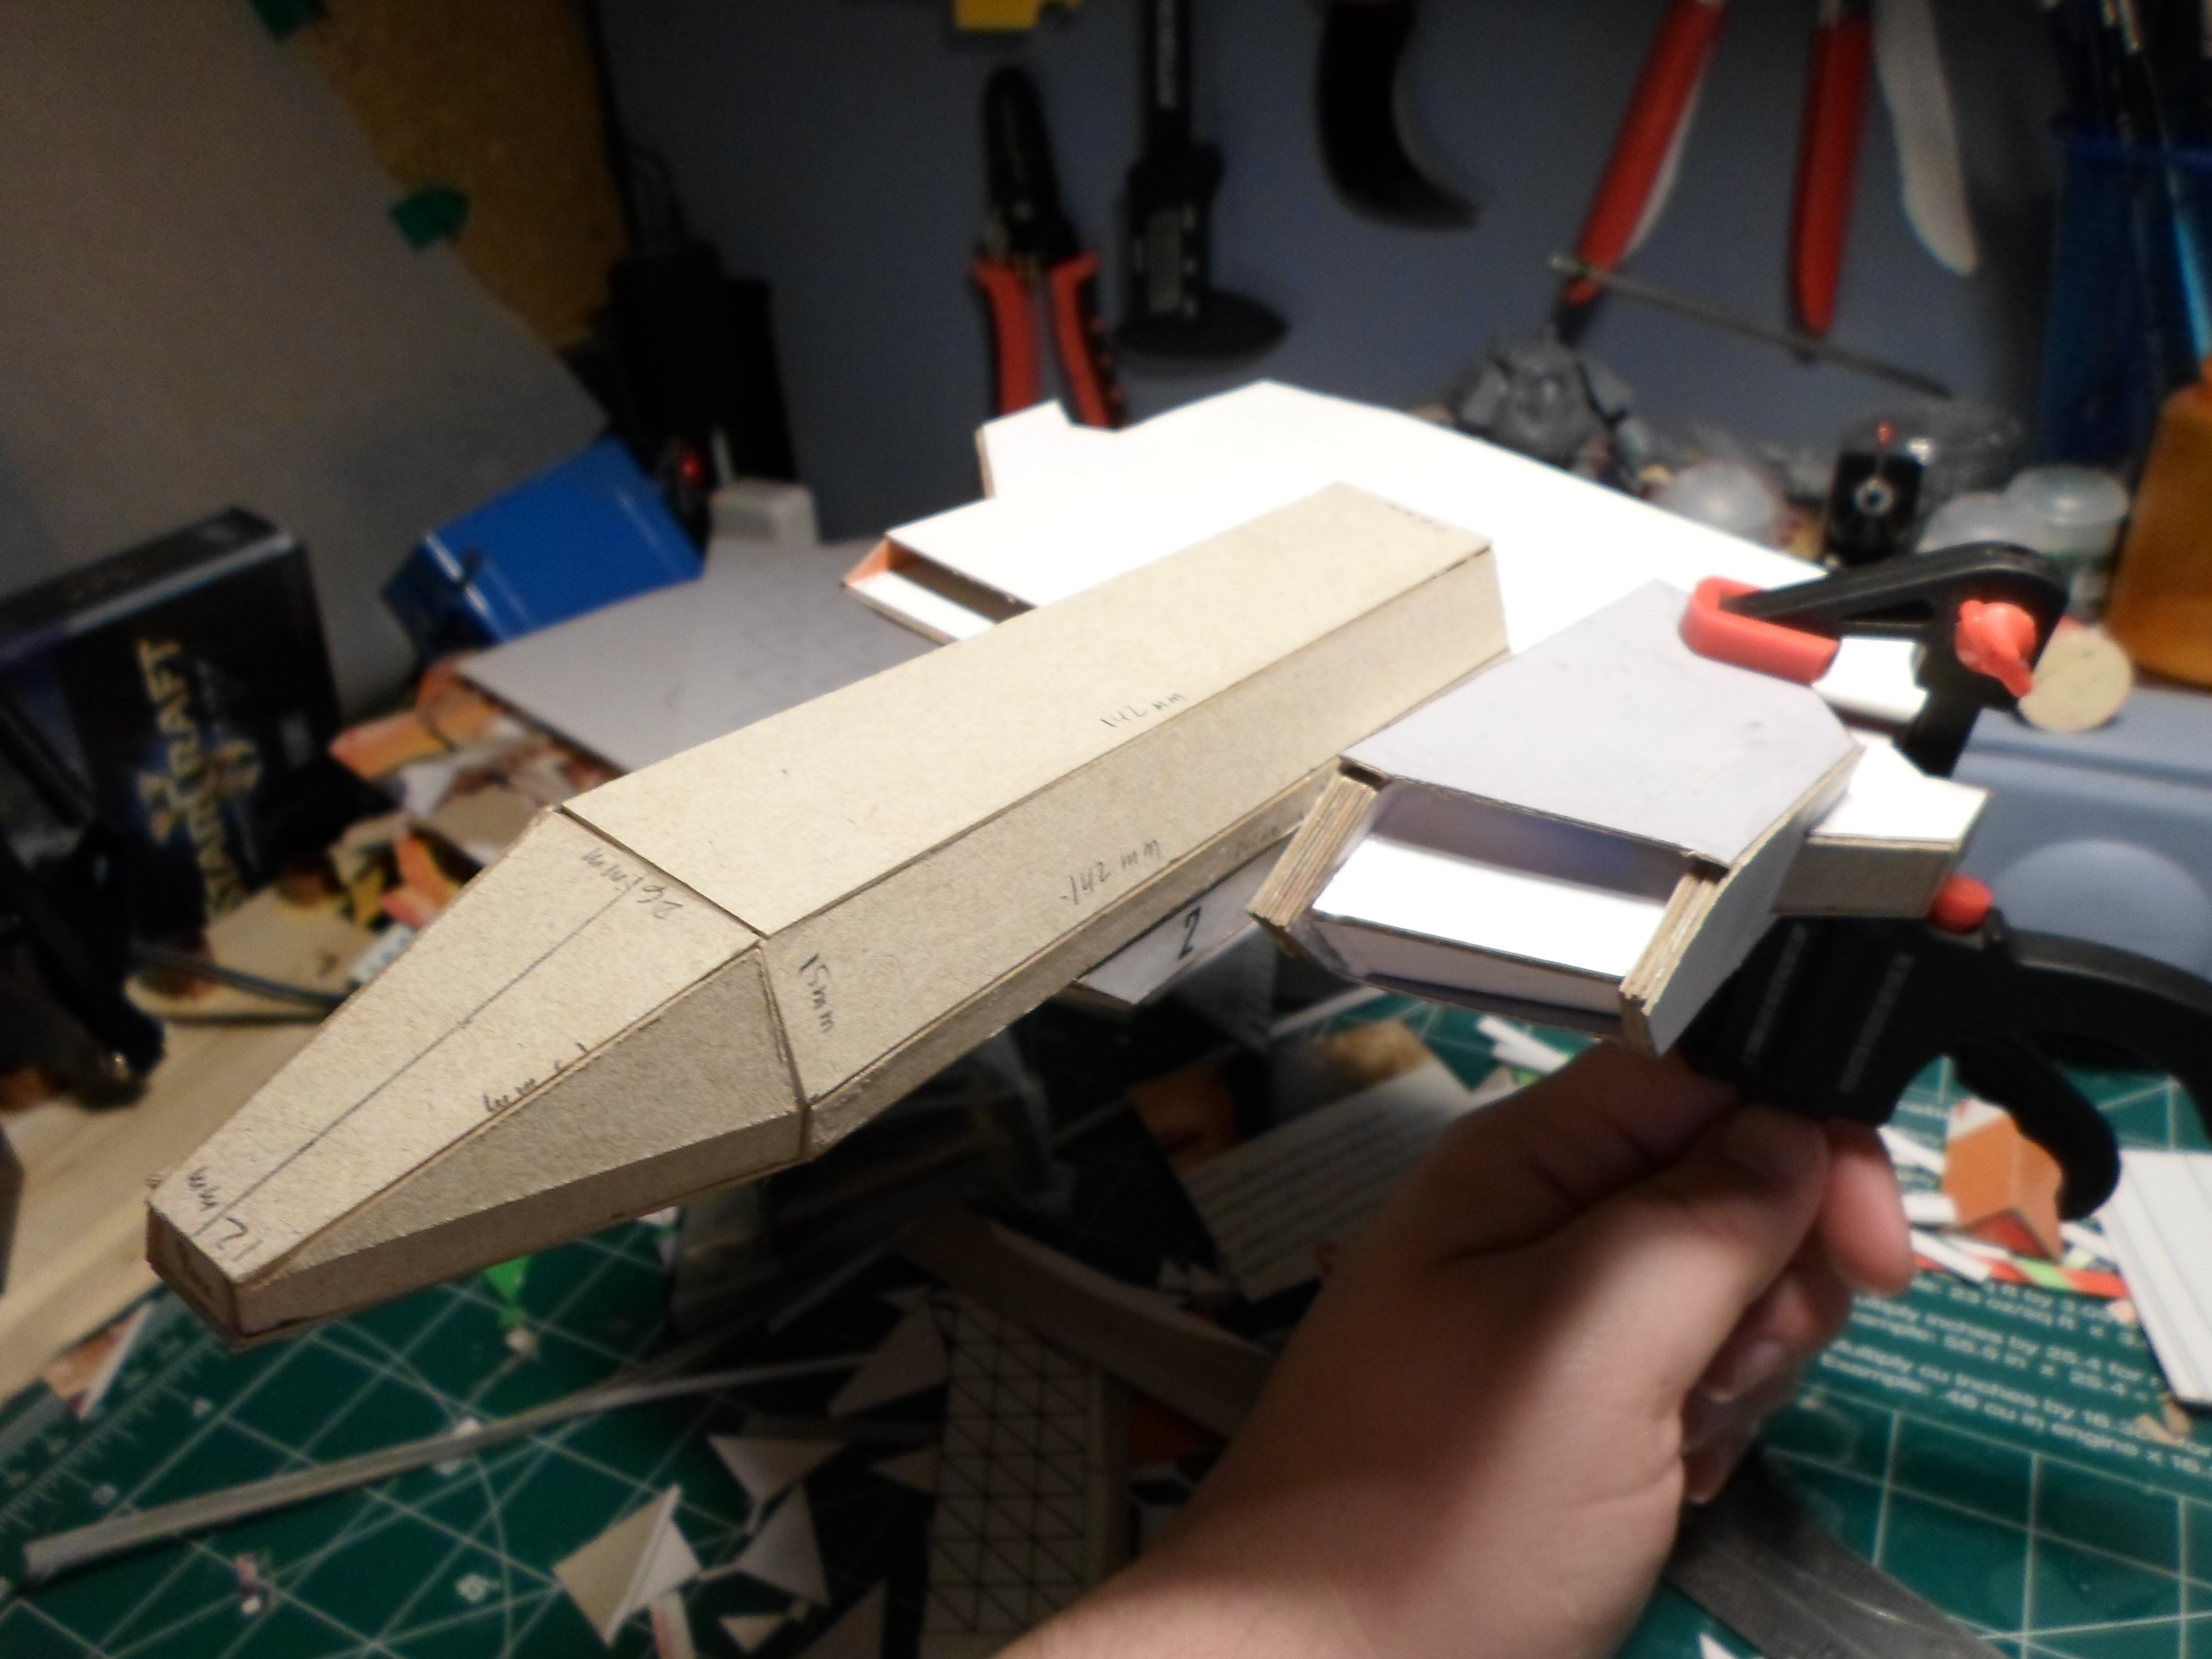
Here you can see I'm built the mark 2 model up to the level of the previous version at the time it was destroyed. The main body is actually stronger then the first version and has cleaner joins between the various parts.

So that's it? I got back to where I was last week and now I'm done with this post?

Yeah, not so much. I have started working on the next sections. Firstly there's the cannon mounting under-carriage, the part that holds the reaper cannons in Wing Commander 3.
bKJ7VfO.jpg


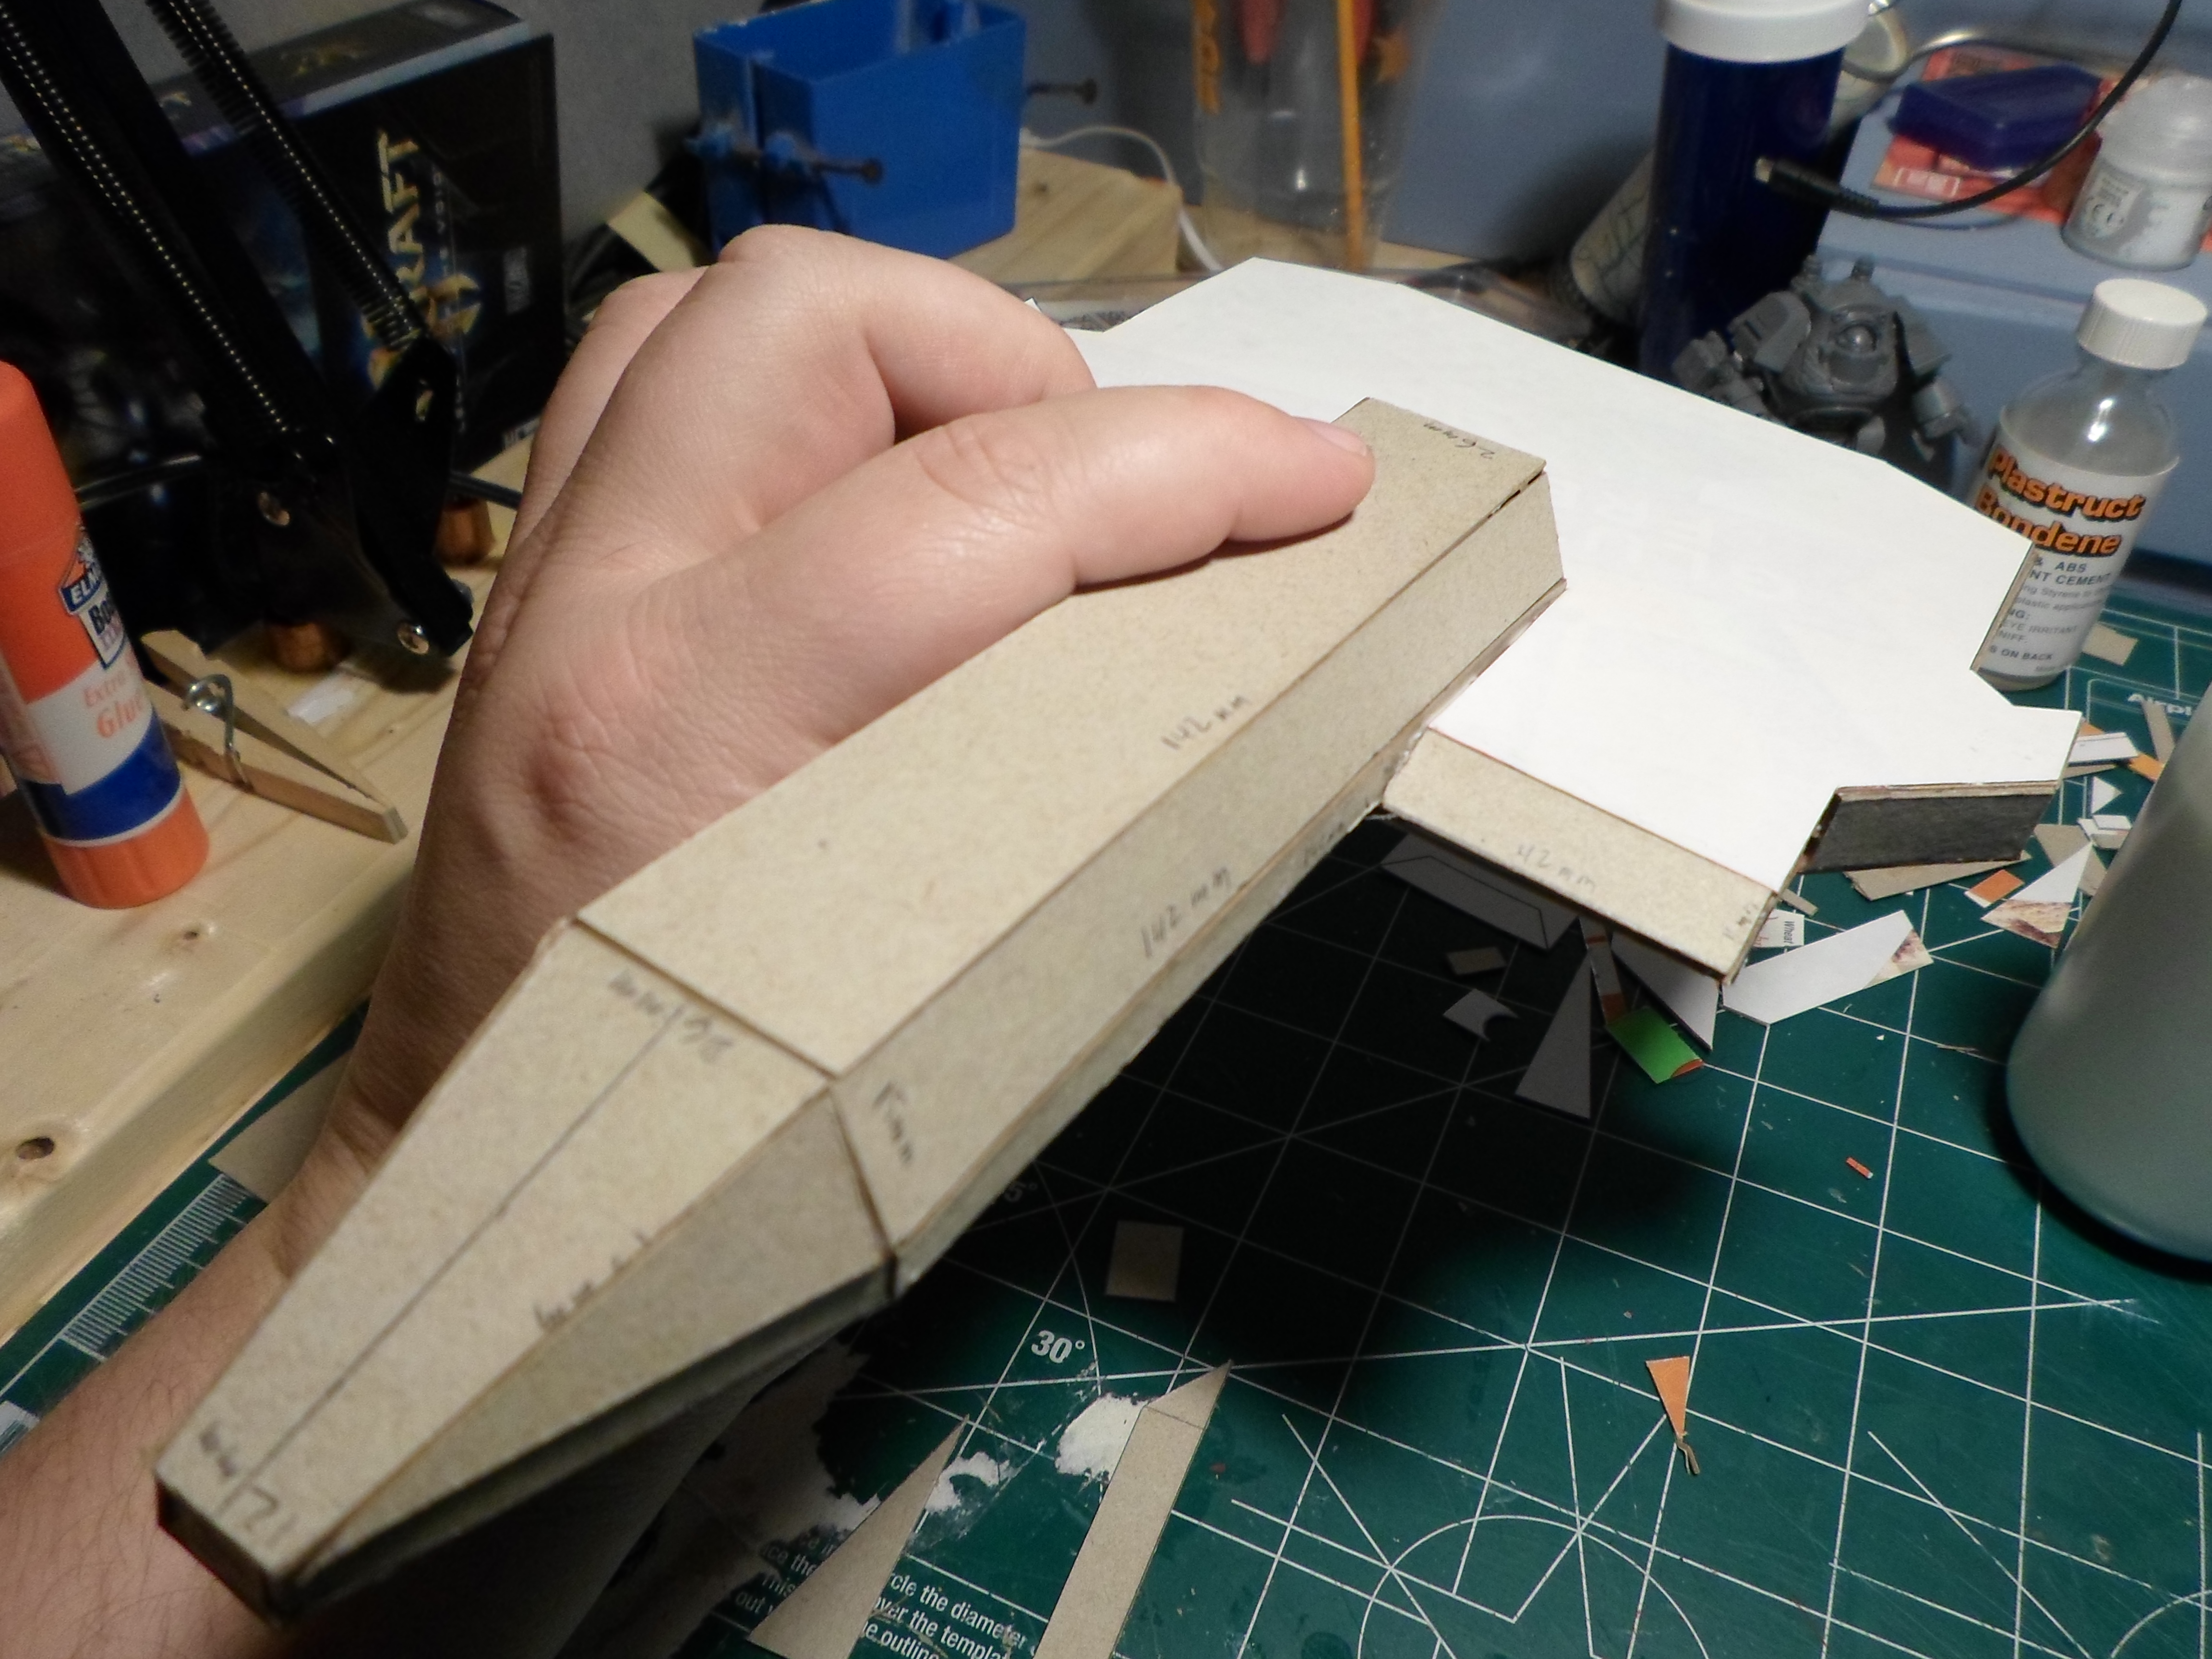
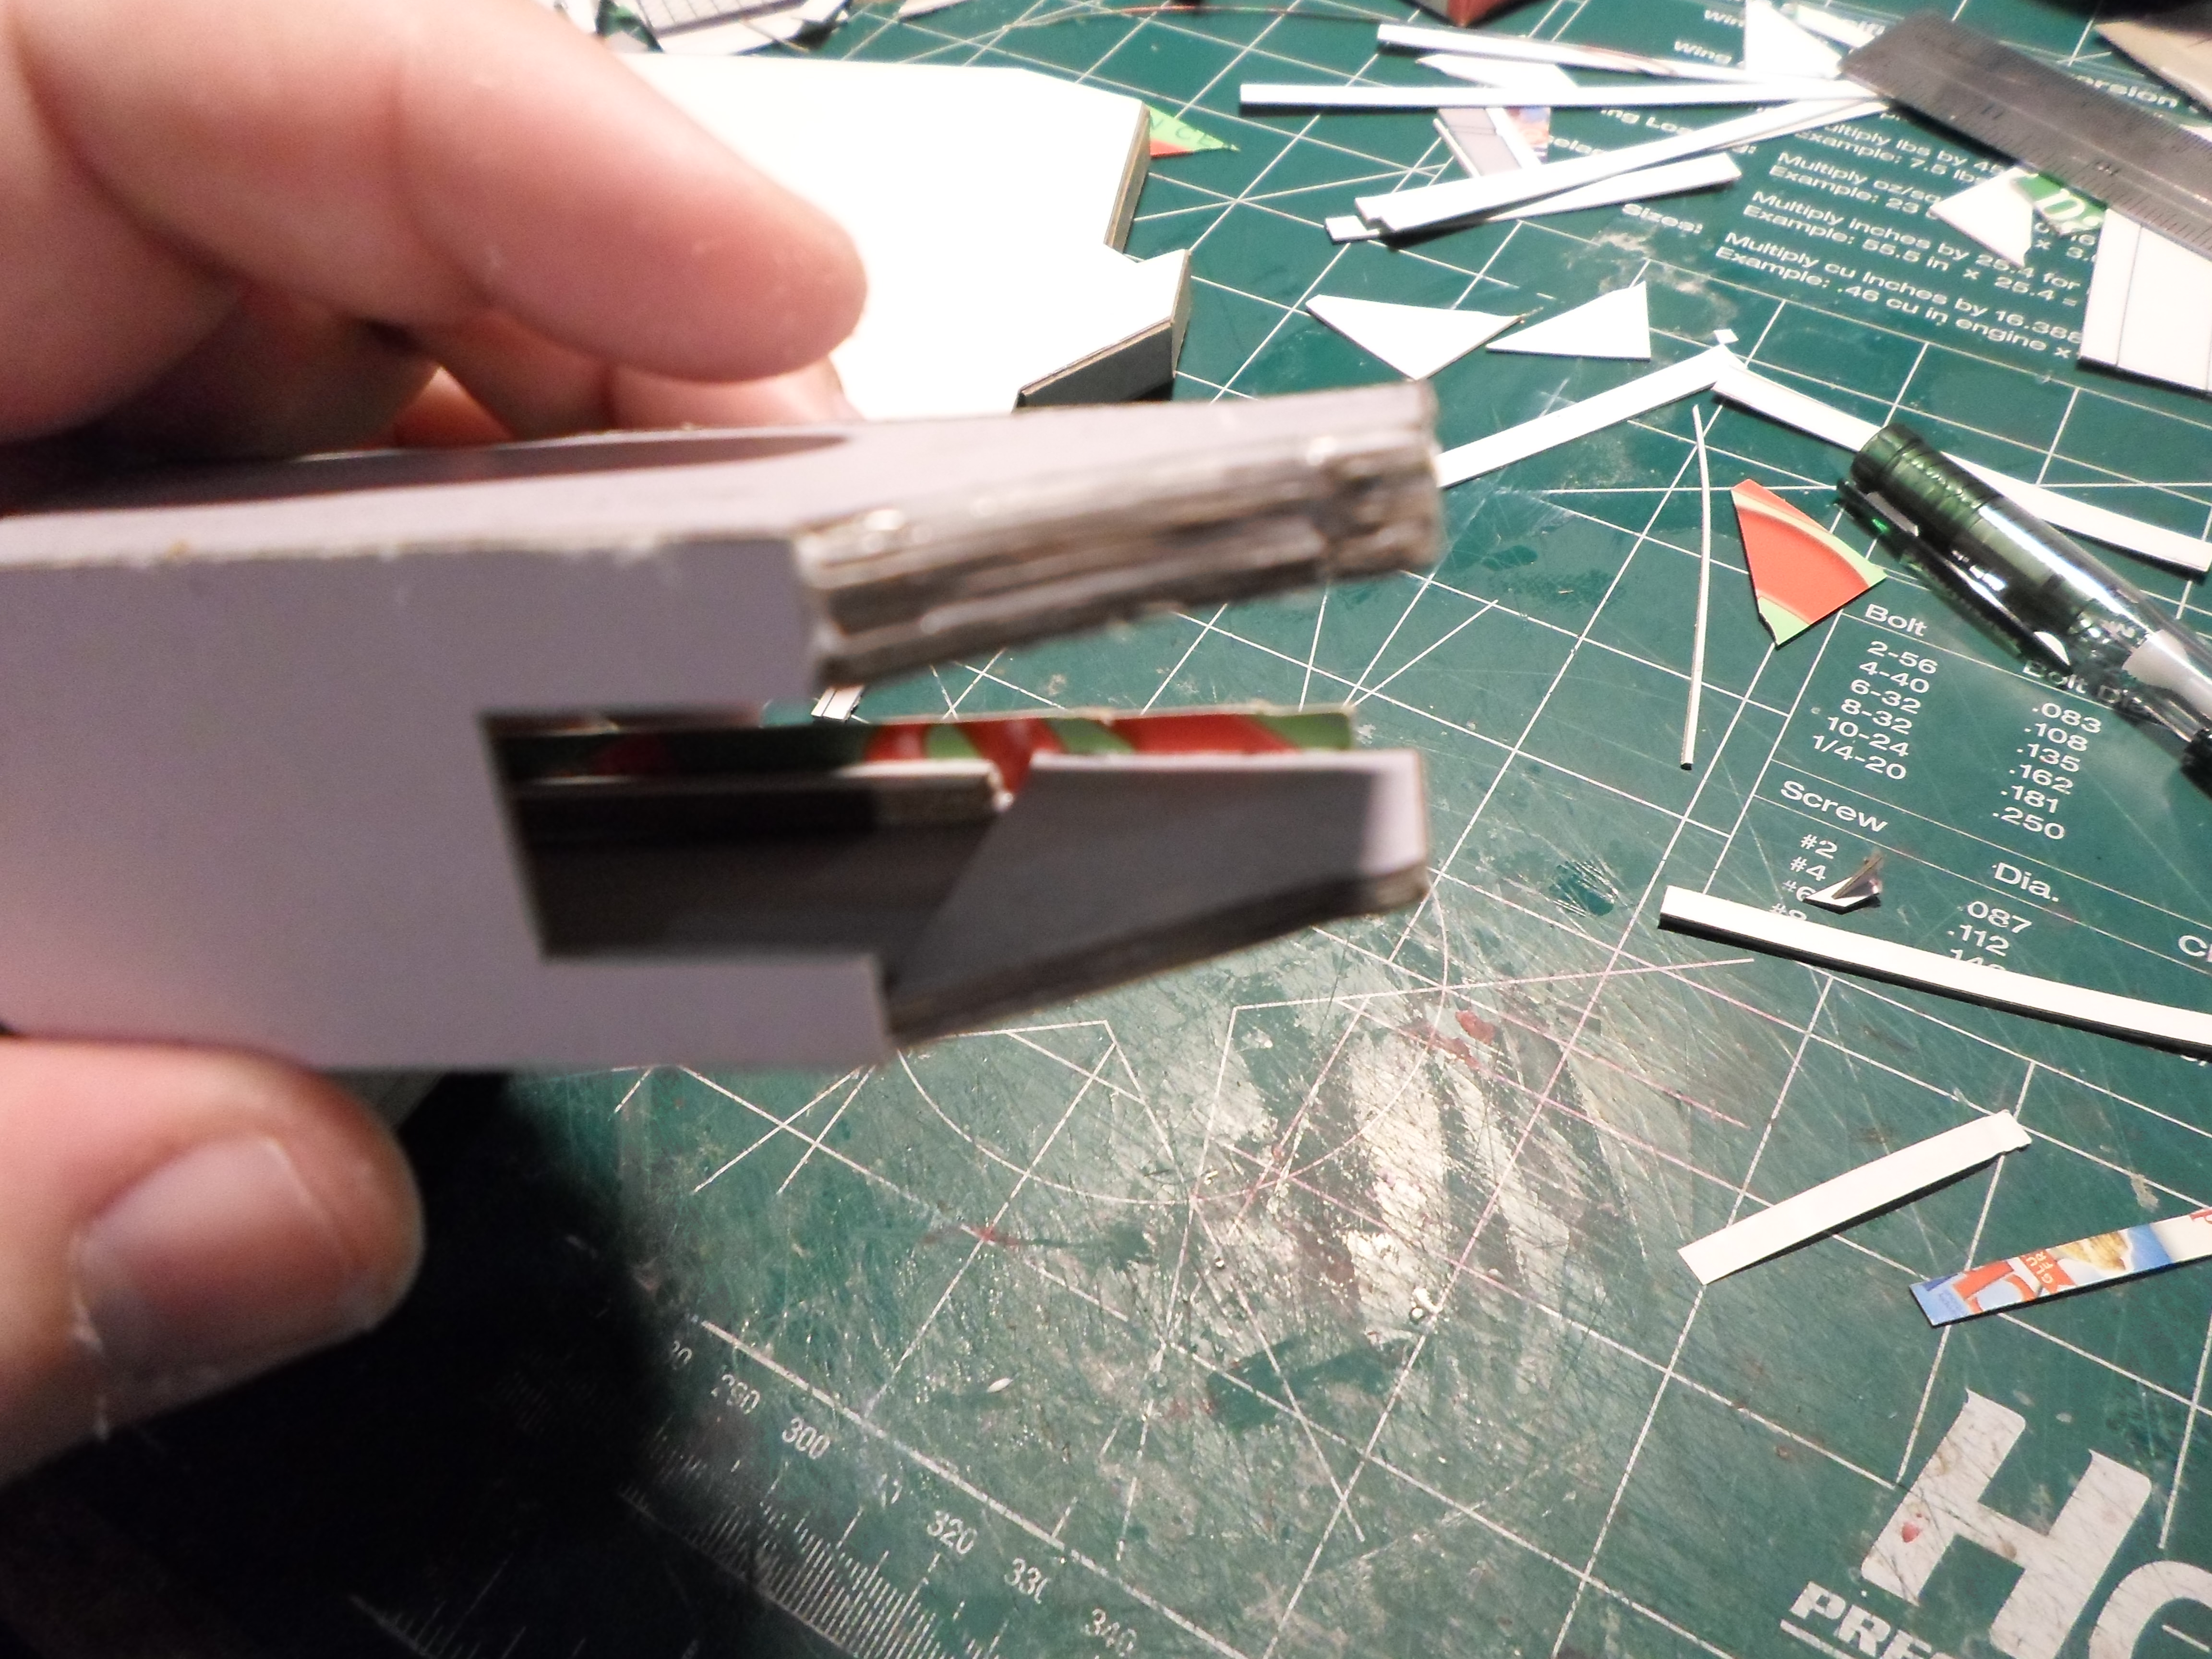
You ever start to work on something and think it'll be super-easy and you can just zip right through it, but once you start working on it, you find out it's actually way more difficult then you thought it'd be? Well, that was this part in a nutshell. Cut 2 side parts so they line up with the under side of the body and the forward boom, what's so hard about that? Simple, I have no formal 3D design experience or training. So because of that I had to re-cut the sides a couple times after I found I had not measured properly.
A35zFRl.jpg


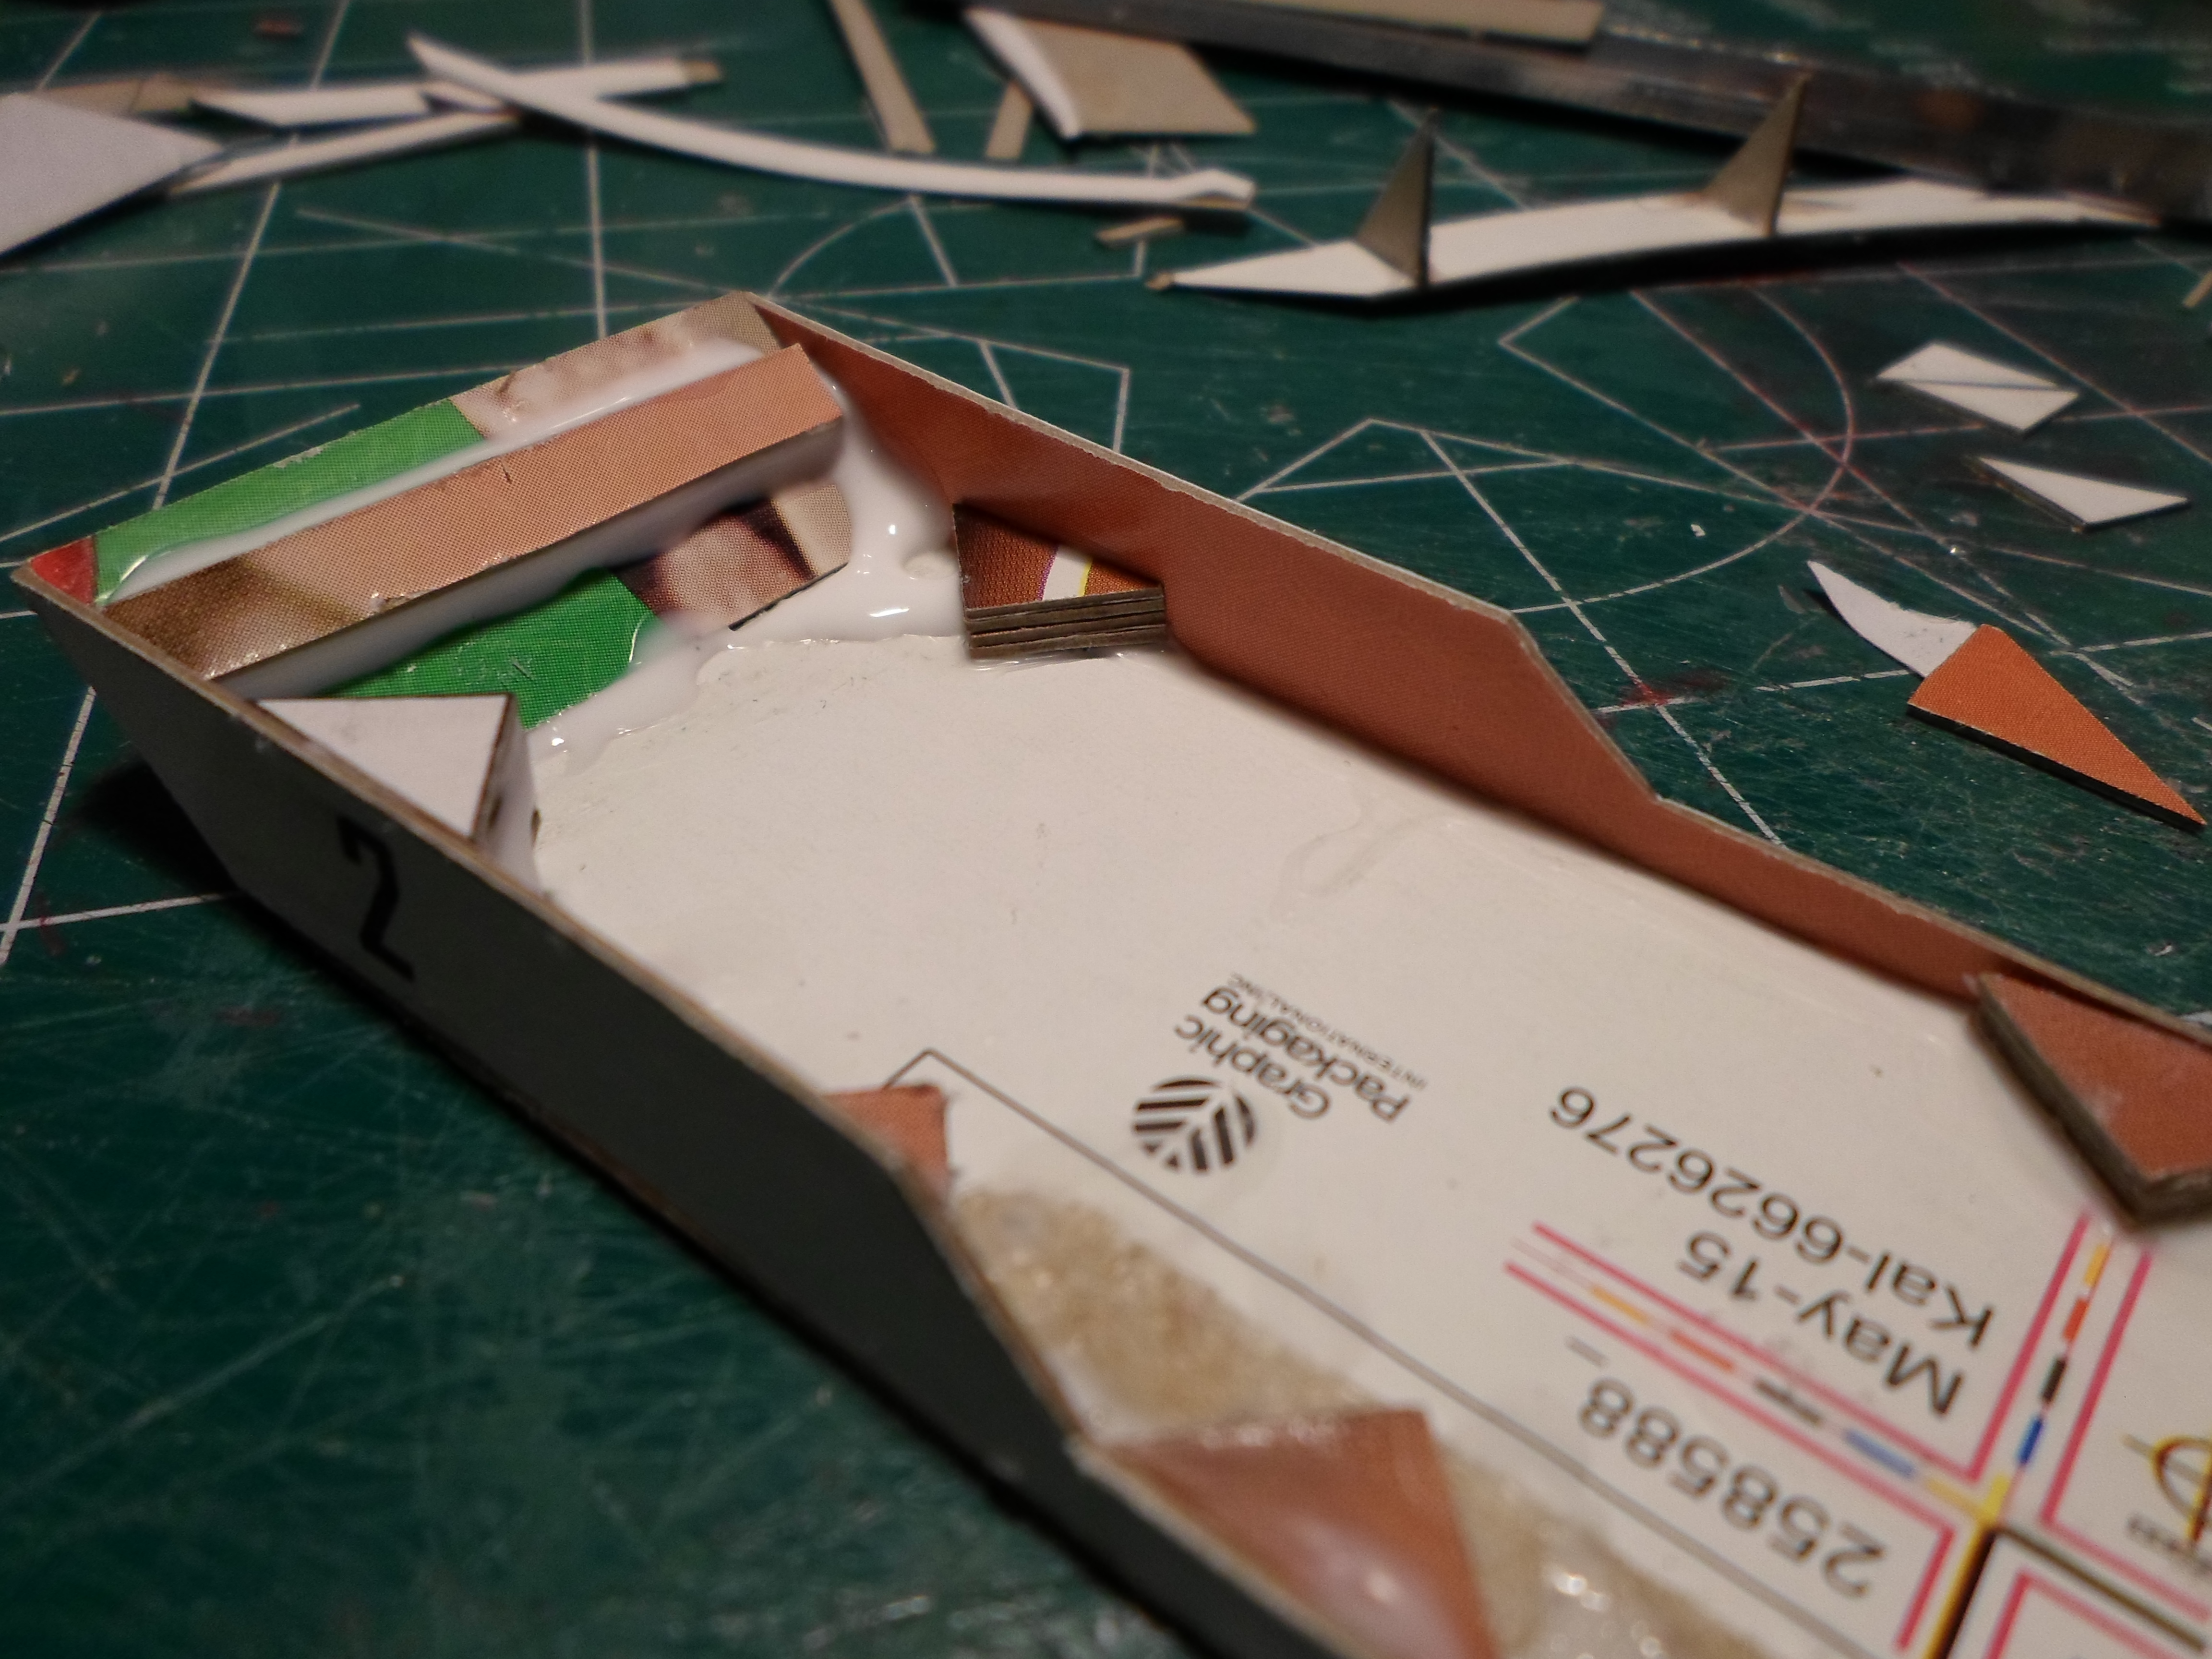
For detail and variation I took a pencil and darkened the inner spaces of the under carriage where the reaper cannons would be placed.

And then, there is the power-plants... er missile bays.... er... whatever the boxy shapes on the sides of the main body are. This proved to be more challenging then it first appears.

The initial shape was easy enough to accomplish, measure and cut the upper and lower sections as they appears in the line art. I had to do some interpretation to make the side and inner-section. There's little enough I can say about the sides that would really help any aspiring crafters. I had to estimate my measurements, cut a piece and test it. Find out I was wrong, and try to correct it with a new version.
MhGnvAX.jpg


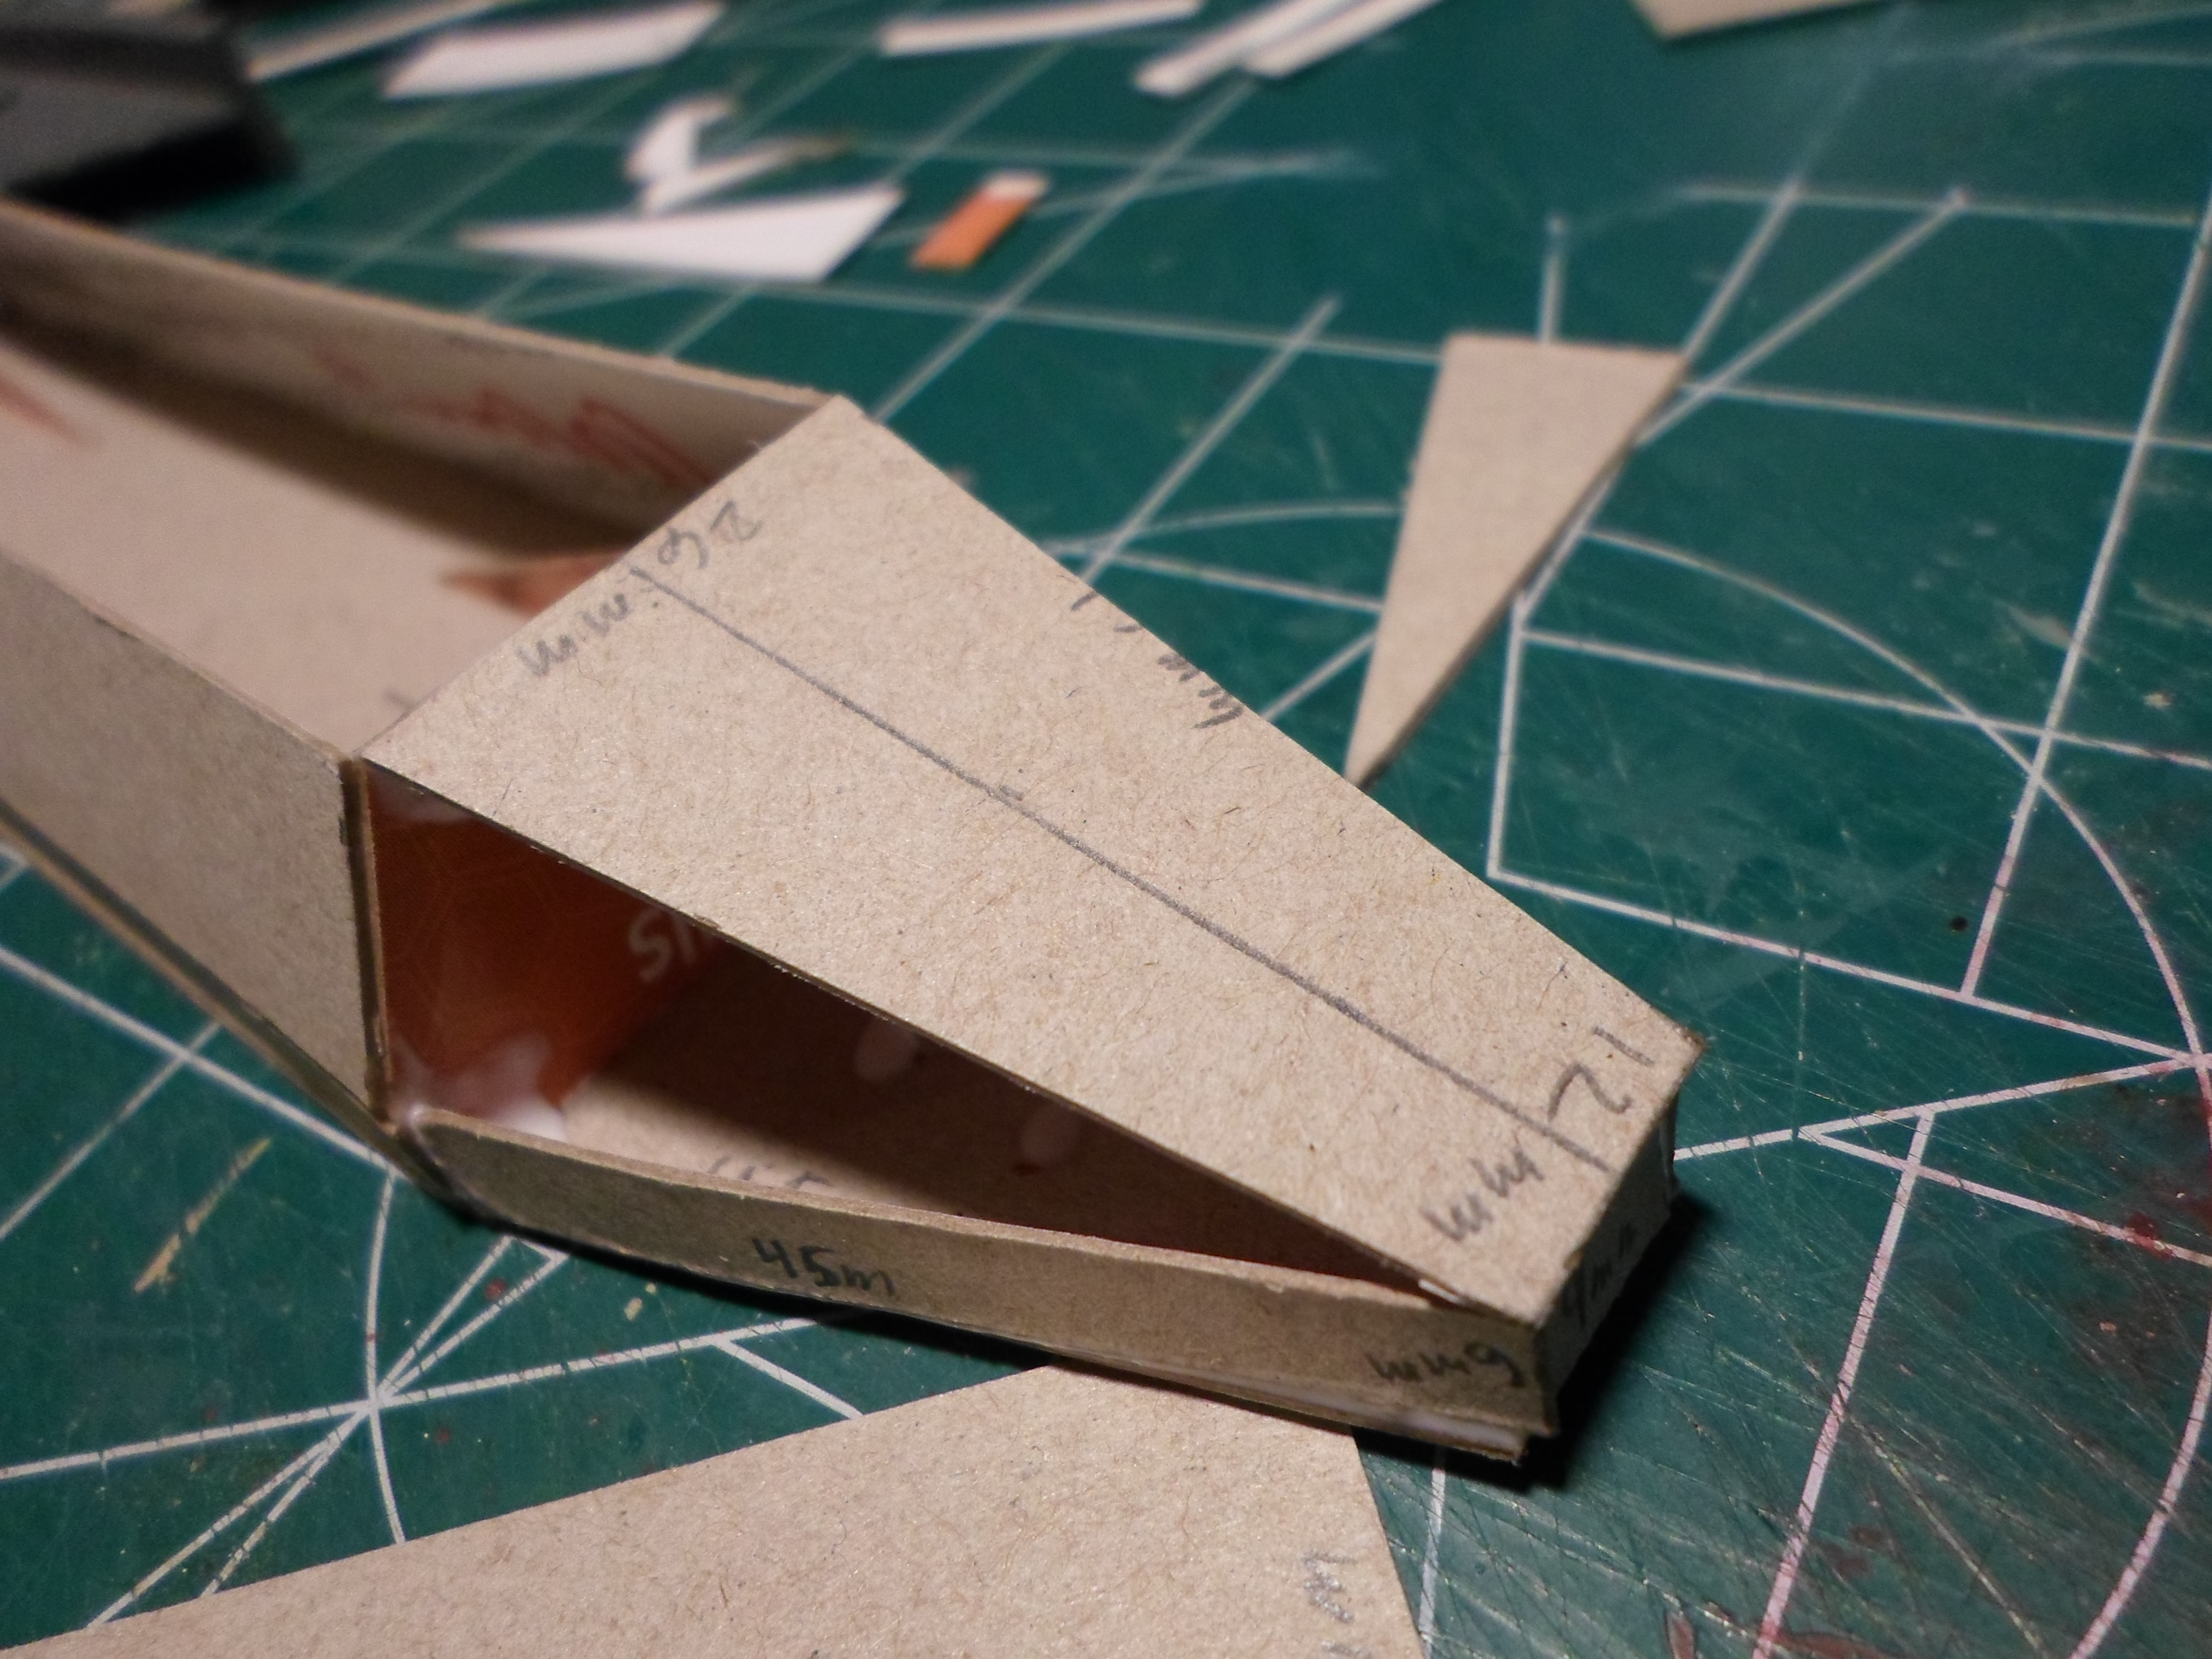
No the real challenge was the scoop intake covers. See, it's an angle that extends in 2 dimensions, backwards relative to the body, and outward relative of the body. It's something that isn't immediately apparent from the 2D line art. So I had to cut and fit the ram scoop cover about 6 times before I got a sizing that fits.
jHBKr0a.jpg
 
Last edited:
Excellent! Good to see some progress. The intake (that's what I've always assumed it to be) looks spot on to me. I like the mock-up idea; it could be very useful as a guide for the final model.

Keep up the good work!
 
Back
Top