The Hellcat V refit project

Whiplash

Rear Admiral
Howdy all!

First off, if you haven't seen my models, go have a quick look here:

https://www.wcnews.com/chatzone/threads/have-you-seen-this-guys-work.24163/

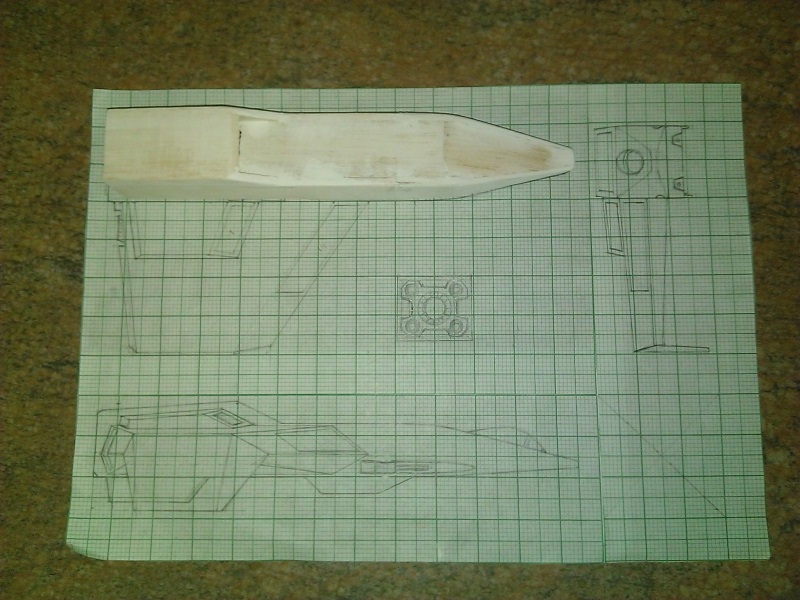
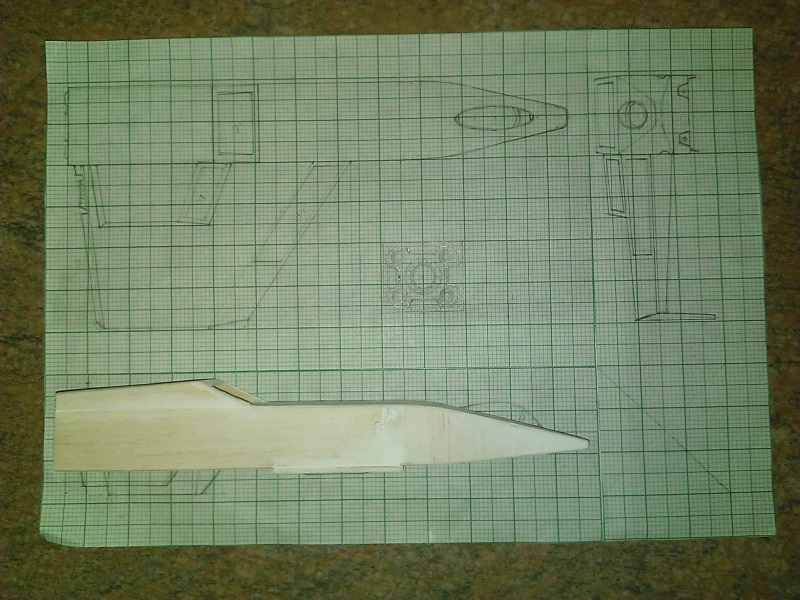
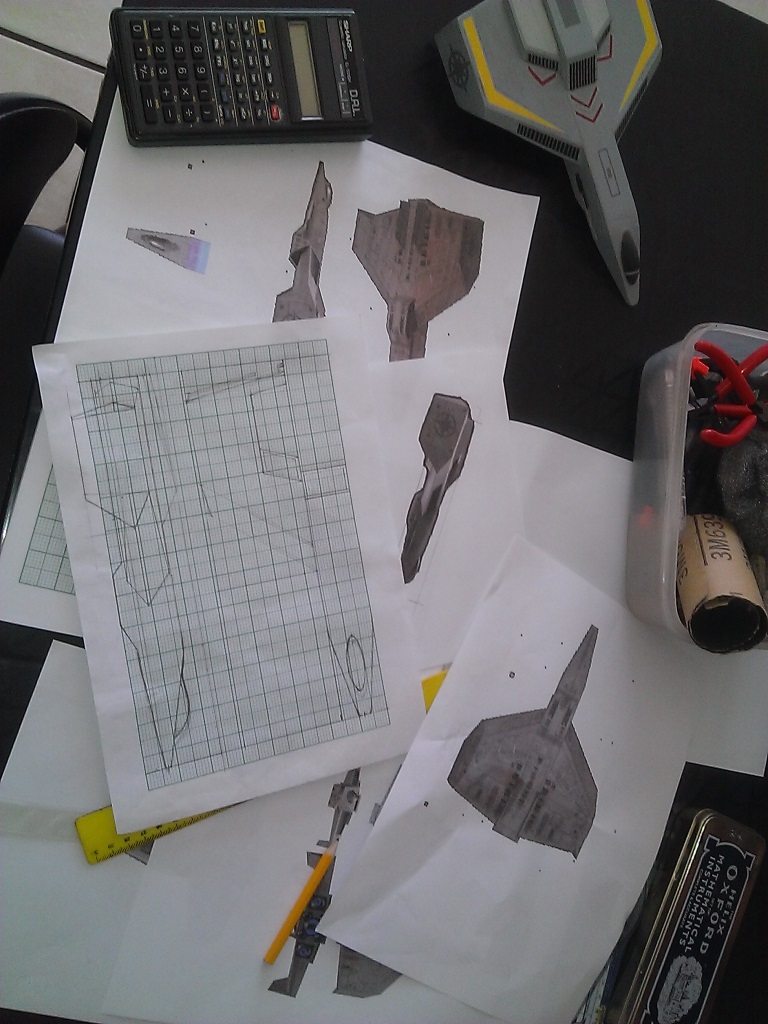
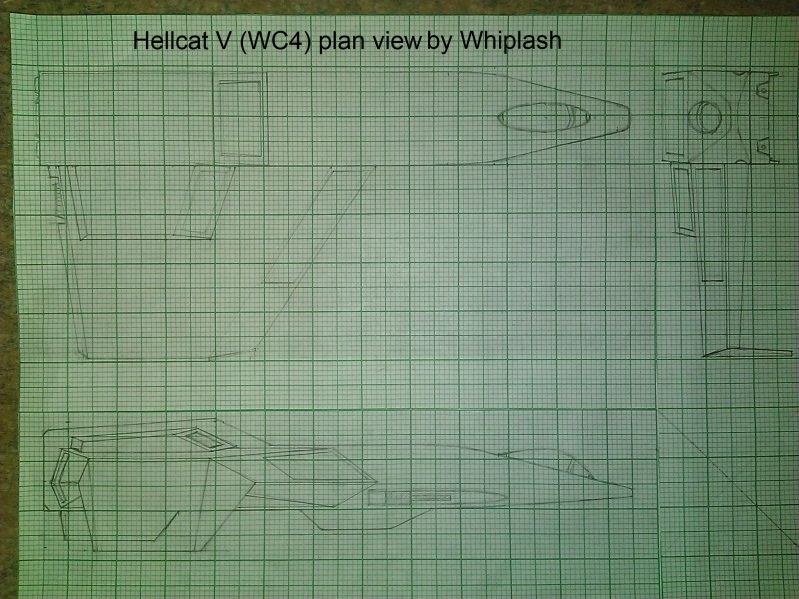
So, it's time to get cracking on my renovation project. Hellcat V gets the first nod, partly because it's a personal favourite of mine, and partly because there is quite a bit of source material available. I'm always on the lookout for more though, so if you have any decent pics lying around, feel free to share them.

With age comes wisdom, or so they say, and in my case that means a more critical eye when it comes to detail. :) I've identified the following main areas I'd like to focus on, and will post some updates as I go along. Comments, suggestions and helpful criticism are more than welcome.

Here we go then.

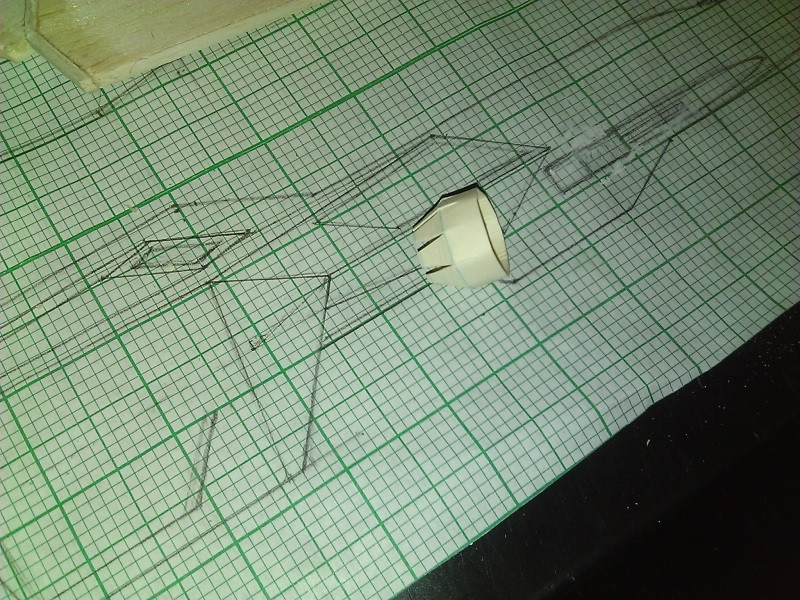
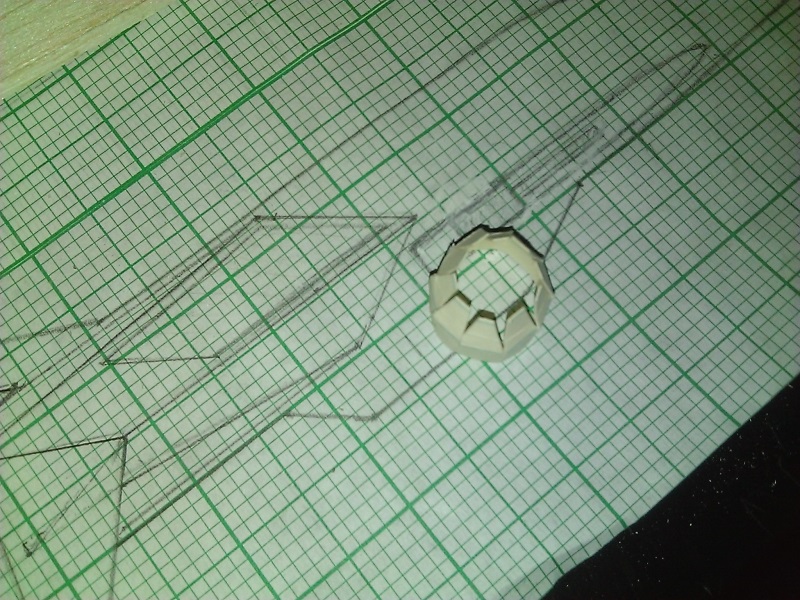
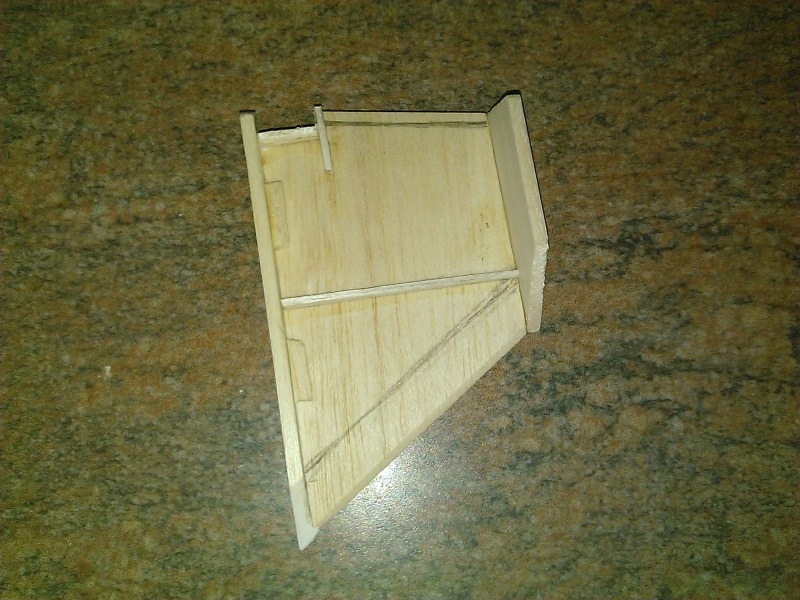
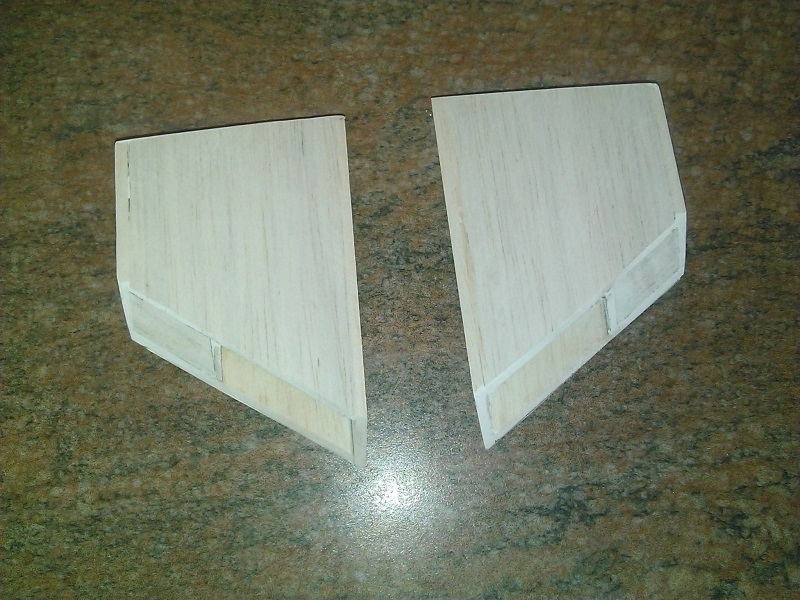
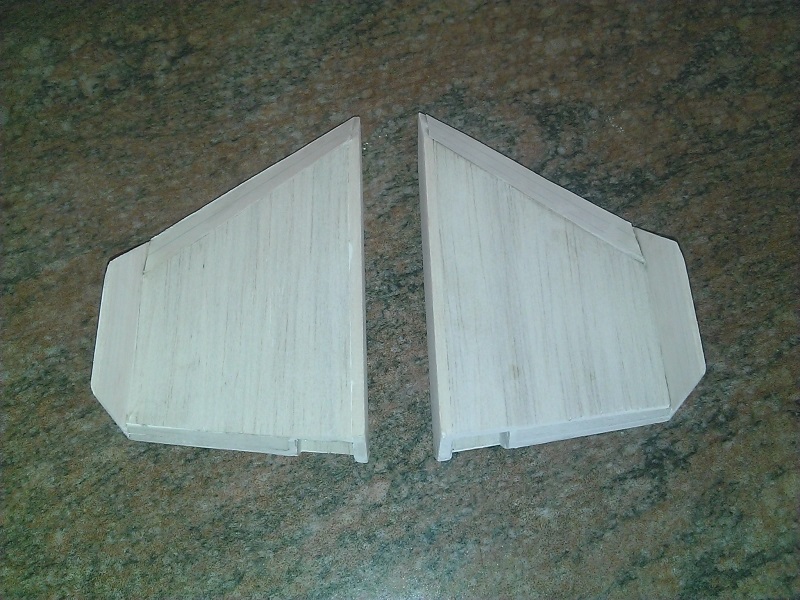
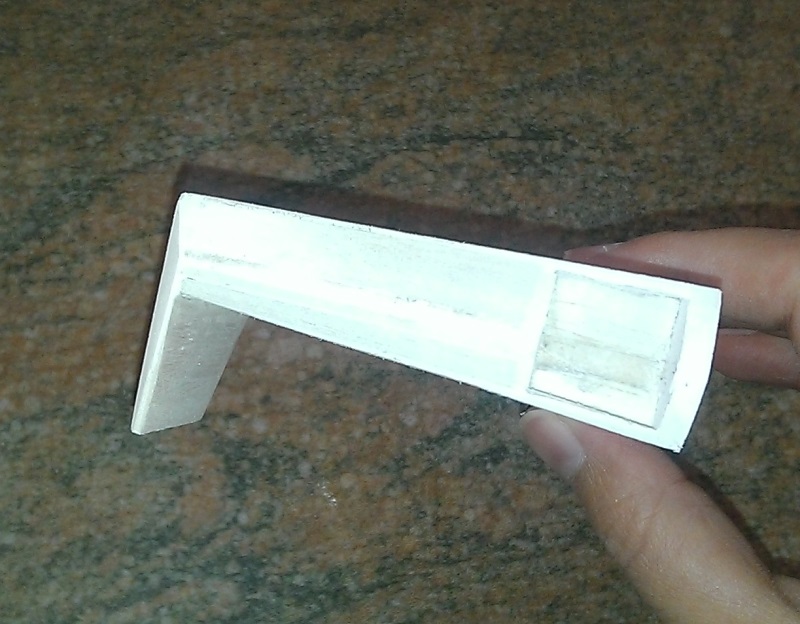
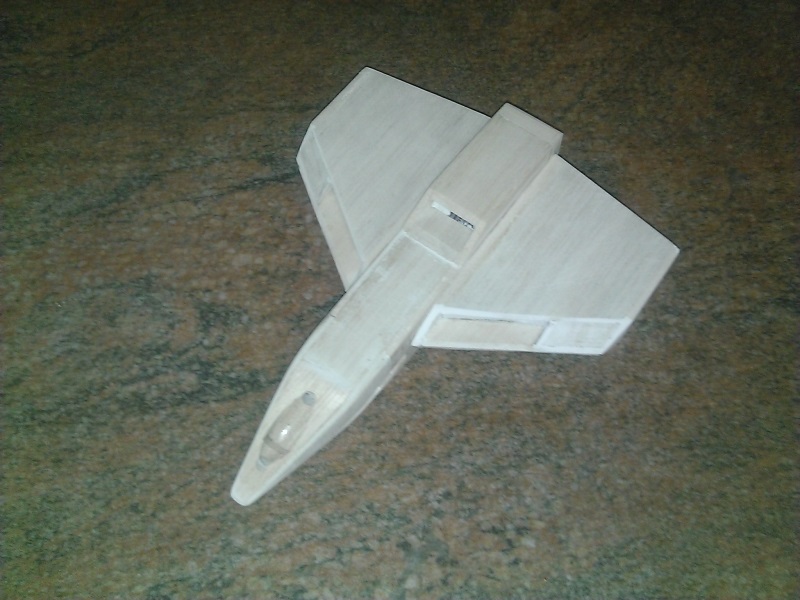
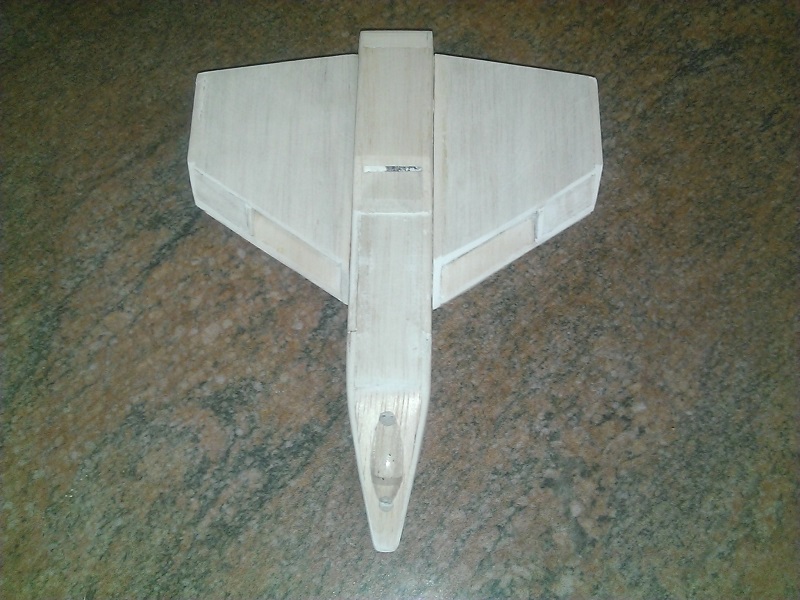
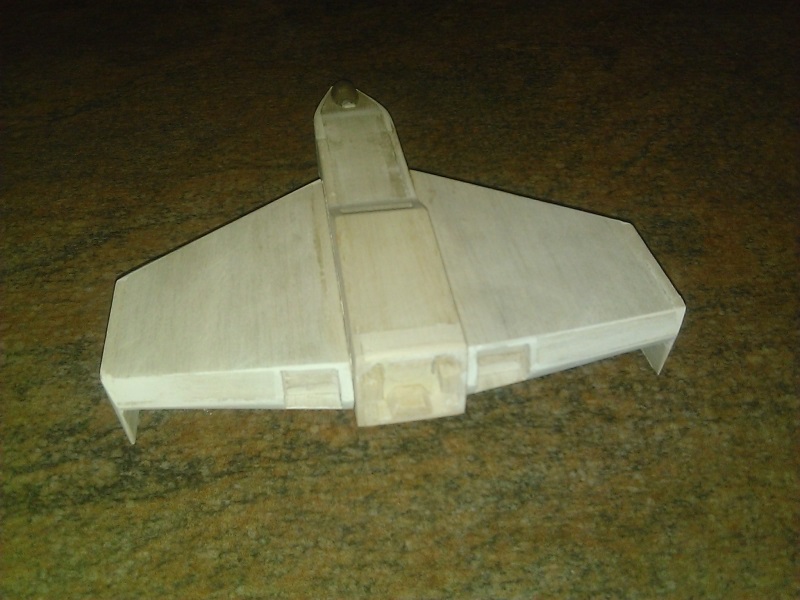
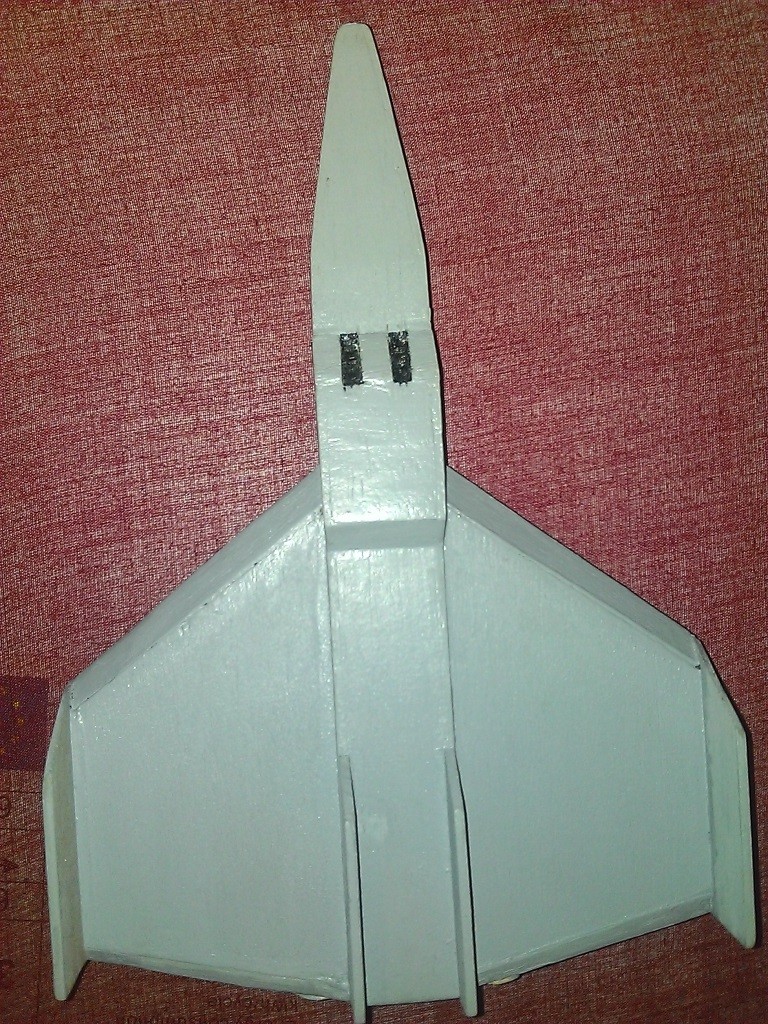
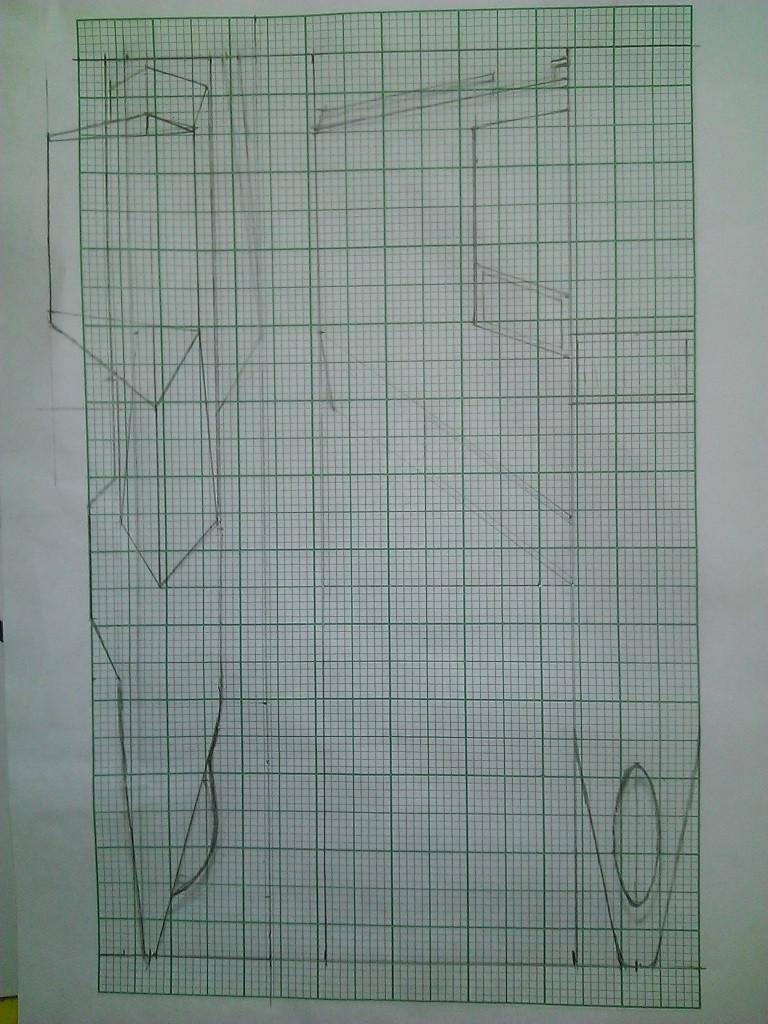
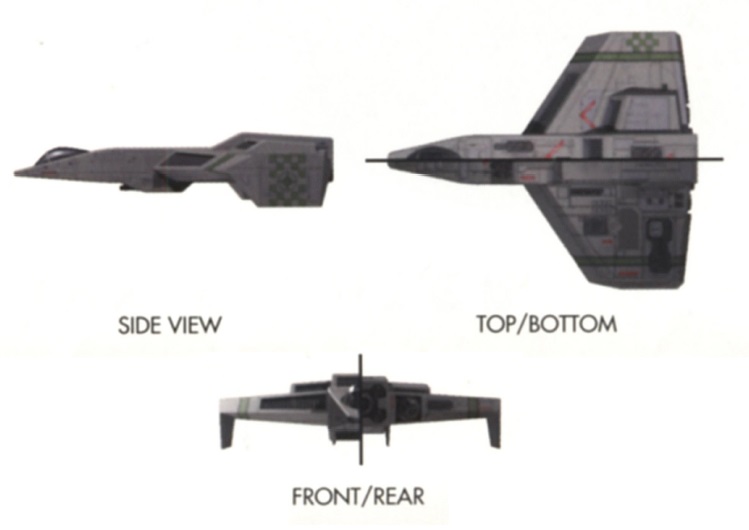
1) Check overall dimensions. I've been reviewing a lot of in-game footage and I thing some of my measurements may have been slightly off. The overall profile doesn't look too bad though.

ZFbz9pZ.jpg


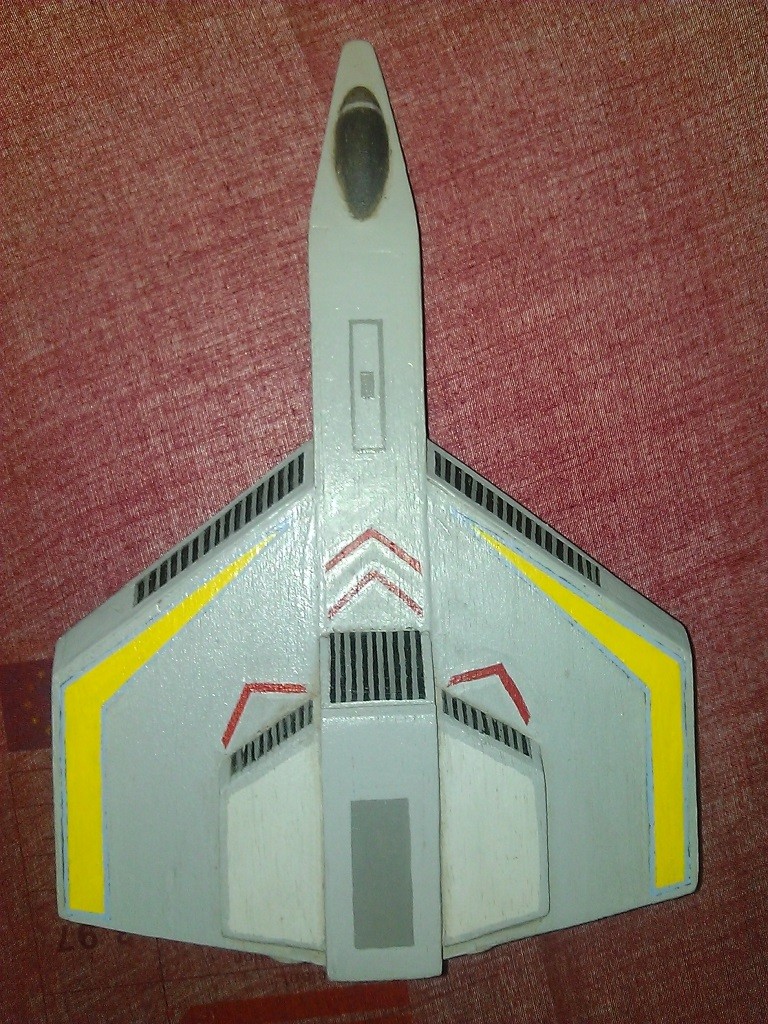
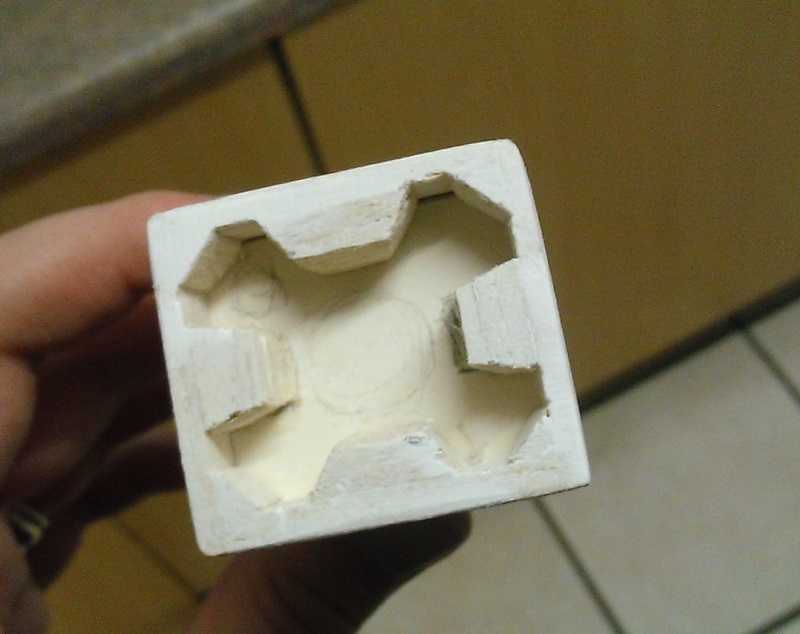
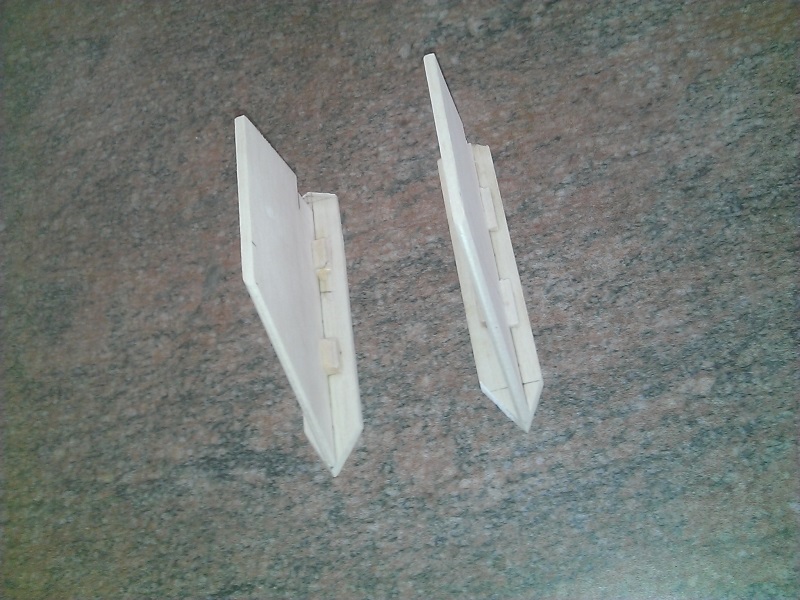
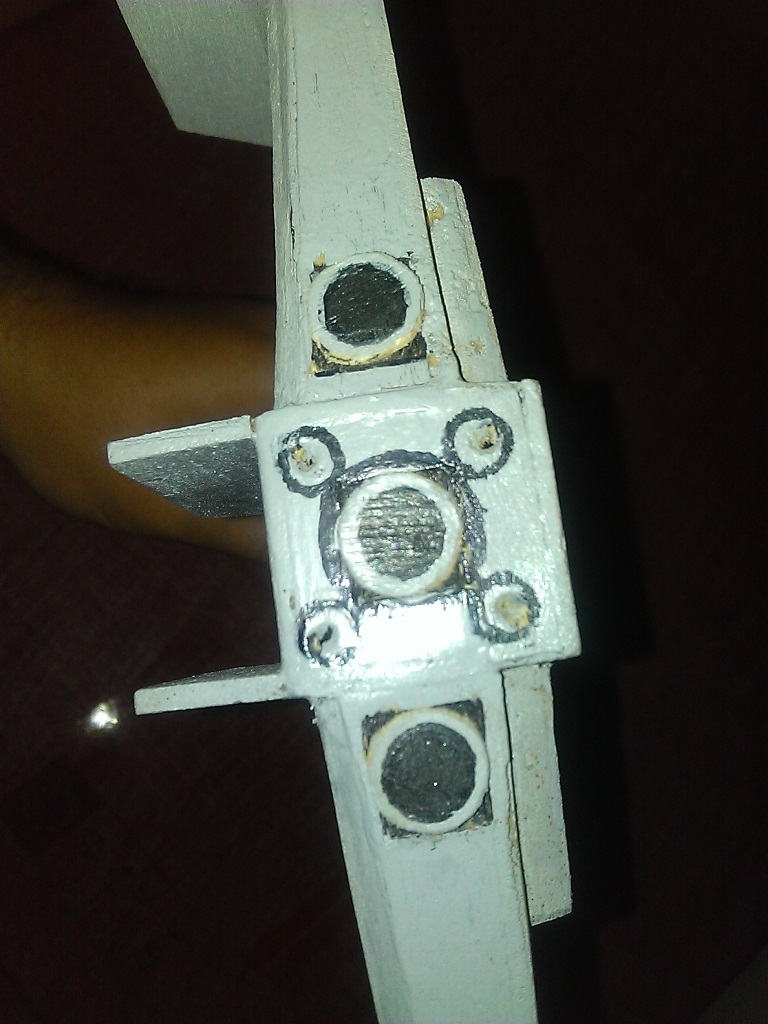
2) Rework the engine nozzles. They don't really look that good, but I was in a bit of a hurry to finish back then. I have some interesting ideas of how to build proper nozzles and clean up the tail are in general.

AsPG2iK.jpg


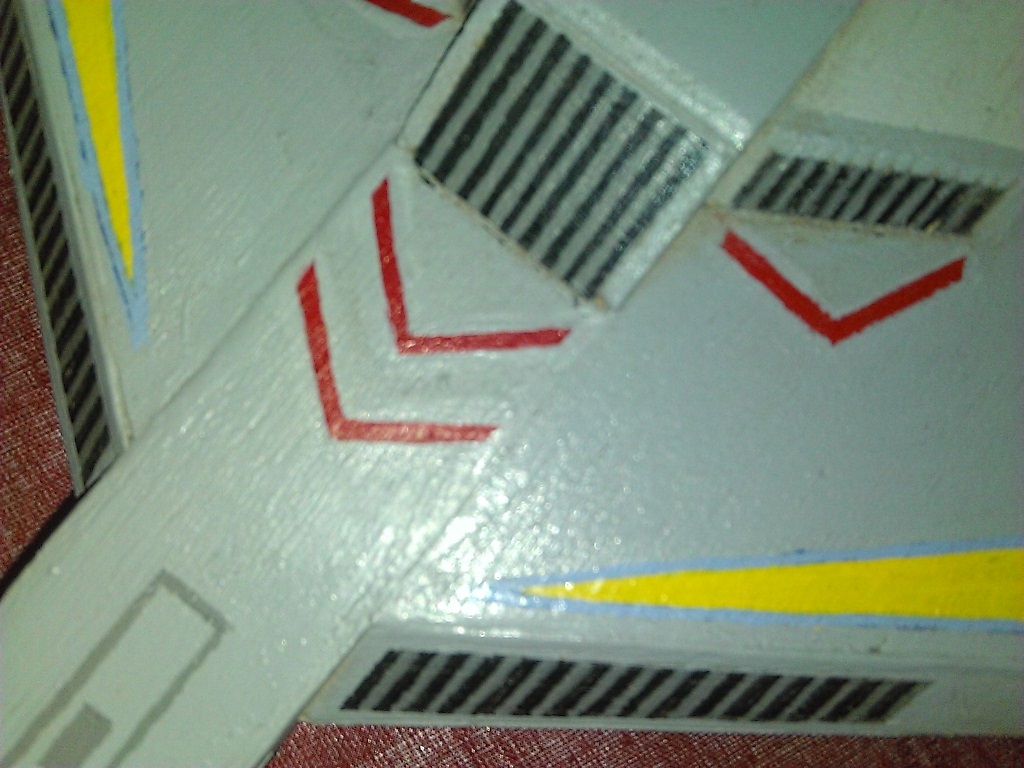
3) Add panelling detail. As you can see it looks a bit bland at the moment. This is where subtle panel lines can really improve the overall look.

J7JRHj5.jpg


4) Clean up and detail the weapons. The current version is rudimentary at best, and it looks a bit untidy.

hySERuf.jpg


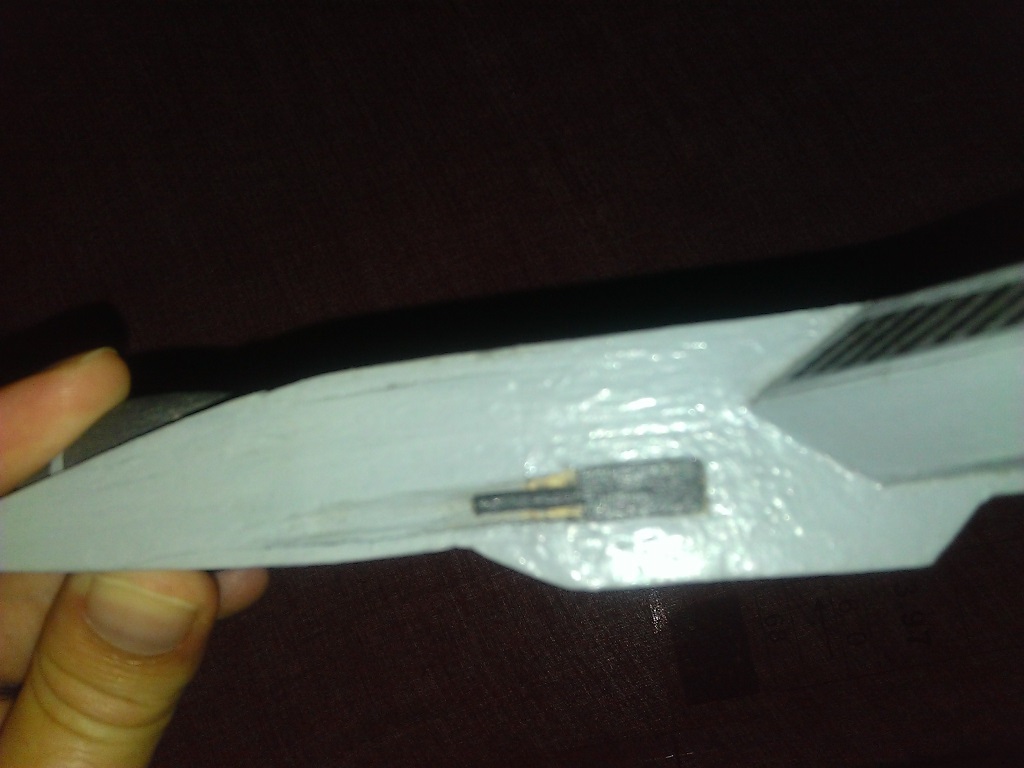
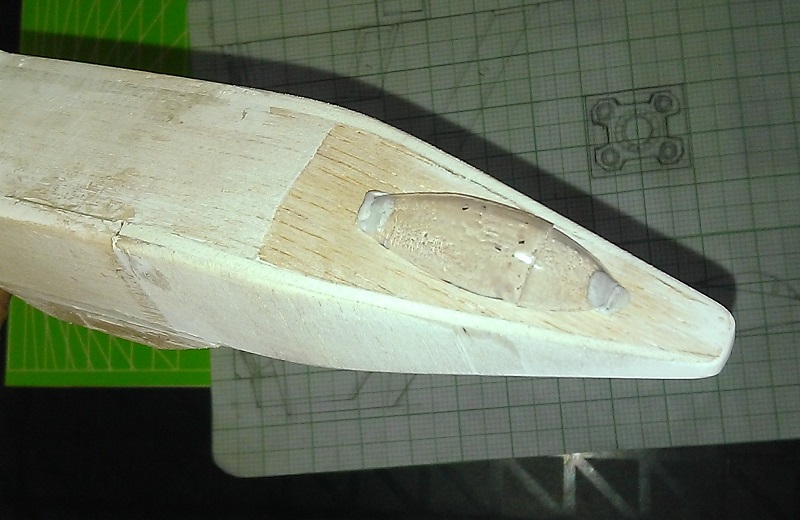
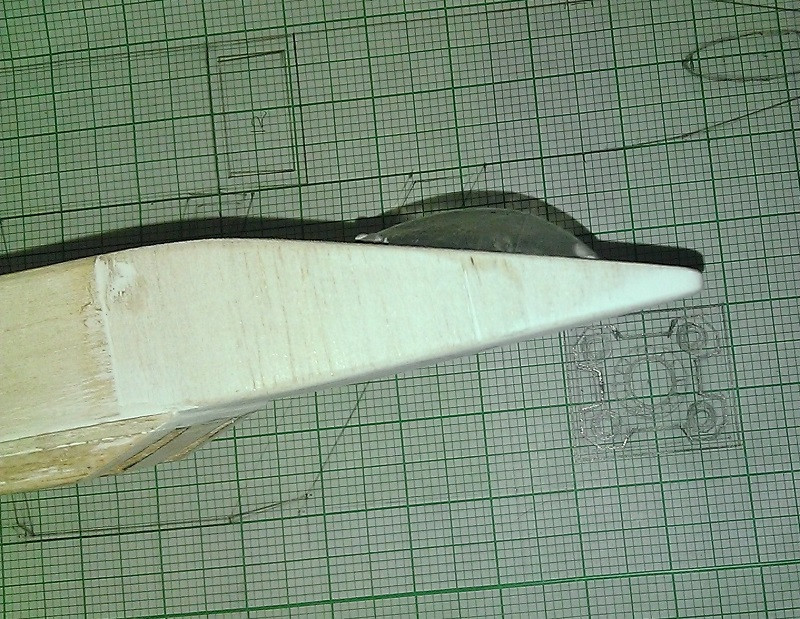
5) Improve intake detail. I got some really good shots from the WC4 cutscenes, and I'm sure I can come up with something better than a flat painted surface.

DG4o78T.jpg


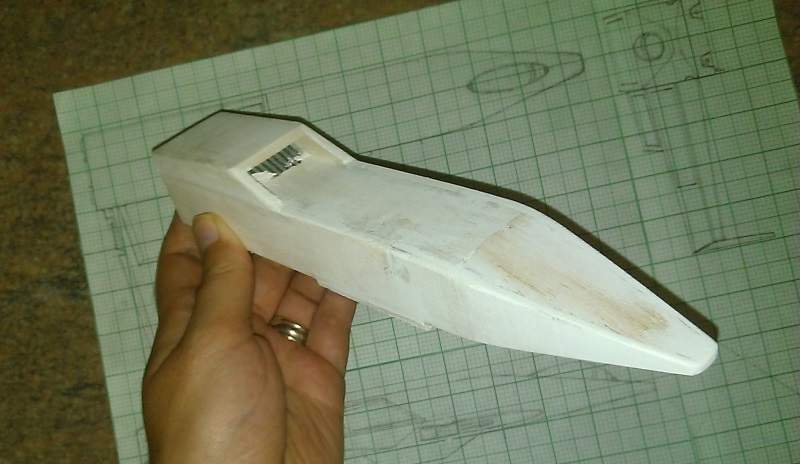
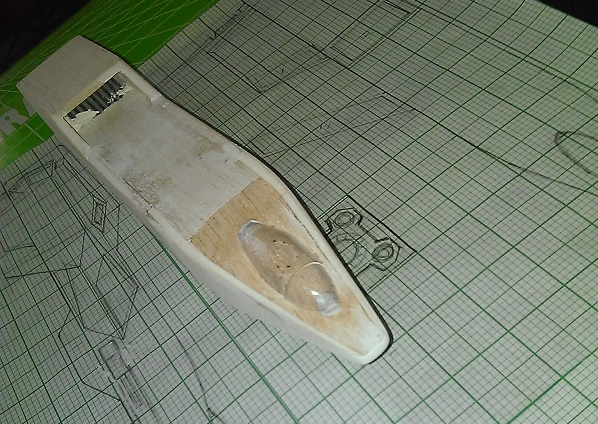
6) Tidy up cockpit area.I'm less sure of how to tackle this, but the simple painted balsa canopy seems a bit lacking. Will need to put some thought into this.

PKTcvfS.jpg


That's it for now! I'm really excited about this, I've missed working on these ships and can't wait to get my hands dirty again. Look forward to your comments.
 
Last edited by a moderator:
Hi all,

So, for my first update, I thought I'd show you some of the semi-organized chaos that makes up my design process. Here's a quick peek at my work bench:

bPr2DbL.jpg


Measuring instruments, reference pictures, tools, and various other bits and pieces all over the place. :) There is some method in the madness however; the desired end result is something that looks like this:

4VsmiMq.jpg


This is not the finished version by any means. I've discovered that having access to lots of source material does not make the job any easier! What it does mean is that I have lots of shots from funny angles that make it hard to get good measurements. This being a long weekend, I'd really hoped to have made more progress by now. Anyhow, the end goal is to make the model look right, so I may end up taking some artistic licence here and there.

Check back soon for some more news.
 
Last edited:
Hello again!

So it's a a week later and I've basically had to start from scratch with my plan drawing process. :/ Reason being, I quickly discovered that my original WIP plan as posted above was off the mark from certain angles. I just couldn't get the dimensions right, and it simply didn't make sense. It was all getting a bit frustrating, but then I hit the jackpot:

bAkzHKS.jpg


At last! A plan view drawing! And it was under my nose this whole time, hidden in plain sight in the WC3 warbirds poster. I had quite stupidly neglected to look in the WC3 resources, since I'm building the WC4 version, but they are basically the same ship after all. Finally things started to make sense!

I quickly discovered that many of the assumptions I had made working on my original model were incorrect. This means I have a lot of work ahead of me to get the ship up to spec before I can even think about adding the extra detail I planned; it's almost a complete rebuild rather than just a refit.

So, tip from someone who learned things the hard way: The fairly low-poly models used in the actual game engine are NOT accurate enough to take measurements from!

Anyhow, I finally have a set of drawings I feel comfortable working from. Here they are:

F2X5a7Z.jpg


At last I can get to the real task ahead, which will unfortunately involve a lot of cutting... For the grisly details on how this poor Hellcat gets sawn apart, check back soon.
 
Cross-posting a bit from the Klavs thread:

I've got a whole bunch of those; took them from the WC4 cutscenes. Thanks to the GOG version we now have hi-res videos that can be played offline! But yes, let's not hijack Klavs' thread. Feel free to post any WC4 Hellcat stuff in my Hellcat refit thread.

We actually have all the high res WC4 movies available as downloadable VOB files:

https://www.wcnews.com/news/2010/08/11/wing-commander-iv-online

https://www.wcnews.com/news/2010/08/17/wc4-cd-to-dvd-upgrade-patch-developed
 
Last edited by a moderator:
Are these the same VOB's that come with the GOG version of WC4? If so, I've got them already.
 
*GRAPHIC CONTENT, NOT FOR SENSITIVE VIEWERS*

So, back sooner than I expected, and this is the really hard part:

SOYmR2X.jpg


Ouuuuuuuch.... :( 
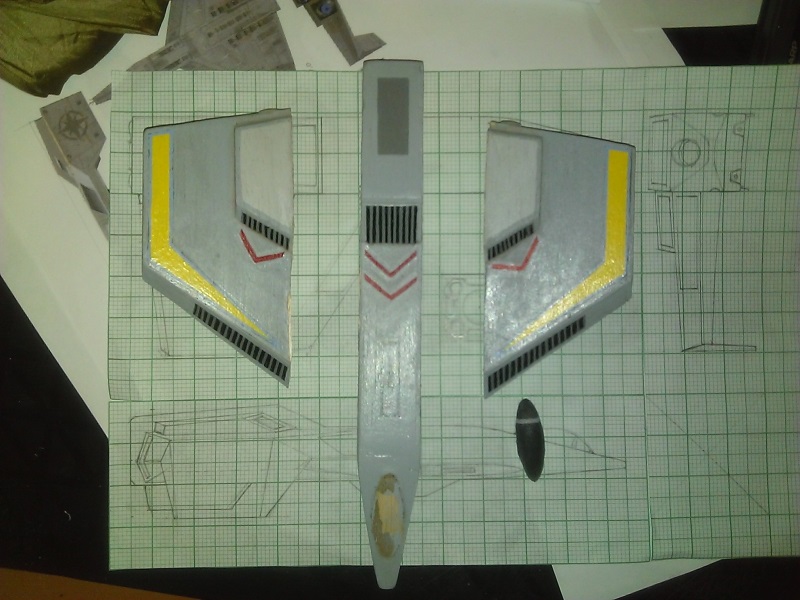
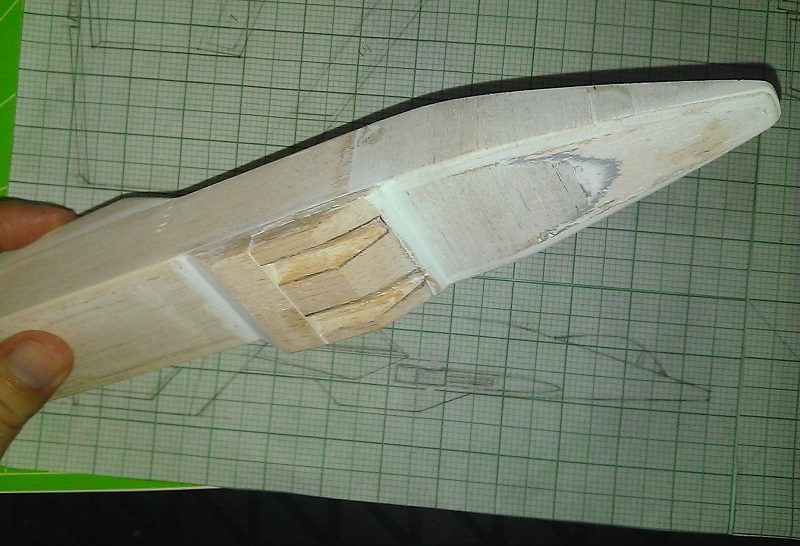
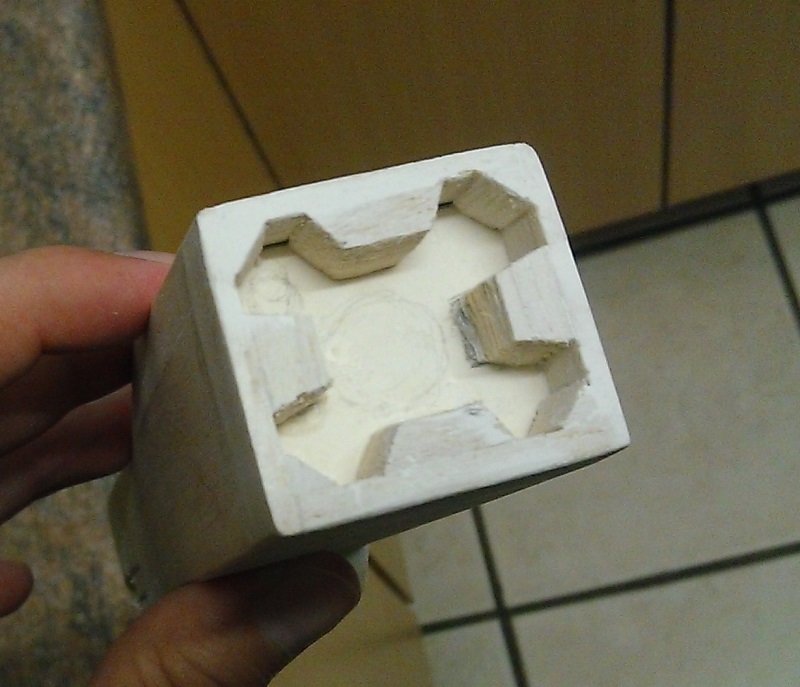
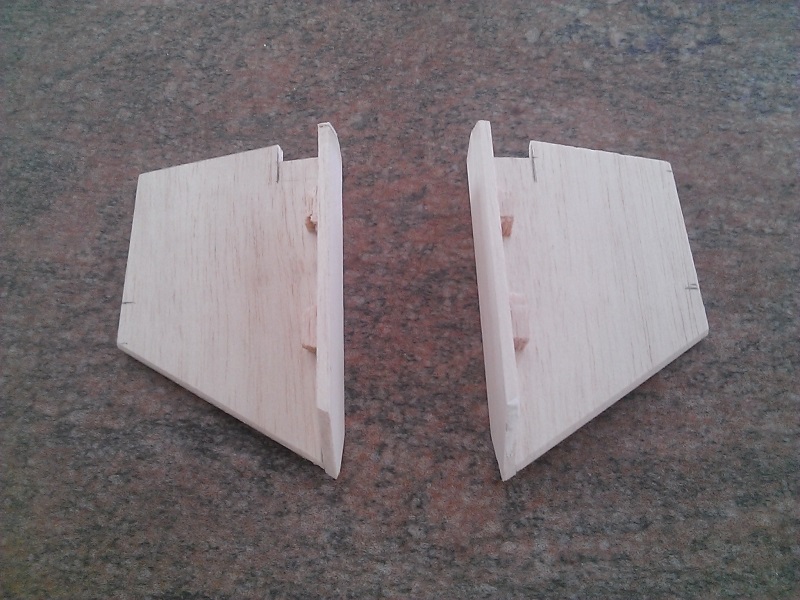
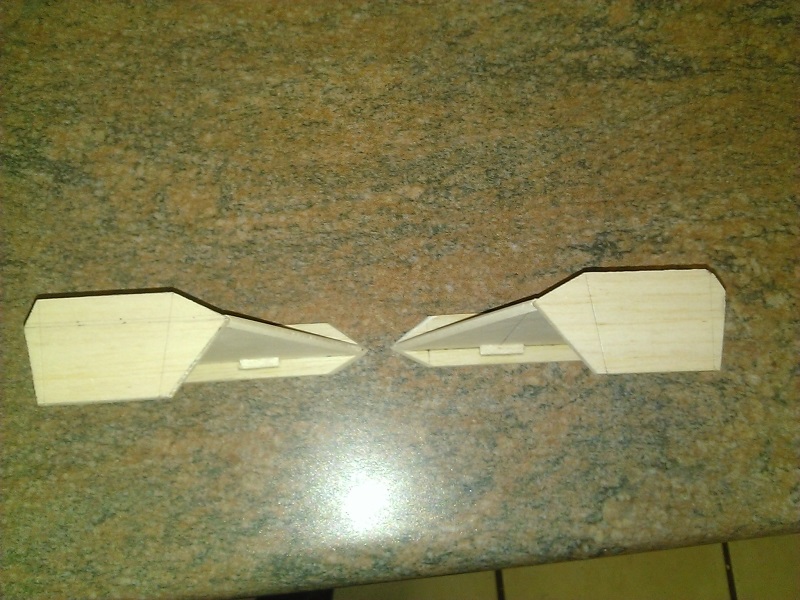
Oh well, sometimes you have to break before you can build.

I should be able to build around the current fuselage, but the wings are so out of shape compared to where they should be, I might as well make new ones. I'll think that one over for a bit longer though.

Ah, it breaks the heart... Hopefully my next post will be a bit more cheerful. :)
 
Hi everyone!

It's been a fairly productive week. The rebuilt fuselage is coming along very nicely. I've been cutting, shaping, sanding and polishing a lot! Here are a few shots of my progress:

9iJYP2E.jpg


b0zg0MK.jpg


uqWICdd.jpg


The shape looks much, much better when compared to the cinematic shots now. I'm very confident that I'm on the right track. The fit and finish is also of a higher standard than I was able to achieve when I first built this ship. Lots of work to do yet, but so far, so good.

Until next time!
 
Whiplash, is your Hellcat 1/72 scale? If you like I can make my 1/72 scale arrow pilot, ejection seat and cockpit available on shapeways for you. They're engineered to fit in the Arrow, but I think they might suit your needs!
 
Hey Klavs!

Many thanks, I'd love to take a look at what you've done. My ship isn't to any specific scale ( its beyond 1:100 somewhere). I have been looking at ways to do a clear canopy, so I'd like to put in some basic cockpit detail if possible.
 
Wellllp, if you give be a cockpit tub cutout dimensions and verify the approximate scale, I'll see what I can do!

I've ordered a transparent canopy from shapeways for the 1/72 arrow. SUPPOSEDLY you can polish it and it's more or less transparent. I intend to tint it anyway, so total optical clarity isn't important, just enough to be able to make out some details. In your case you're probably better off vac forming or heat forming your own canopy, but I'd love to help with the cockpit if I can!
 
. In your case you're probably better off vac forming or heat forming your own canopy, but I'd love to help with the cockpit if I can!

Funny you should mention that... :)

7s53K2r.jpg


DSIjM55.jpg


Cu3kJx1.jpg


I started experimenting with heat forming about two days ago. It's not perfect yet, but I'm quite pleased with my early efforts. Any ideas on how to do the tinting? A dark blue/gray seems to be the colour of choice.

I've also mostly completed the ventral gun pod. It needs some tidying up, but the basic shape looks good.

rHjvWH9.jpg


xTsMwl0.jpg


As for scale, I estimate 122,5:1 (24cm model vs 27m total length according to the game fiction). At any rate, even if you just post some detailed pictures of your cockpit work, I can put something together myself.
 
Hi everyone, just a small update. It's been a quiet week, but I have managed to get around to a piece of work I was particularly looking forward to: The rear fuselage and engine area.

7nW5oLD.jpg


DJj7C0b.jpg


I'm still refining and polishing but it's a vast improvement on the original (rather poor) effort.

I've also had some ideas regarding the engine nozzles. So far, a simple cardboard construction seems quite effective. I will refine the design a bit as I go along.

dRvjVyi.jpg


ZFzQhzY.jpg


That's all for now. I'm currently hollowing out the various gun ports, but the next big task will be getting started on the wings. That should be fun!

Check back soon for more updates.
 
Update time!

As mentioned last time, I started construction on the wings this week. Here are a few pics detailing the process.

First I cut out the section flush with the fuselage. I then fit a horizontal section in the shape of the wing profile to give me a flat reference plane to build on. Previously I simply built the entire wing as a hollow box shape, but I think this approach will be easier and give better accuracy.

06eeo2U.jpg


Next, I cut out the hollows where the wing-mounted engine exhaust nozzles will be fitted later on.

axyLSmu.jpg


Next come the vertical stabilizers on the wingtips. You would think I would leave them for last, and only fit them once the rest of the wing is complete, but they actually help me determine the attatchment points for the final shape of the wing.

o3pCIOe.jpg


As you can see here, I can now attach the wing surface directly to the top of the wingtip for a nice even finish.The surfaces have not been glued on yet; I still have to complete the interior detail at the intakes and exhaust nozzles.

TgNBR8x.jpg


That's all for now, check back soon for more news.
 
Time for more pics!

I've completed the bulk of the work on the wings. Here's how it went:

First, some internal bracing to ensure the wings surfaces don't flex too much. Balsa wood is very soft, after all.

8KfI5M6.jpg

j7kaVIA.jpg


Then, I glued all the external surface covers in place, and started the process of shaping them to the final finished look. Here are some shots of my progress.

shkEYvS.jpg

VoGVRn3.jpg

Vu8IRGV.jpg


You can see the wing engine ports quite nicely now.

WU4gnRc.jpg


Things are moving along nicely! Next time, there may just be something resembling a Hellcat to show you.
 
Ladies and gentlemen, we have a Hellcat!

gJelBTy.jpg

WdQNi2U.jpg

YZ5uDQt.jpg


I decided to get right to the point and glue the wings to the fuselage. I could maybe have spent more time on shaping the details, but I'm at the stage where it is important to get a feel for the overall "look" of the model. I'm happy to say that thus far, it has turned out even better than I expected. I hope you'll agree!

Lots of work still to do, but the effort has been well worth it so far.
 
looking very sharp... I like how precise the edges are all looking. very awesome.

Thanks! Still WIP, I have a habit of sanding and polishing for days on end before I'm satisfied.. :) You need a bit of obsessive compulsiveness to be a good modeller.
 
Back
Top