The Hellcat V refit project

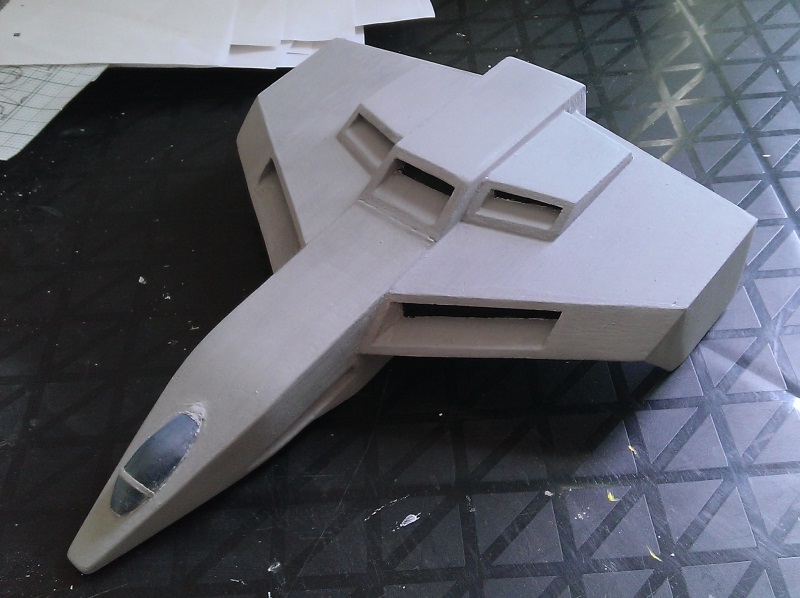
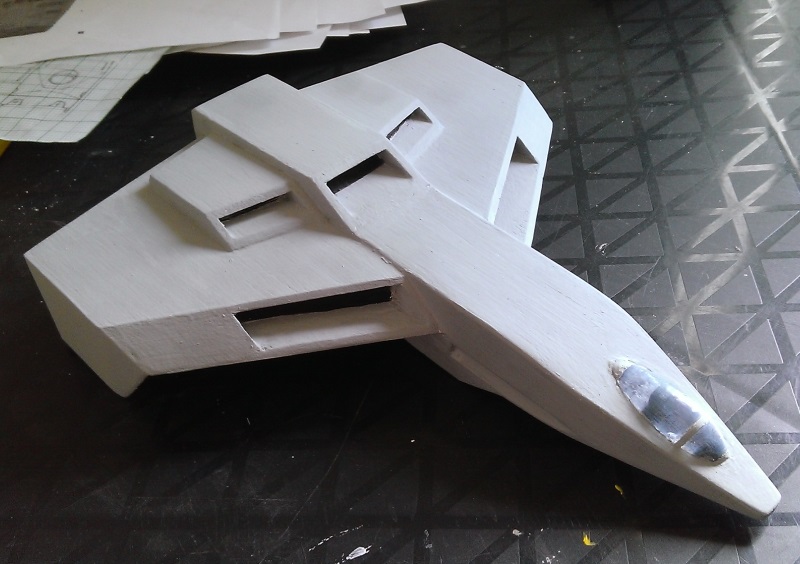
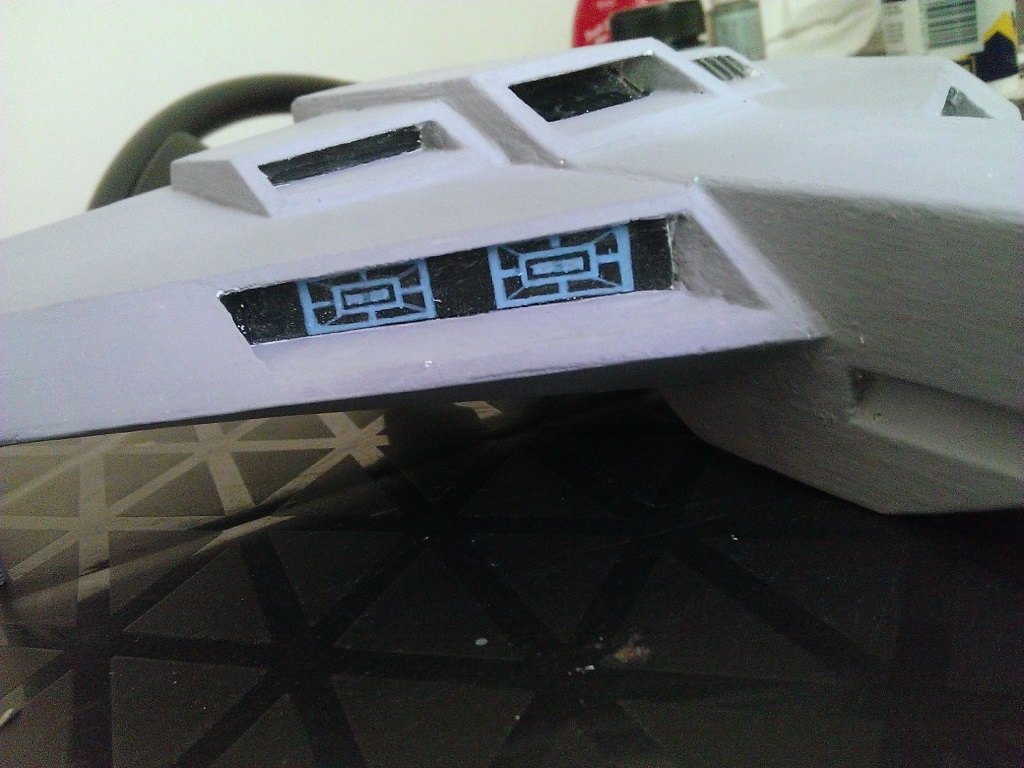
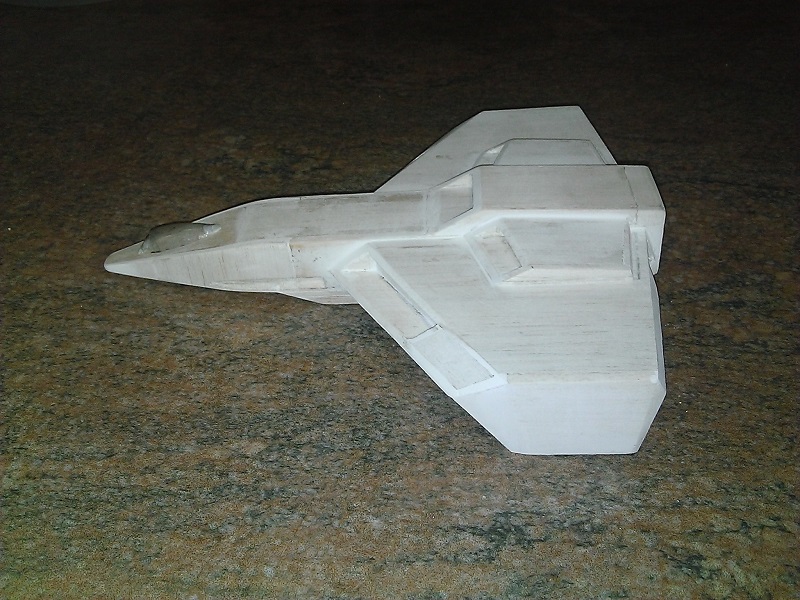
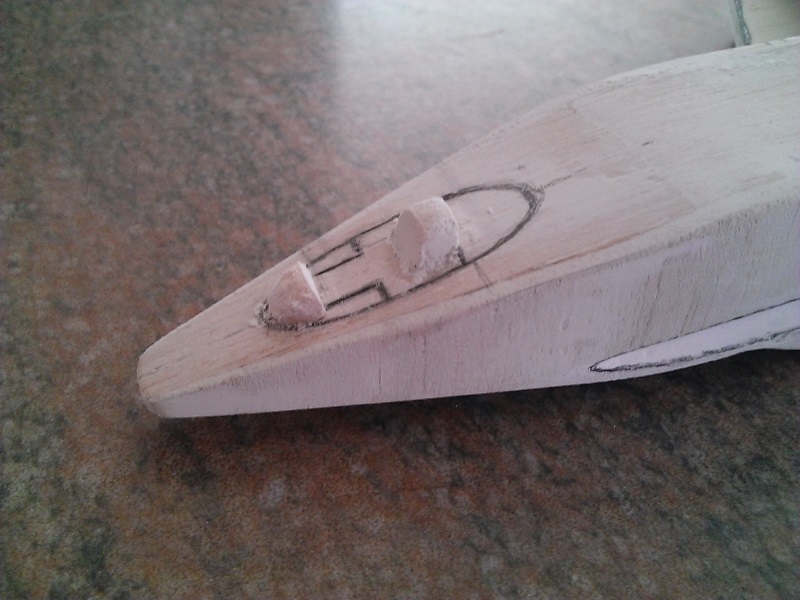
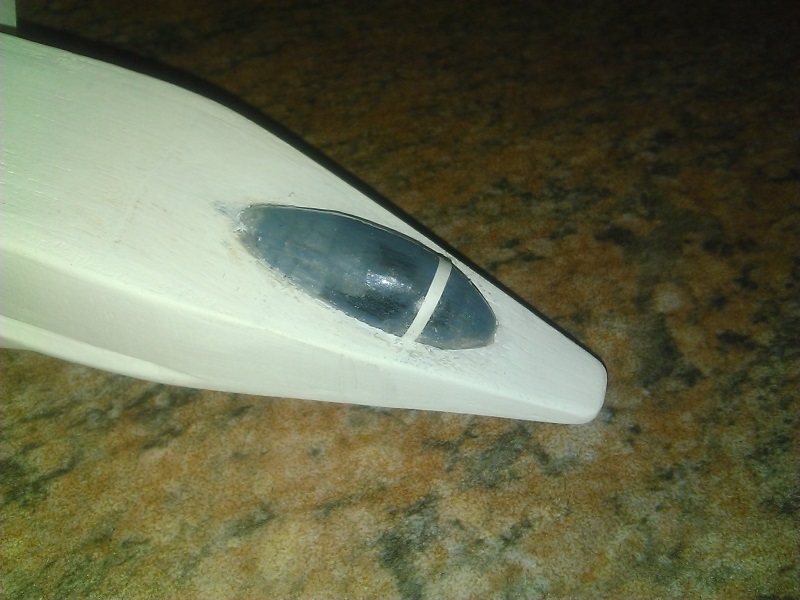
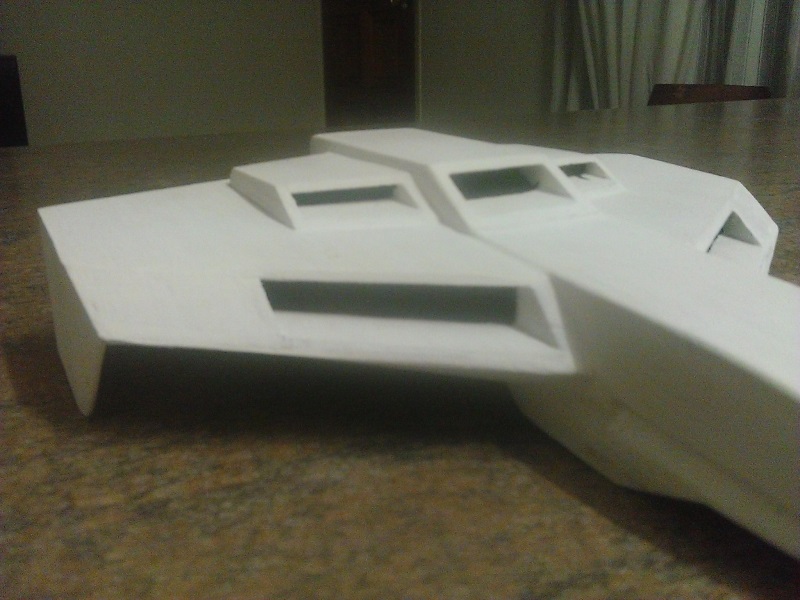
Some finishing touches have been added to the exterior. It's time to show you what is basically the final shape.

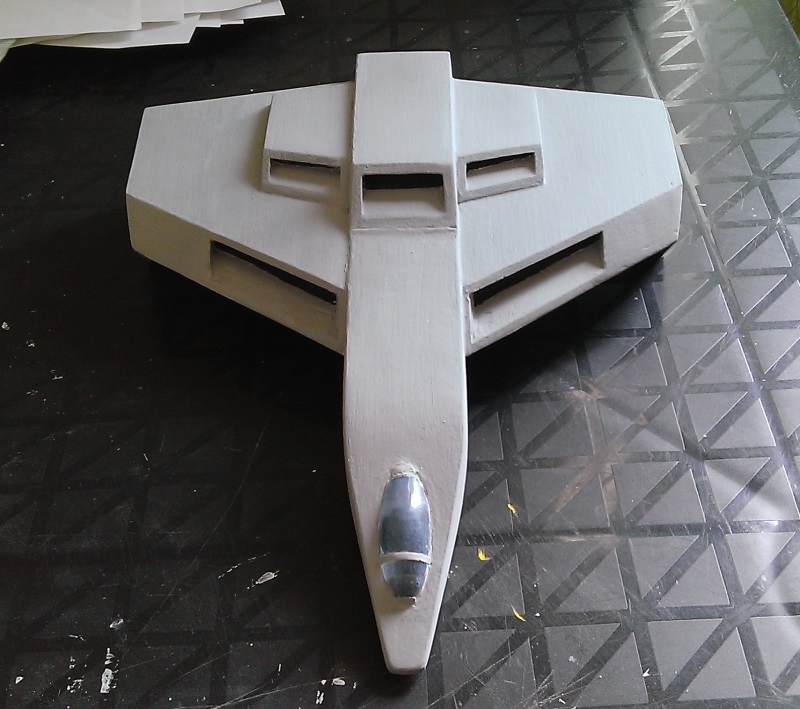
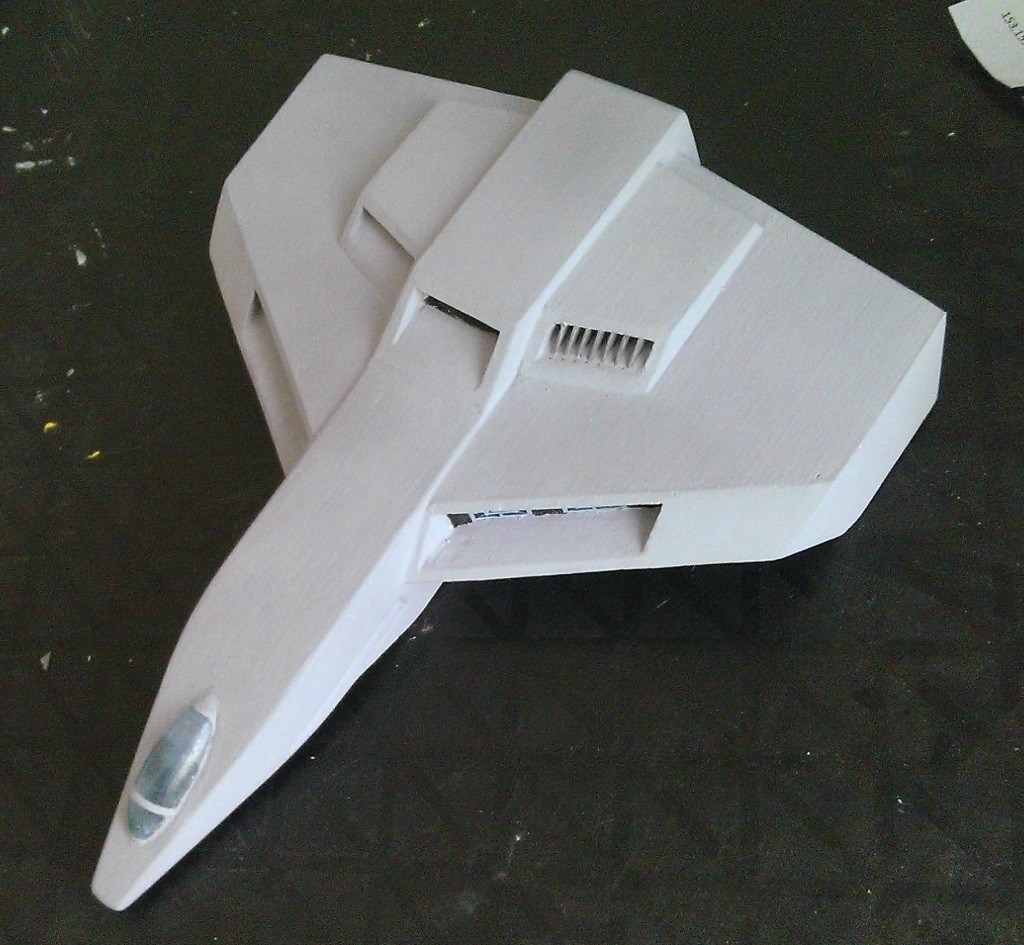
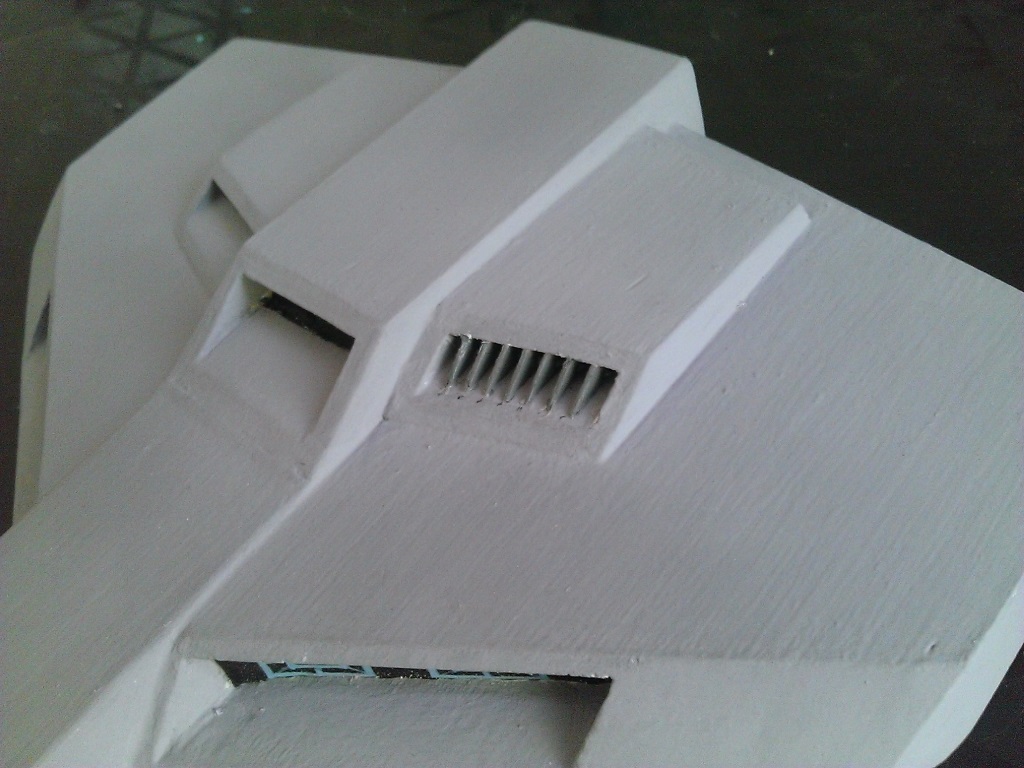
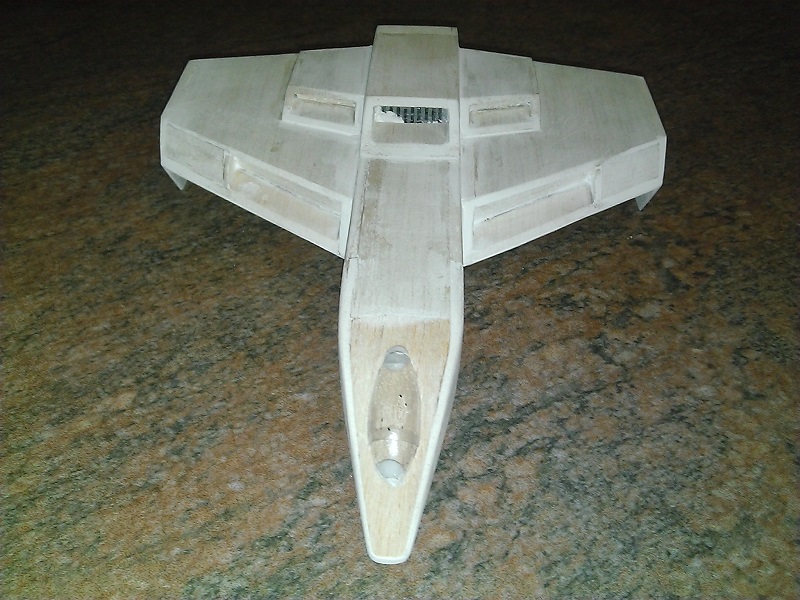
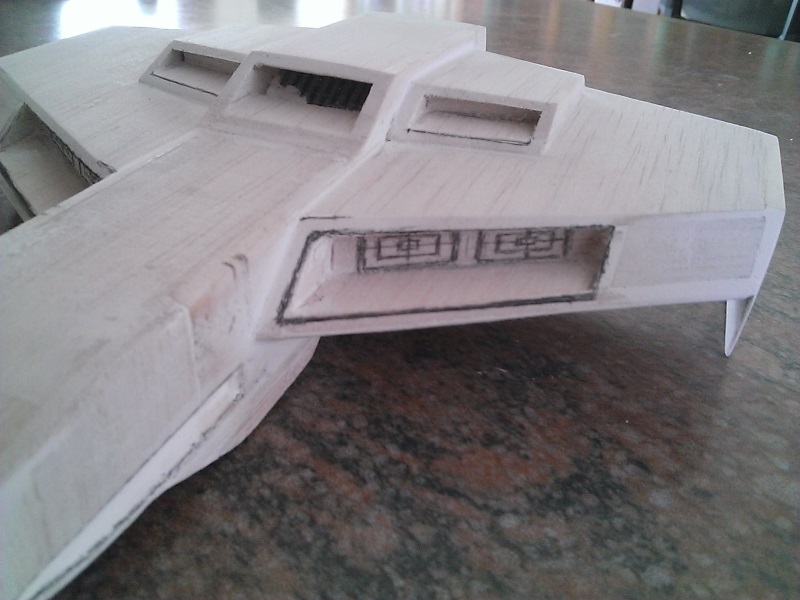
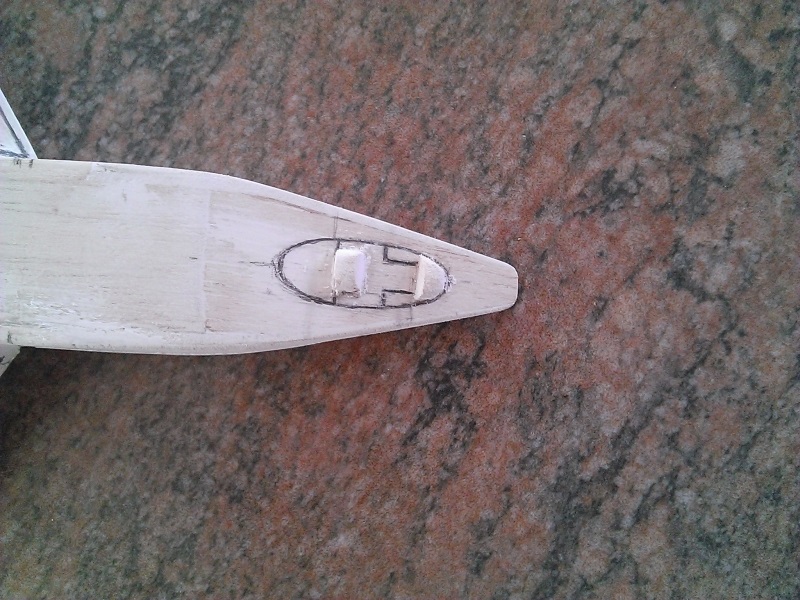
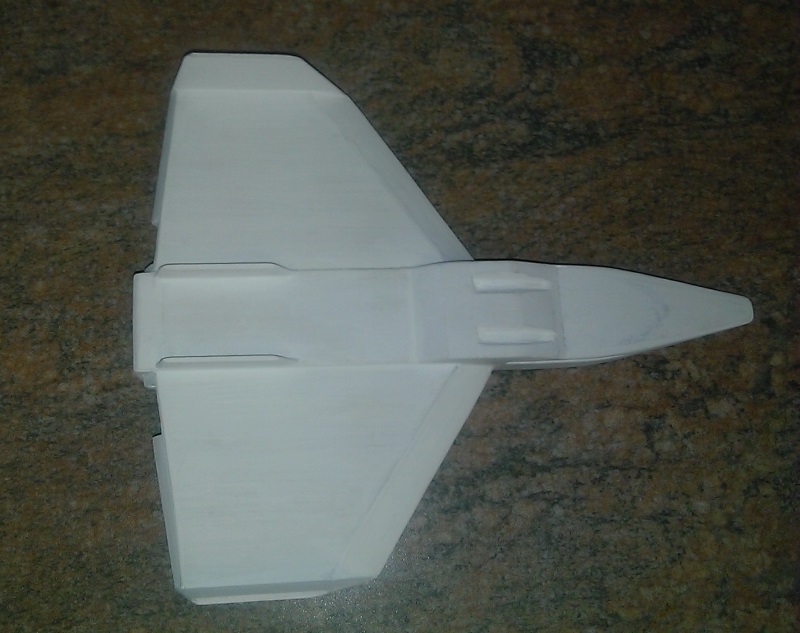
The wing engine intakes are now in place.
gUln0NB.jpg

XcPiyEF.jpg

dTwtyYW.jpg


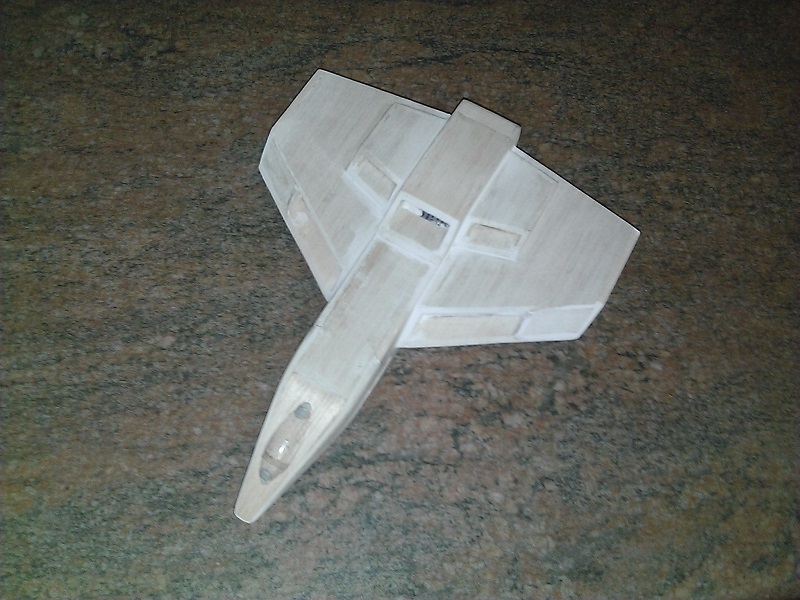
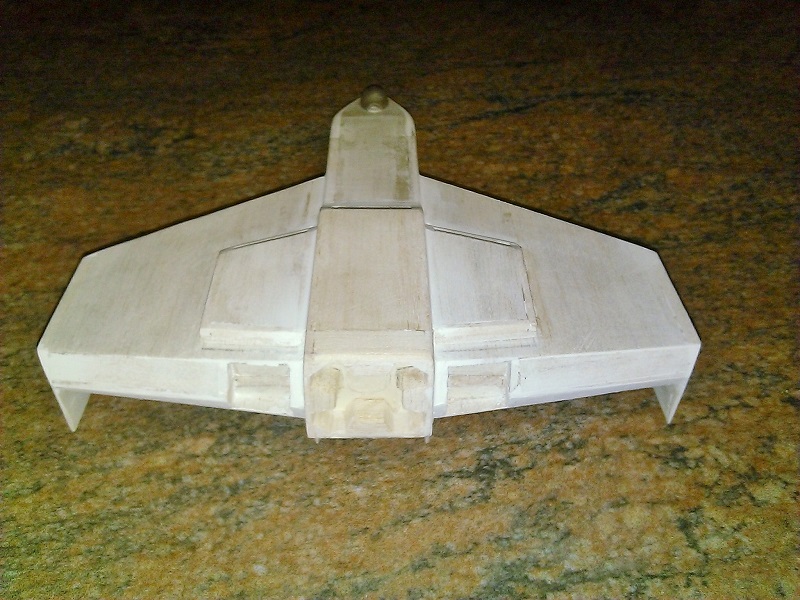
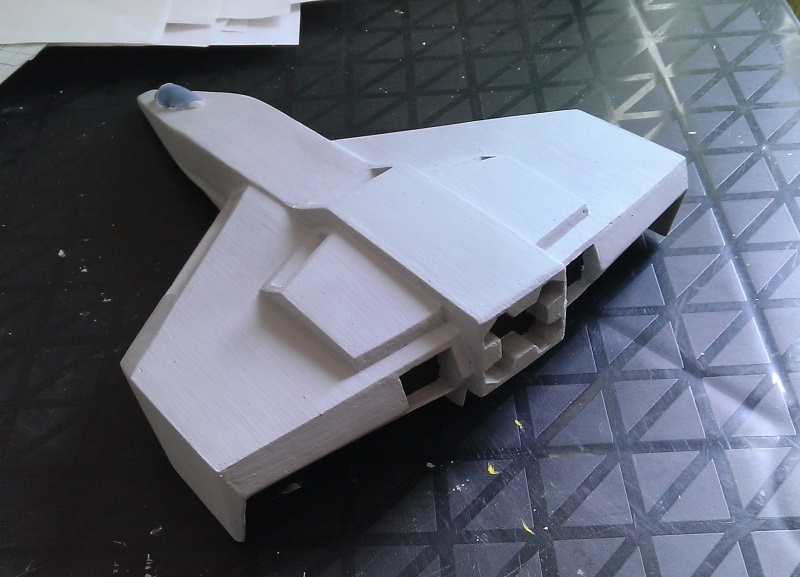
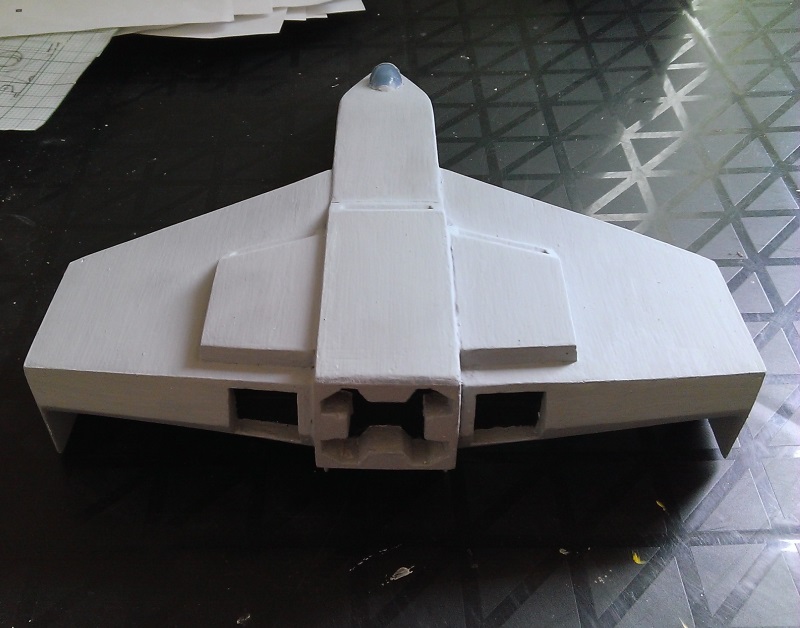
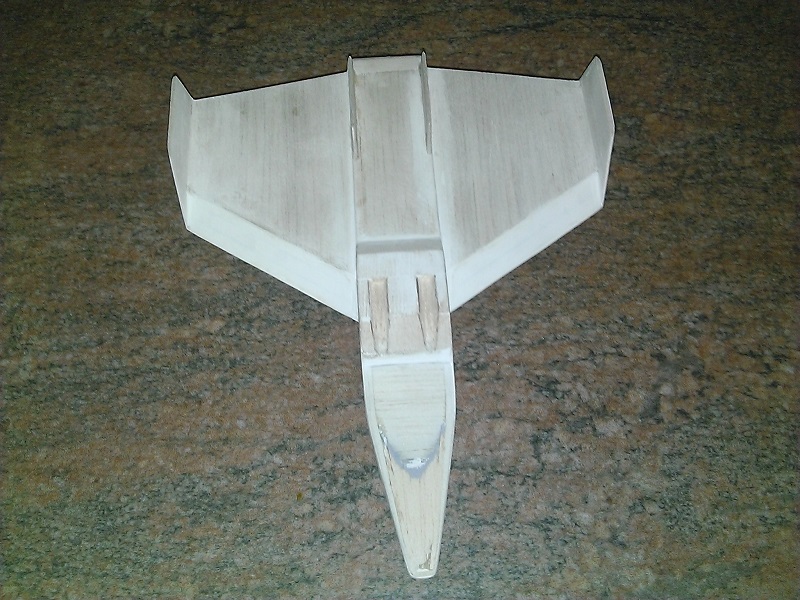
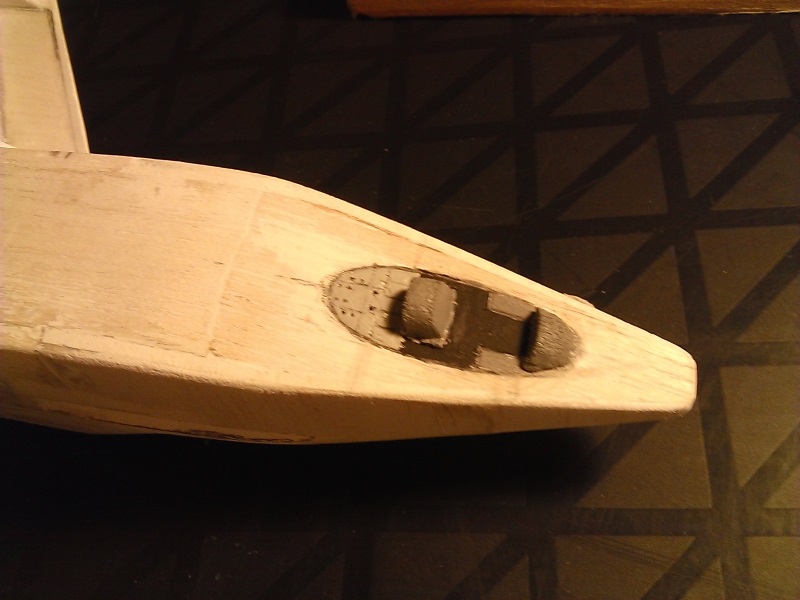
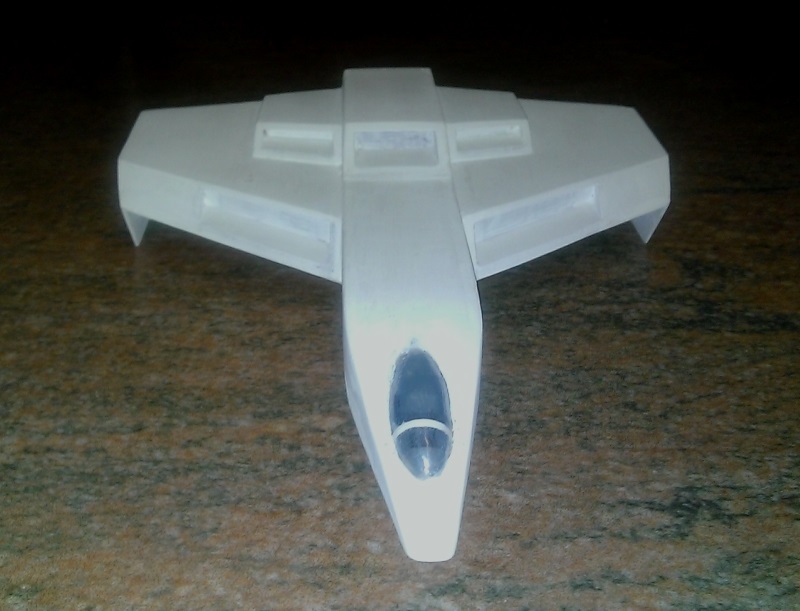
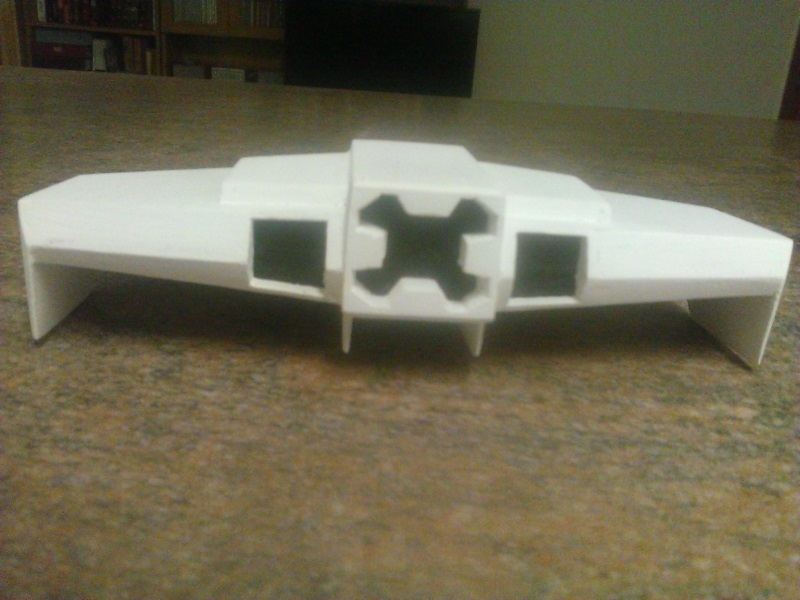
The ventral stabiliser fins have also been added:
lejpn1g.jpg


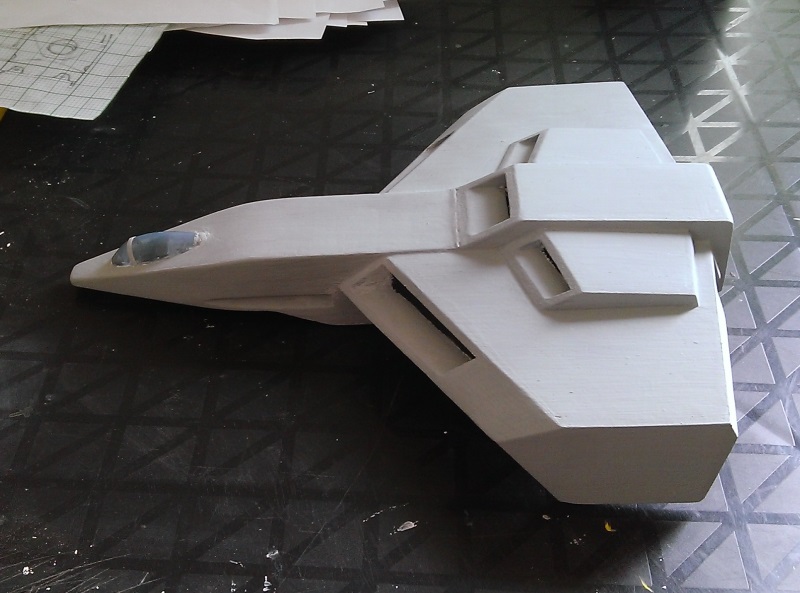
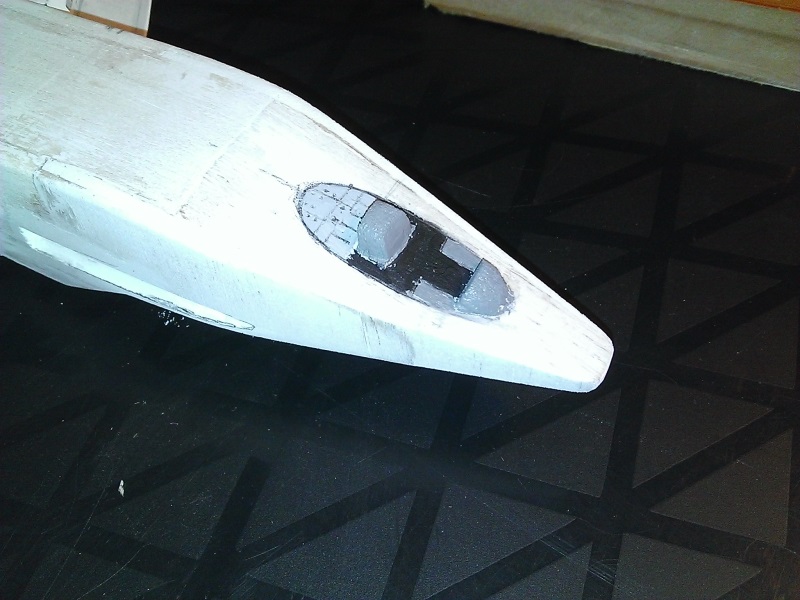
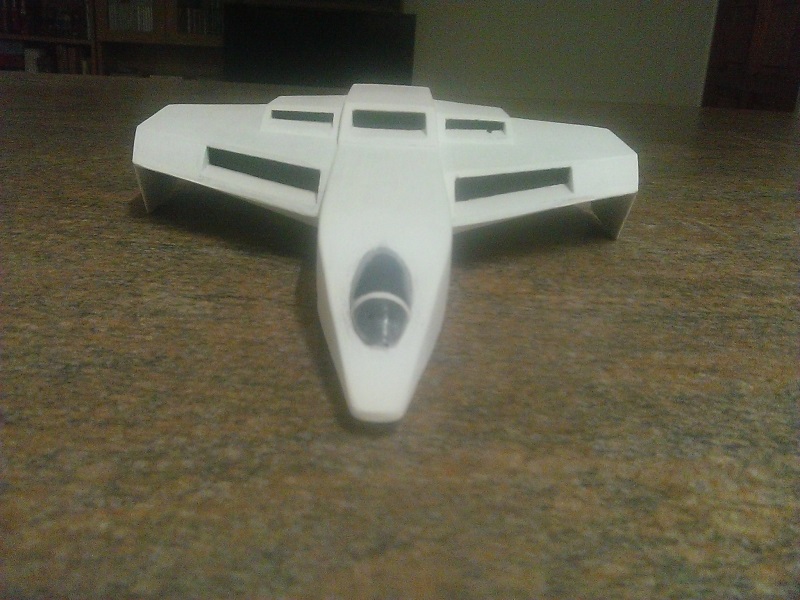
Hellcat V looks menacing and ready to take on some furballs (or maybe Border Worlds insurgents, seeing as this is the WCIV version...)
67h2VUj.jpg


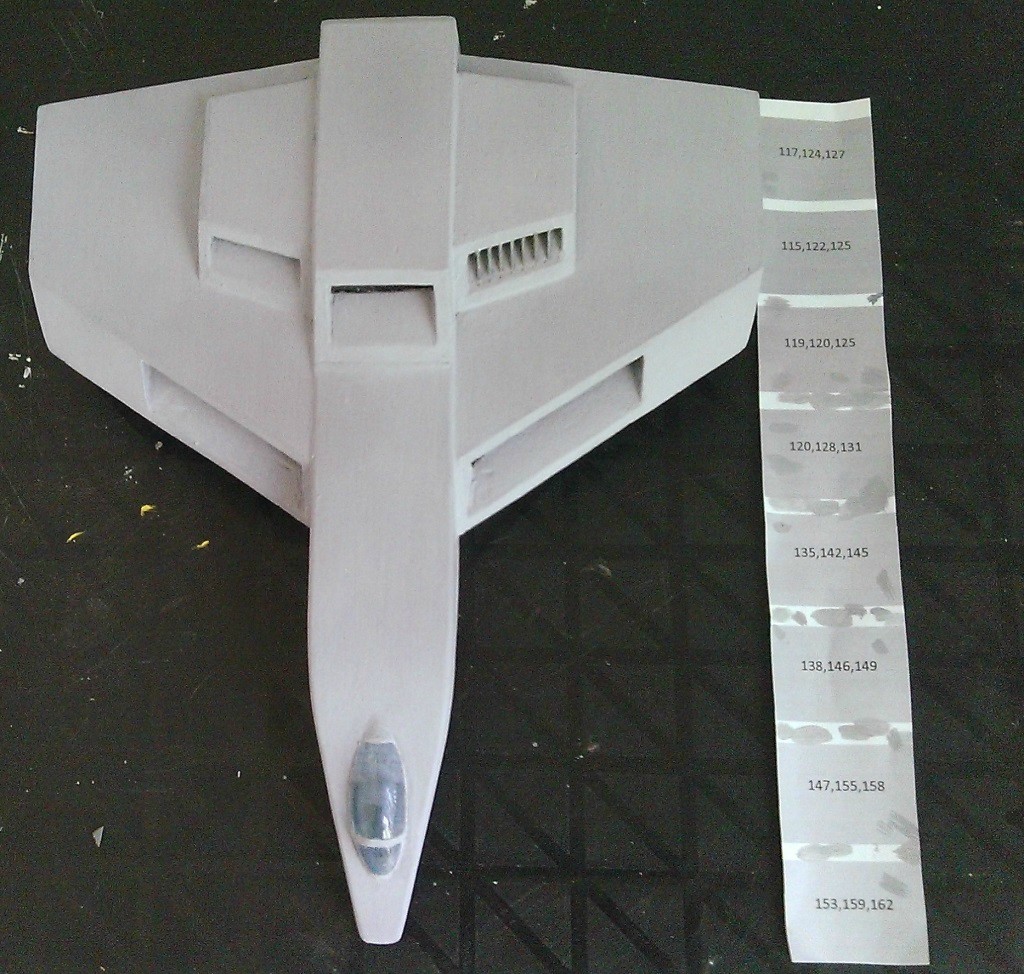
Next I need to do some general cleanup to make the model ready for painting. I'm also still considering the best way to add the panel lines. If they are simply drawn in, I can do them after painting. If however I decide to make small grooves to represent the panels, it will have to be done before painting.

More news to follow soon, hopefully.
 
Hi everyone,

I've had a very busy few weeks, so not much progress until recently. I really got stuck in today though, and here are the results.

Firstly, I did some test drawings of the engine intakes . The distinctive square and cross pattern seen on Confed capital ships is visible in some screenshots, which makes sense. The Hellcat probably uses a scaled-down version of the same engine technology. I will be painting these in before fitting the engine grills, but this was just to get a feel for how it would look on the final model.

PmzBw5i.jpg


Next up, I added some very basic cockpit detail, really just the tops of the chair and instrument panel. The painted canopy will not be very transparent, so the idea is to just include enough detail to create the impression of a proper interior. Spending too much effort on this would be a bit of a waste since you would not be able to see much in the end.

KaO7vYL.jpg

GvBkwp5.jpg


Big moment here: The first bit of painting! Once again, not too much in terms of detail, although I did add some panelling detail behind the pilot chair.

e9fLSSS.jpg

V0lJPdG.jpg


Lastly, The canopy. I made the frame from thin strips of paper, and then applied a very thin coat of blue-grey paint.

XJuYUOO.jpg


The canopy still has to be glued in place but so far it looks good!

xE5o3rk.jpg


That's all for now. More updates soon.
 
Looking awesome Whip! Nice work. I've never heard of scribing panel lines in a wood model before, I'd be worried about pulling up chunks of material if you're scribing across the grain, maybe you're better off painting or drawing them?
 
Thanks Klavs! I have plenty of scrap balsa to practice on, so I will try several techniques. Balsa is very soft so I don't anticipate too much trouble creating fine lines. Drawing them might work well, but I doubt I'll be able to paint them fine enough. Next step will be to paint the whole model in sanding sealer and then see which approach works best for the panel lines.
 
Canopy's been fitted! A bit of detail finishing required but I think it came out pretty well.

COgQgm9.jpg


As I mentioned last time, the whole model has now been painted with a layer of sanding sealer. This provides a nice even finish and seals the wood so that it doesn't soak up the paint.


Xxtl9Ax.jpg


6Qm9PO5.jpg


I will now sand the entire ship to as even a finish as possible, then apply another coat and repeat the process. Then it should be ready for the final coat of paint.
 
Long time no post!

I've been busy with all sorts of other things, you know how it goes... But anyhow, the project is still very much alive. As a quick update, I thought I would show you a brief look at the first steps of painting.

Based on the pictures in the source material, I've decided to go for black as background colour for both the intake vents and exhaust ports.

qkOUbjh.jpg


Nsl66p2.jpg


10CXnLk.jpg


It's amazing how much of a difference just this simple thing makes to the overall appearance of the ship.

Next I will have to settle on a colour for the base coat; I suspect this will take a bit of trial and error.

More updates soon, hopefully. :)
 
Hey, the ship is coming along great! Also, as I often do on projects like this, I'd like to inquire about your photography. What kind of camera are you using? Even a cell phone camera from the last couple years should be capable of taking crisper shots, so maybe there's some tips we can provide. Also, there's a big difference in the quality of your photos when the pictures are taken during the daytime with natural light versus nighttime indoors with (or without) a flash. You've put together a fantastic model, so you deserve to have it seen in the best quality images possible!
 
Well, photography isn't really my strong point.. using my phone camera at the moment, and its low-light performance is apparently not great, I agree. I will get a proper camera again at some point, but any tips in the meantime would be welcome.
 
So do the clothes really make the man, or in this case, the paint make the ship? Judge for yourself...

I tried several different variations of colour before settling on this one. It's very surprising how much effort this can take when you're simply painting something grey!

vgwqv1c.jpg

pvbsmeA.jpg

Ac7BgSH.jpg

Bvd1BlT.jpg

NBJYqlF.jpg

Tf8FFrH.jpg


Next we'll get into some detailed painting and finishing. Should be fun!
 
These shots taken with more light look much better!

One more time might be to potentially take the photo with the sunlight at your back (without casting a shadow on the model). It isn't necessary with all the shots, but it could help balance the lighting/color on a few highlights. Also feel free to make your images a bit larger and vary up the angle (higher or lower shots, an image of the underside, etc., which you have been doing in prior sets).
 
Last edited:
Thanks! Still WIP, I have a habit of sanding and polishing for days on end before I'm satisfied.. :) You need a bit of obsessive compulsiveness to be a good modeller.

I fully understand the OC. The OC in me is wanting a crack at painting the vampire or banshee. But shipping between the states and south africa. ouch.
 
Hi everyone!

Although the hull painting was pretty much completed in my previous update, I still wasn't completely satisfied with the colour (I'm finicky that way...)

So I decided to take things to the next level. I took some RGB values from my reference material, and made myself a proper colour chart. Here it is:

vVhUFkc.jpg


Next came the challenge of trying to mix paint from RGB values. After extensive searching, I came across a few sites that guided me in the right direction. If anyone is ever in a similar situation, I found this one to be particularly useful: http://www.goldenpaints.com/products/mixer/

After a lot of trial and error, I finally settled on a mix that seemed to match the reference pictures and in-game screenshots quite well. Here is the end result, although to be honest, I don't think you will notice much of a difference compared to the previous pictures. Still, I'm happier with the colour now.

7McizTU.jpg

TozvkK7.jpg


With the hull now finally painted, it was time to move on to some finer details.

First up, I added engine intake detail similar to that found on the larger Confed ships. Once again, the reference material proved to be priceless. I got a really nice shot of the intake pattern from one of the new Wing Commander IV HD FMV clips, so special thanks to the CIC for providing those! Took some tricky painting with a fine brush, but the result looks even better than I expected, and I think it adds a nice little touch of realism.

jJqGQ8Q.jpg


Then it was time to start work on the engine intake vents. I managed to find some insanely thin pieces of balsa in my scrap box, cut the strips to the correct length, and painted them. Add a bit of wood glue and some tweezer work, and voila!

5fosg7r.jpg


I'm really excited about how the ship is taking shape. More updates soon.
 
Last edited:
Great Work!!

Have you tried Bass wood? I use that on architectural models and find its more stable for fine details than balsa
 
Great Work!!

Have you tried Bass wood? I use that on architectural models and find its more stable for fine details than balsa

Not familiar with it, no. The balsa has worked fine so far, although on some of my other models (WW1/2 era) I've used some more sturdy wood for wing struts and landing gear.
 
Basswood is a modelling wood, is related to lime wood and comes in sheets like Balsa.
Its close pore and more stable with fine cuts, when I have made window fenestration with Balsa, sometimes it splits into pieces, but being more dense, basswood doesn't :)
 
Hi everyone!

Although the hull painting was pretty much completed in my previous update, I still wasn't completely satisfied with the colour (I'm finicky that way...)

The Hellcat (and photos of the Hellcat) are looking good!
 
Back
Top